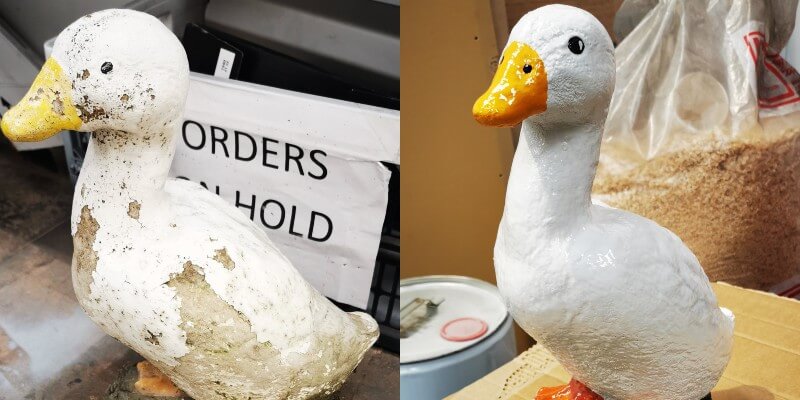
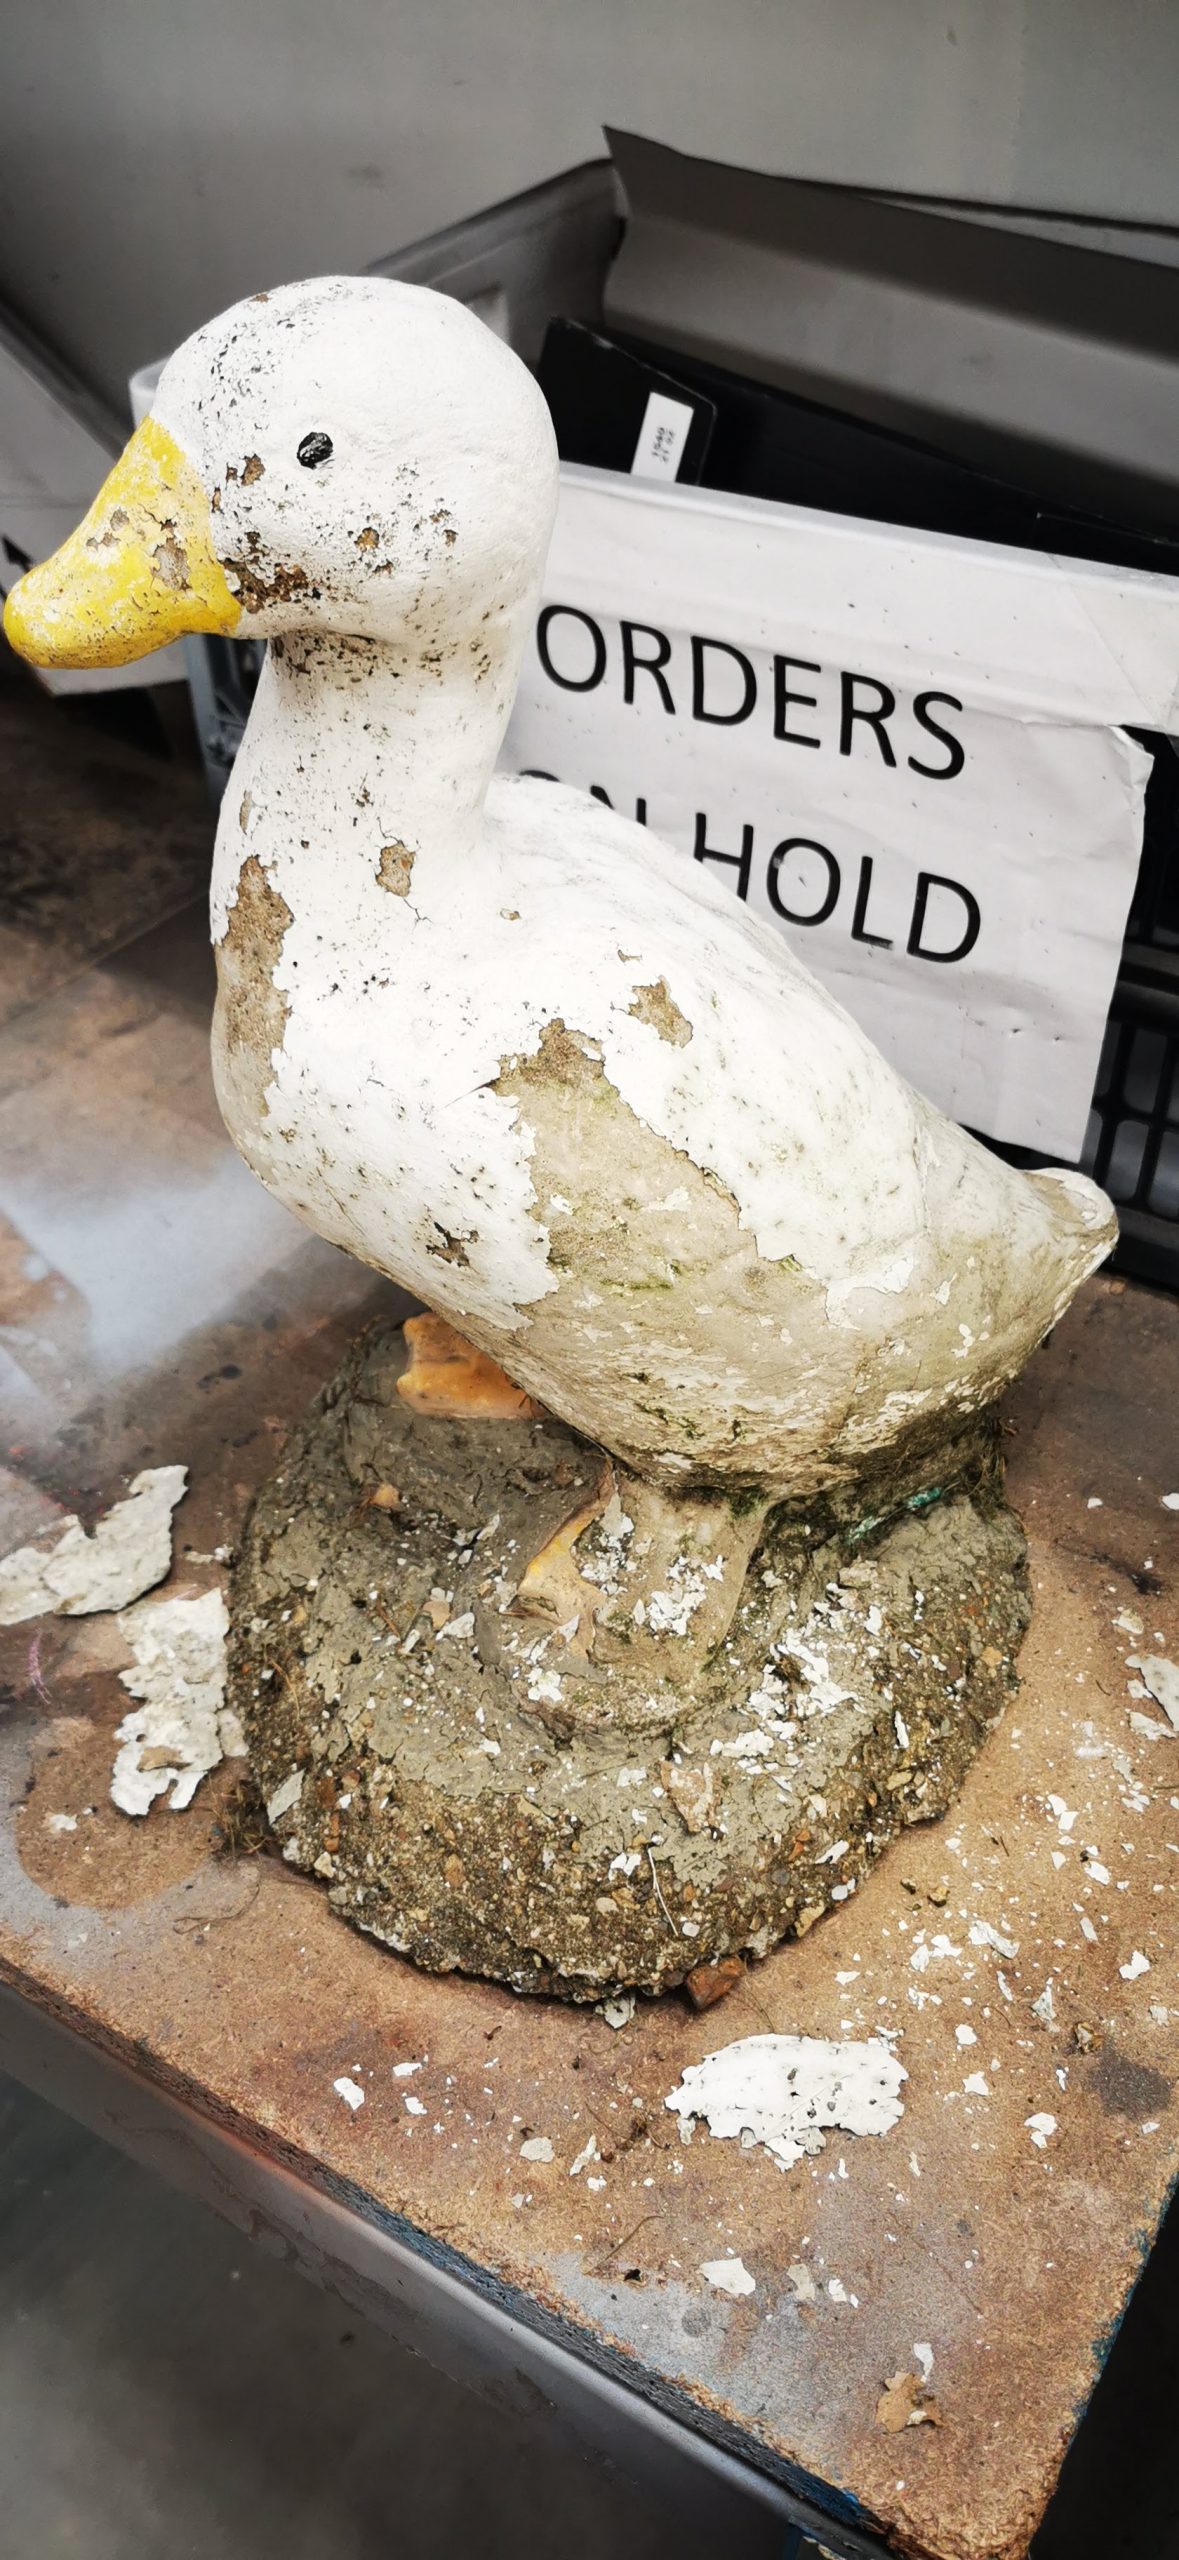
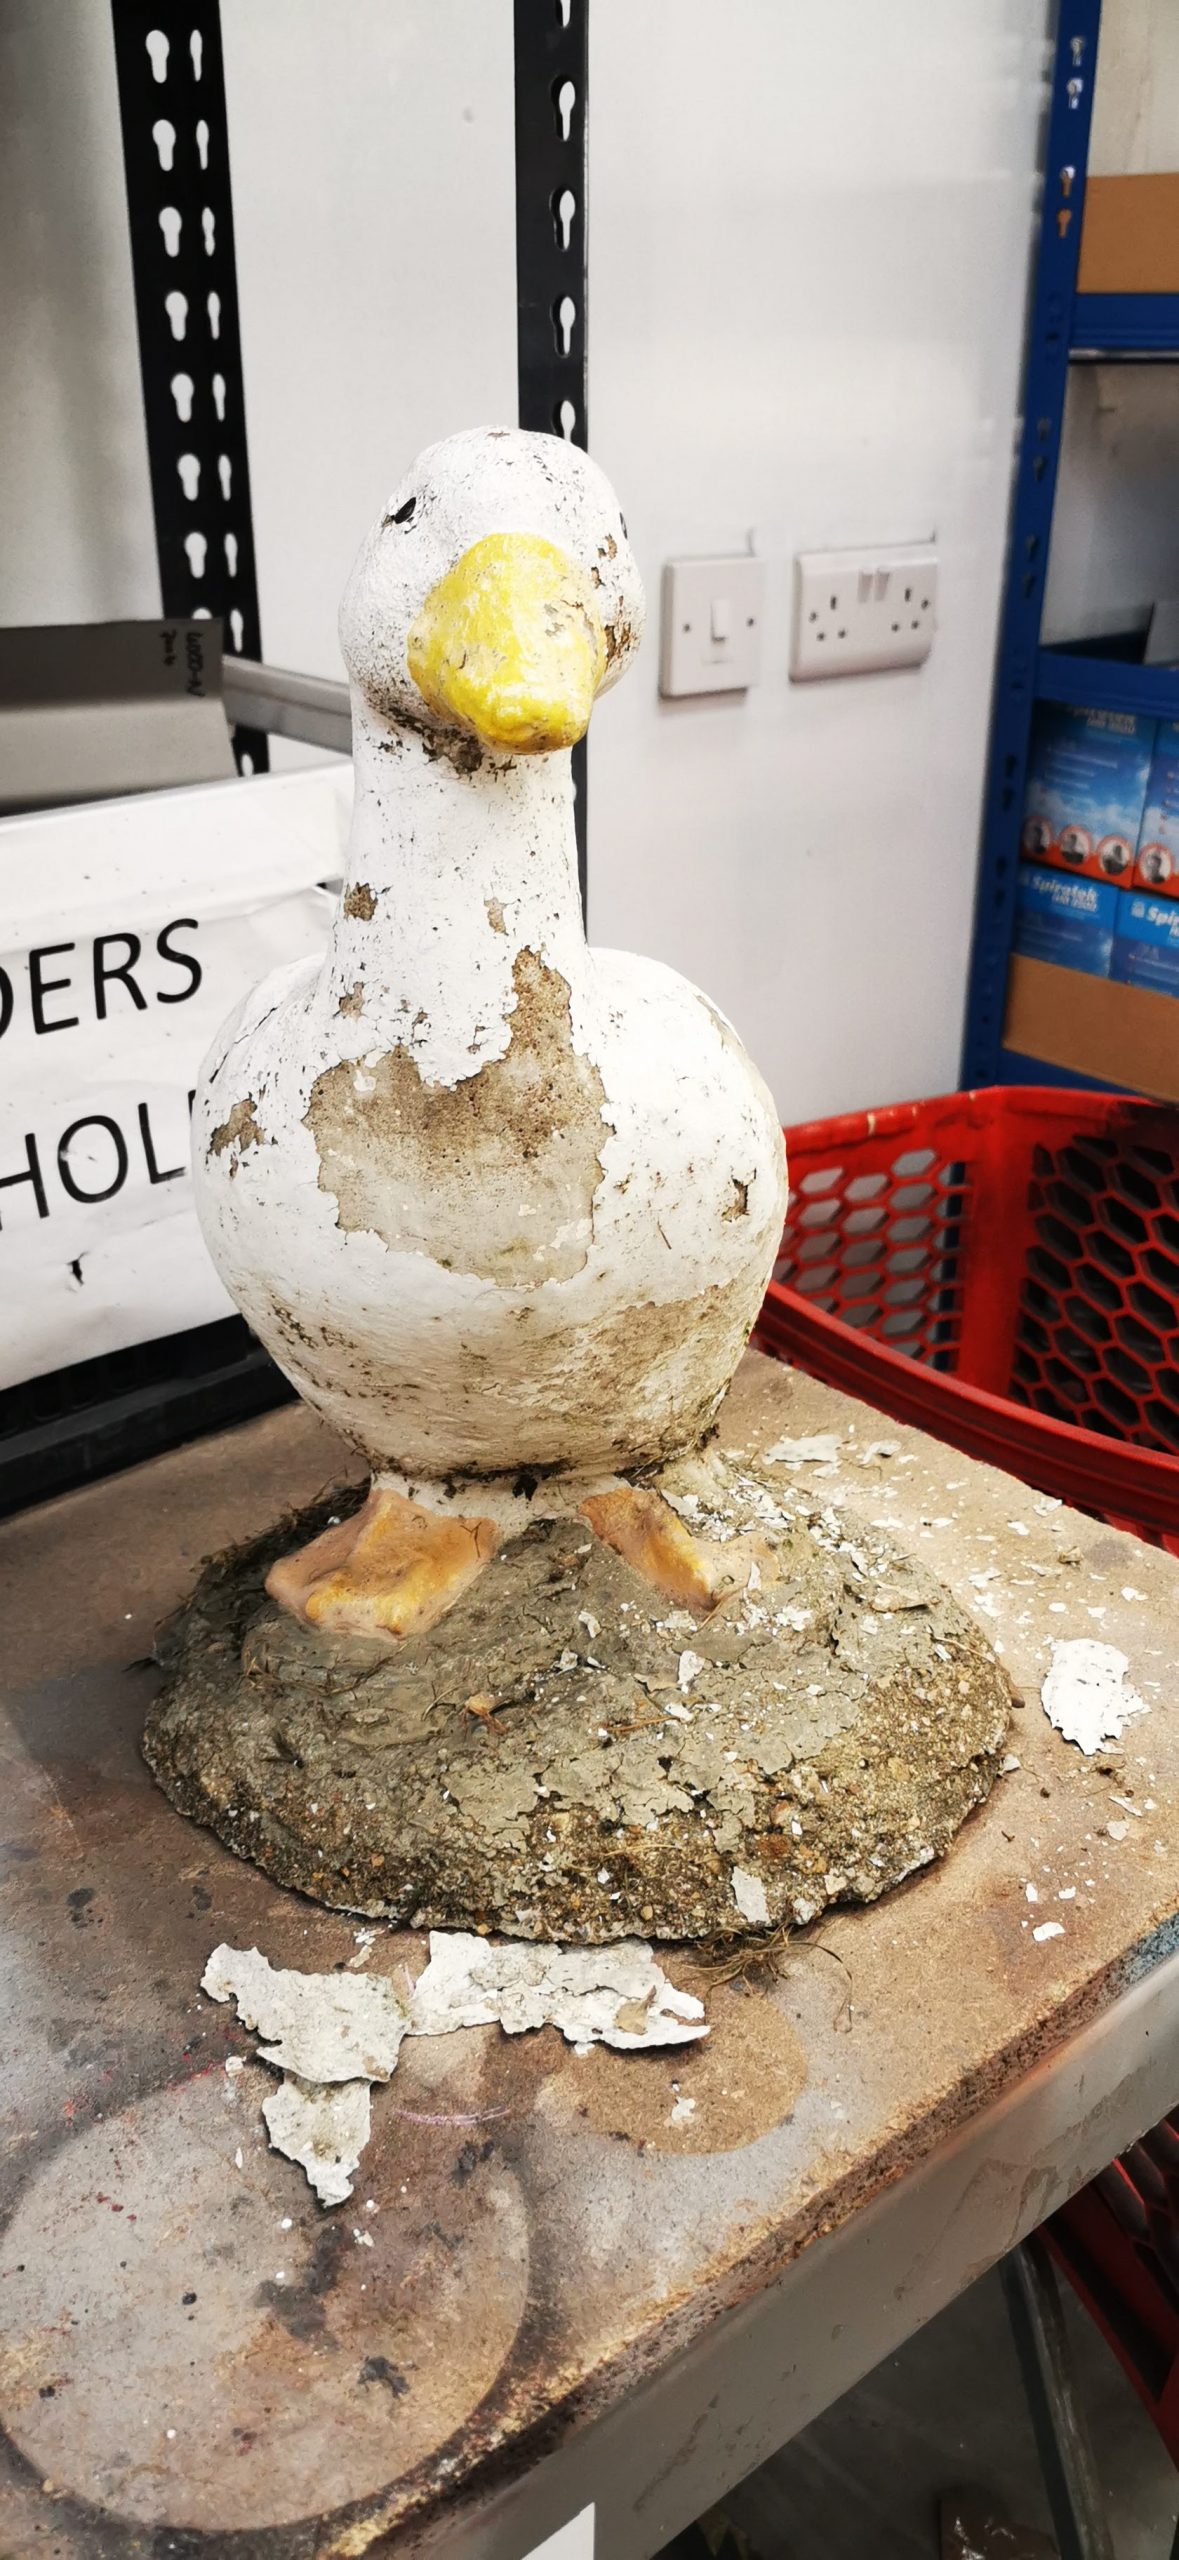
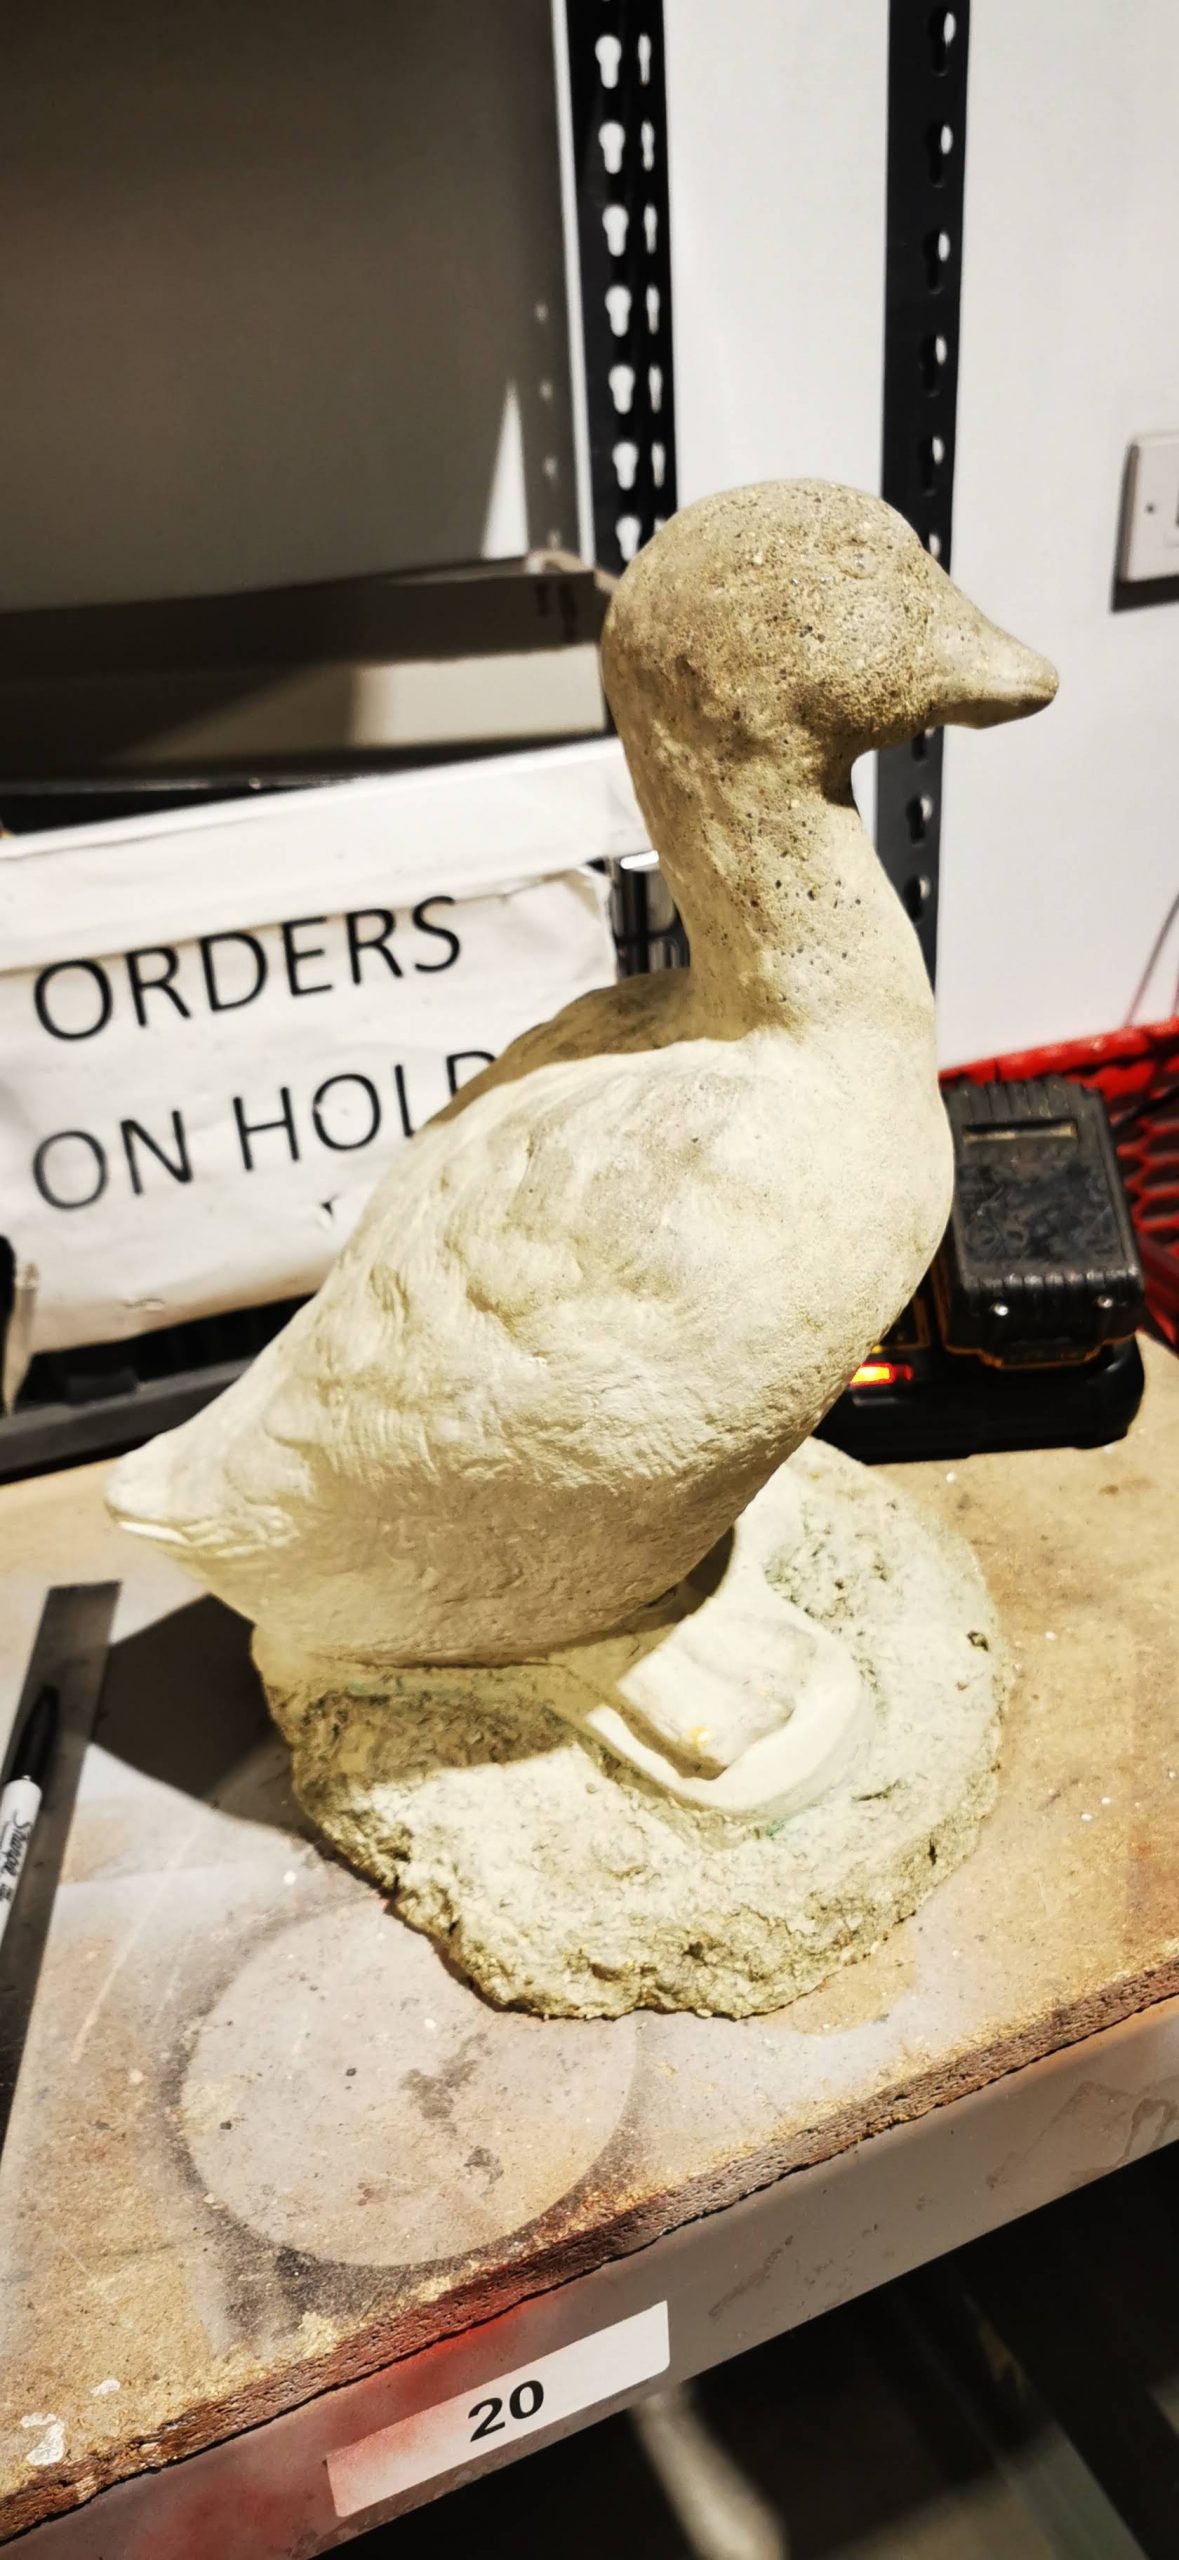
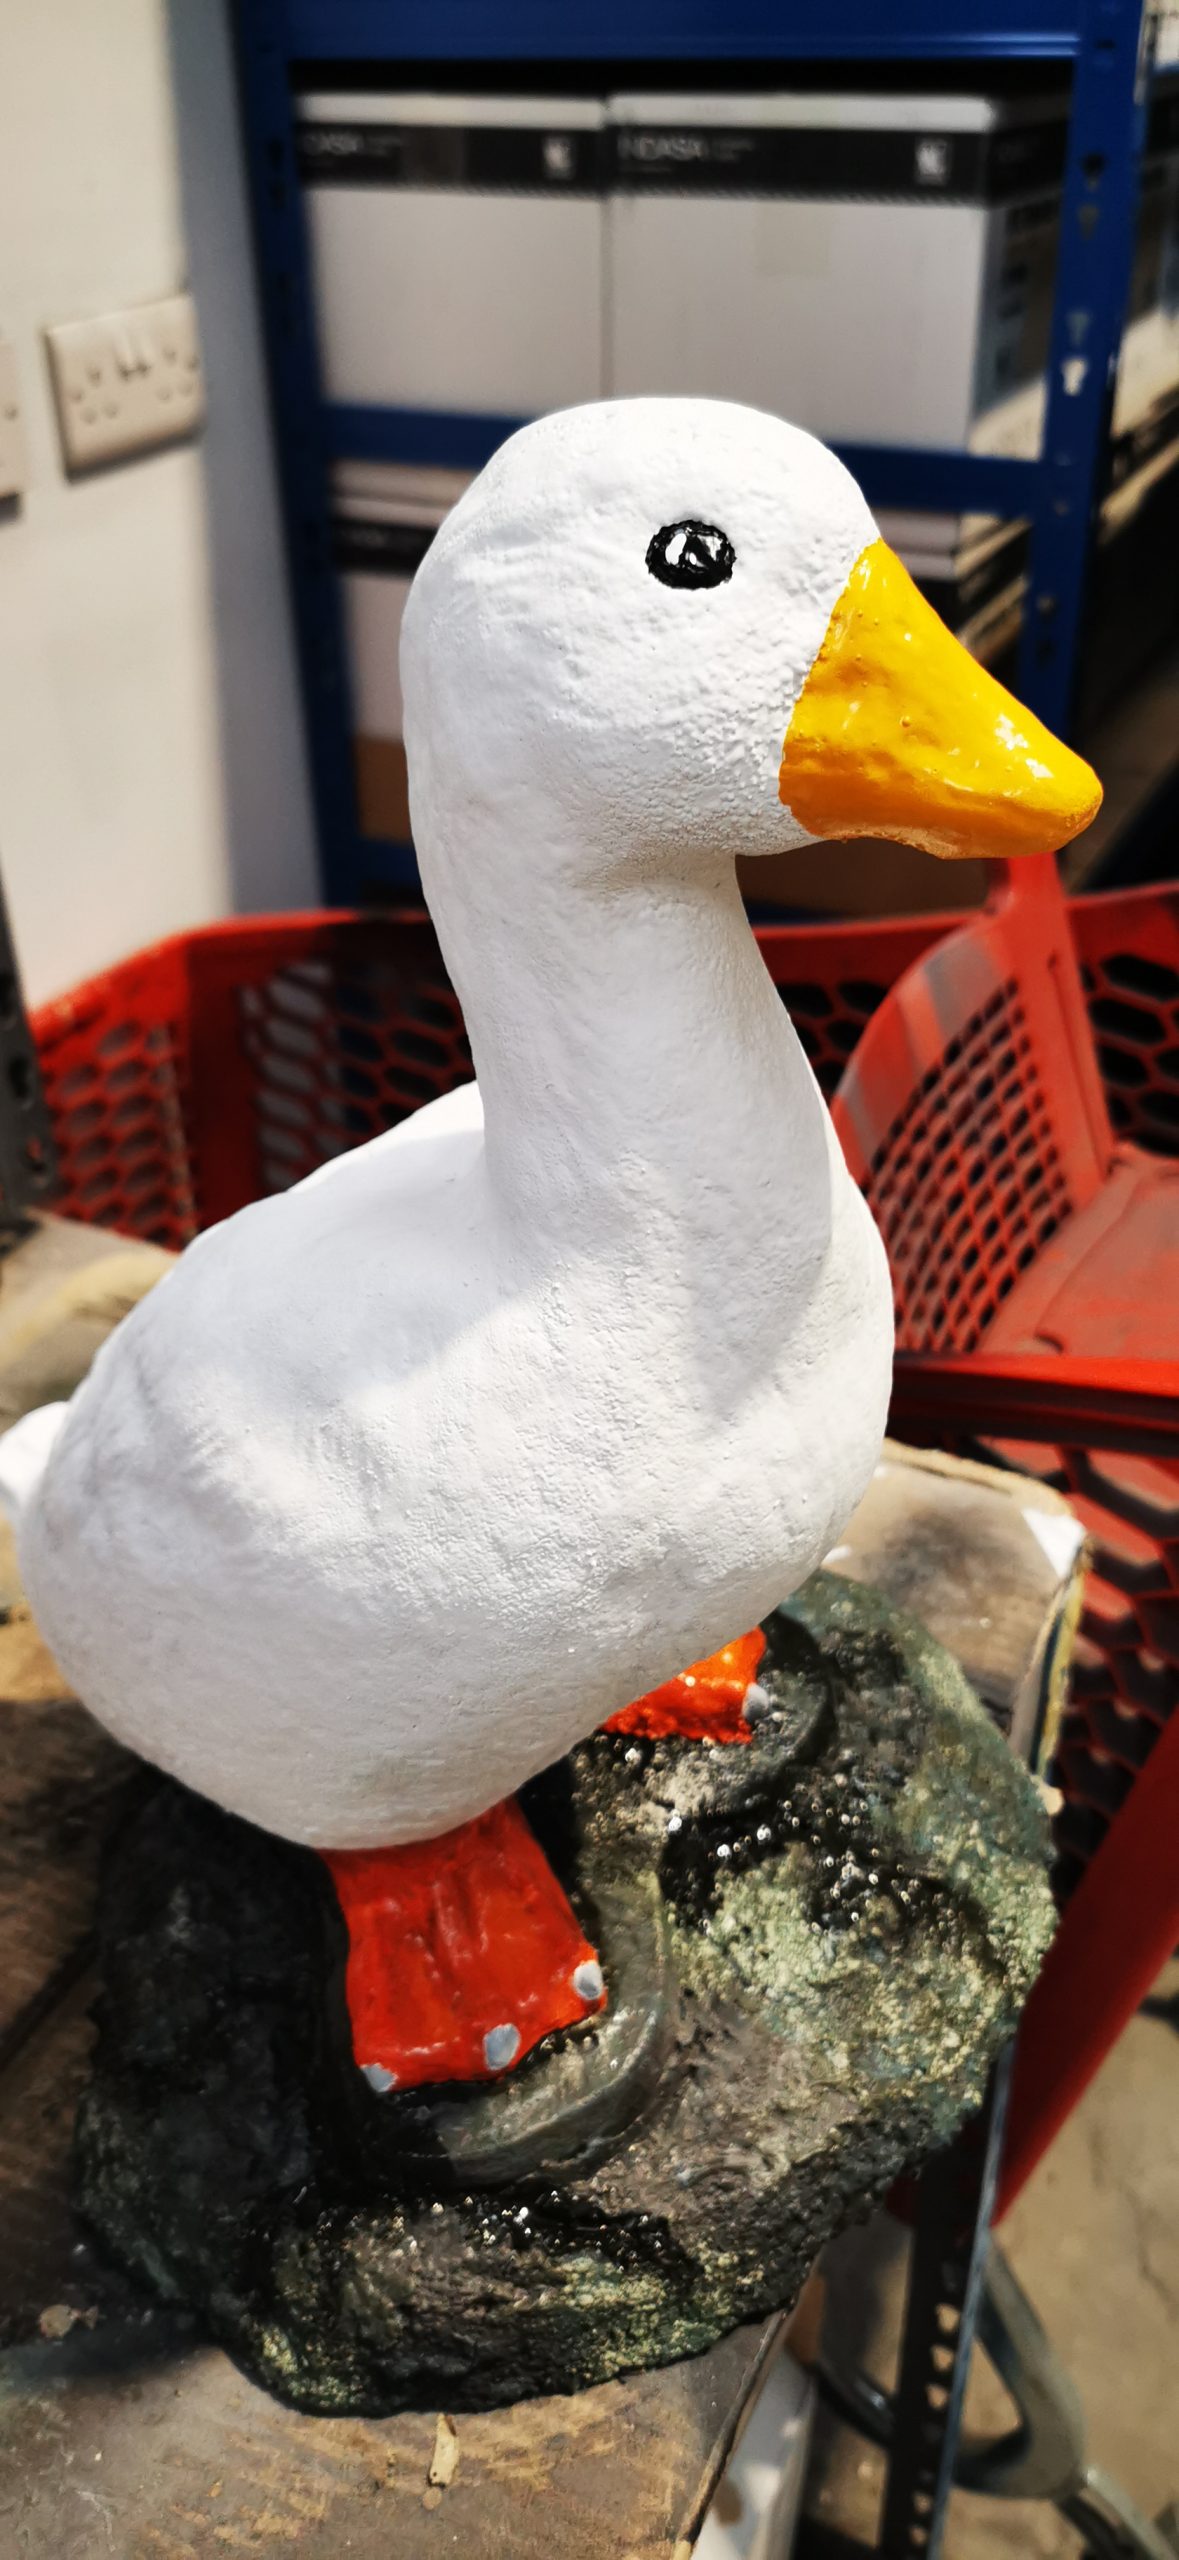
Joe came to us with a project involving a 50-year-old duck ornament which he needed help refurbishing to make it look as good as new. He used the following steps to prep, paint and finish the surface and what excellent results!
Tools:
- Metal Rust Remover Disc
- RAL 9910 2K Filler Primer
- Multiple Colours In Acrylic
- 2K Satin Lacquer
- 2K Gloss Lacquer
The Prep:
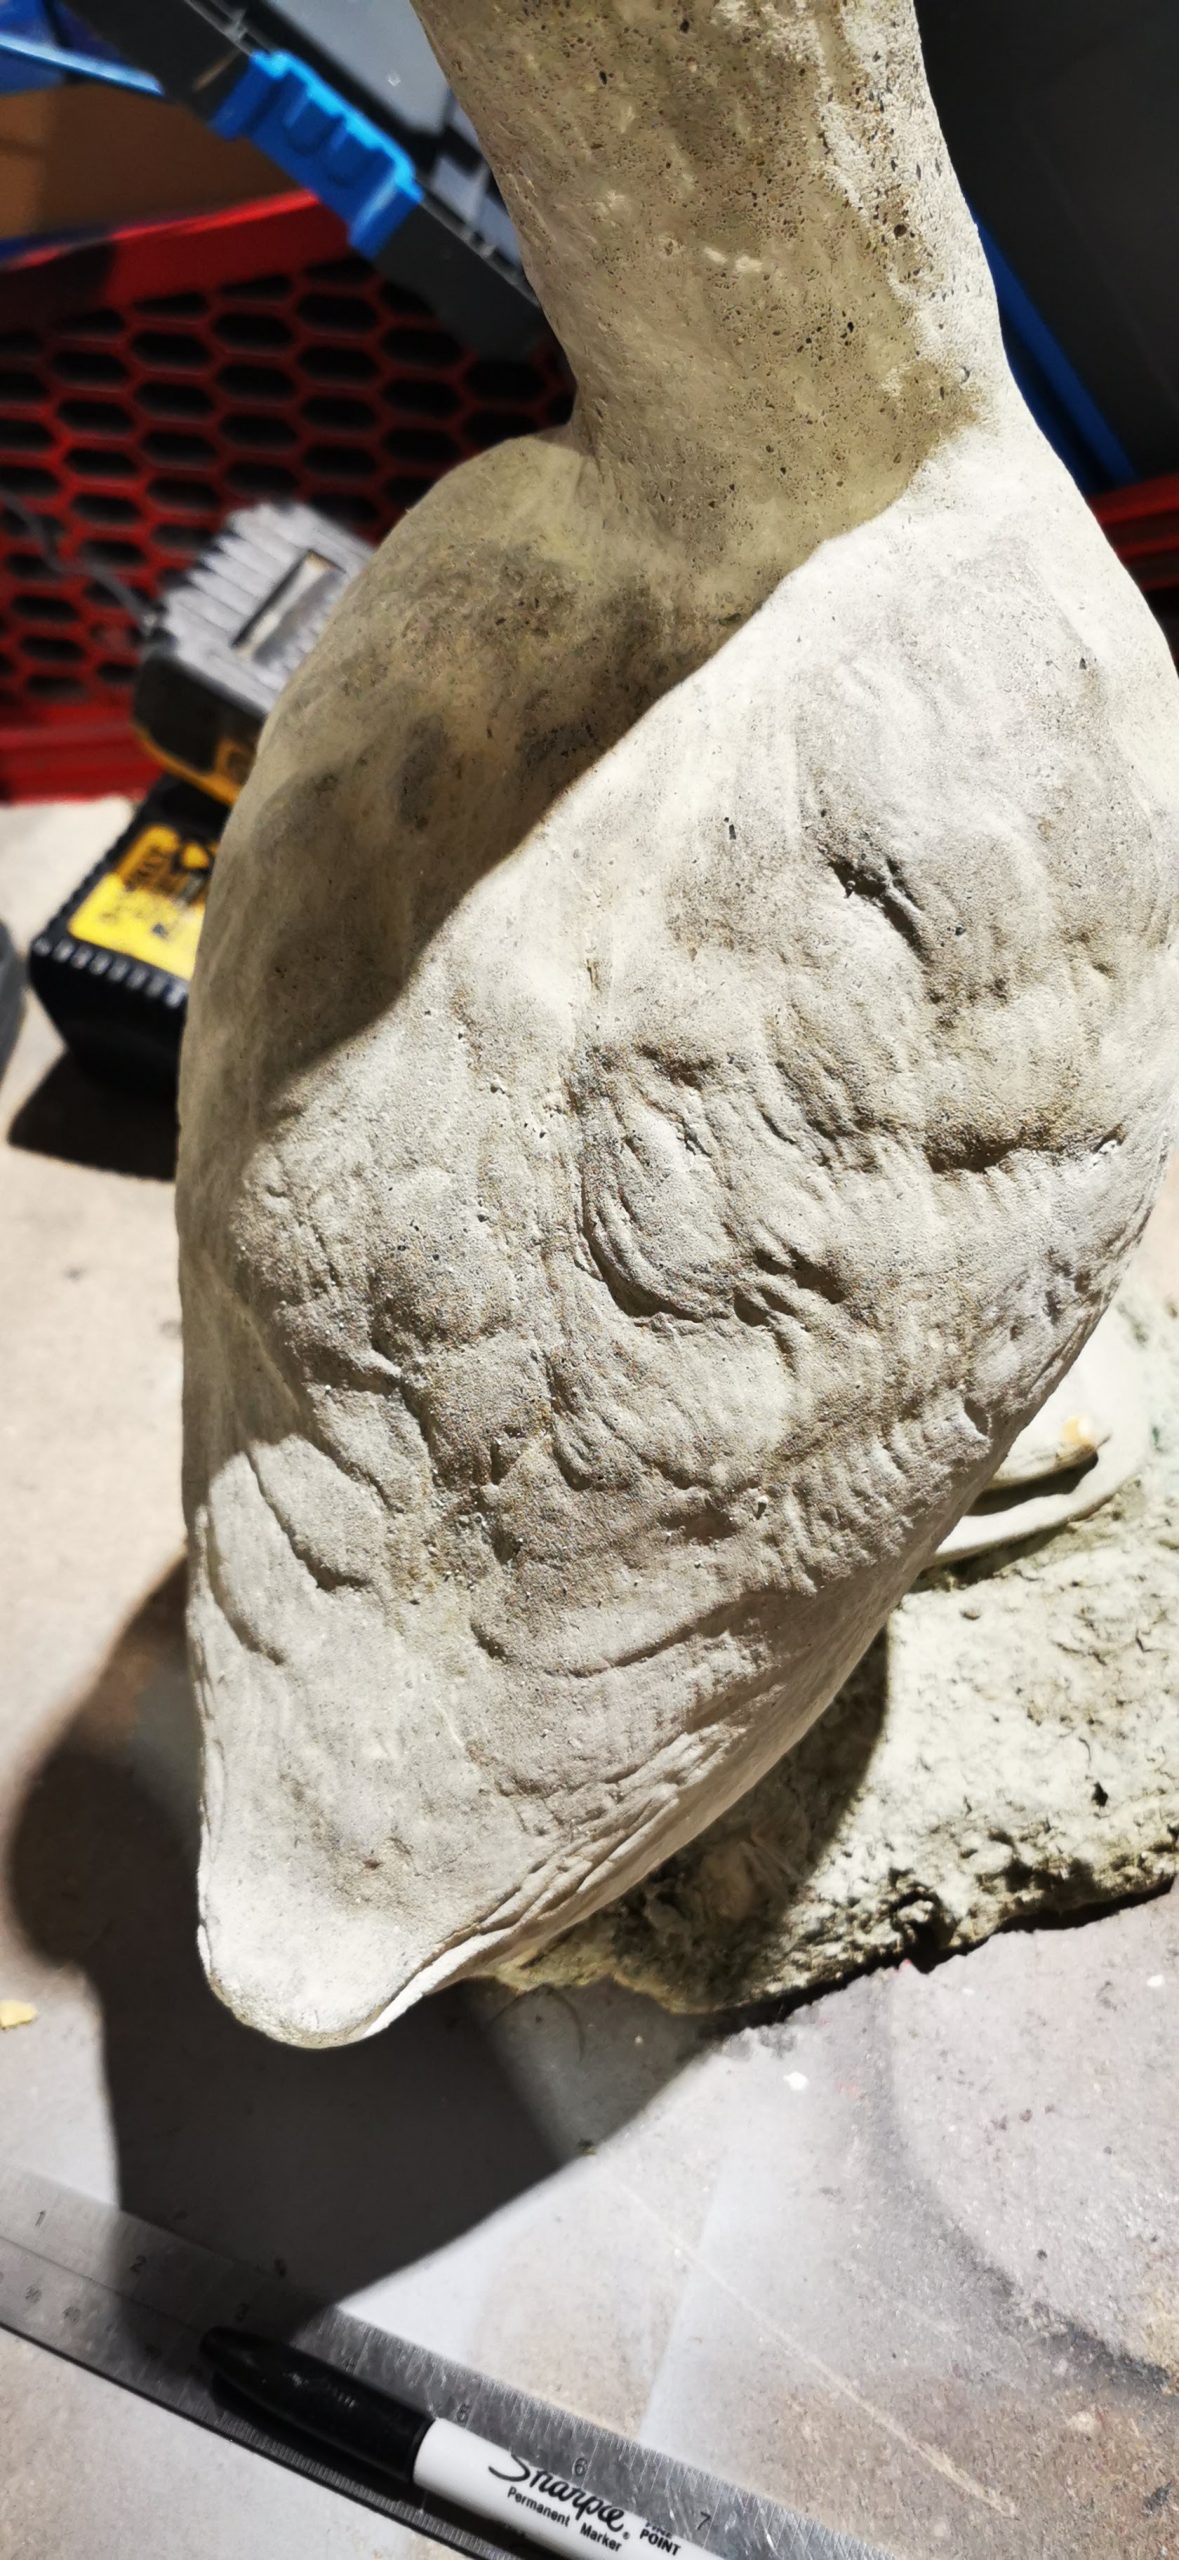
This 50-year-old duck had been painted a few times before, but the paint hadn’t taken to it properly. So if you have a similar situation, the first step would be to remove all paint by scrubbing it with a wire brush.
You may need to use a metal rust removal wire disc for the harder parts. This will allow you to get the remainder of the paint off. The duck was made from concrete, so it was very sturdy, but this would not be recommended on a weaker model.
Once all the debris is completely removed, you can move on to paint.
The Base Coat:
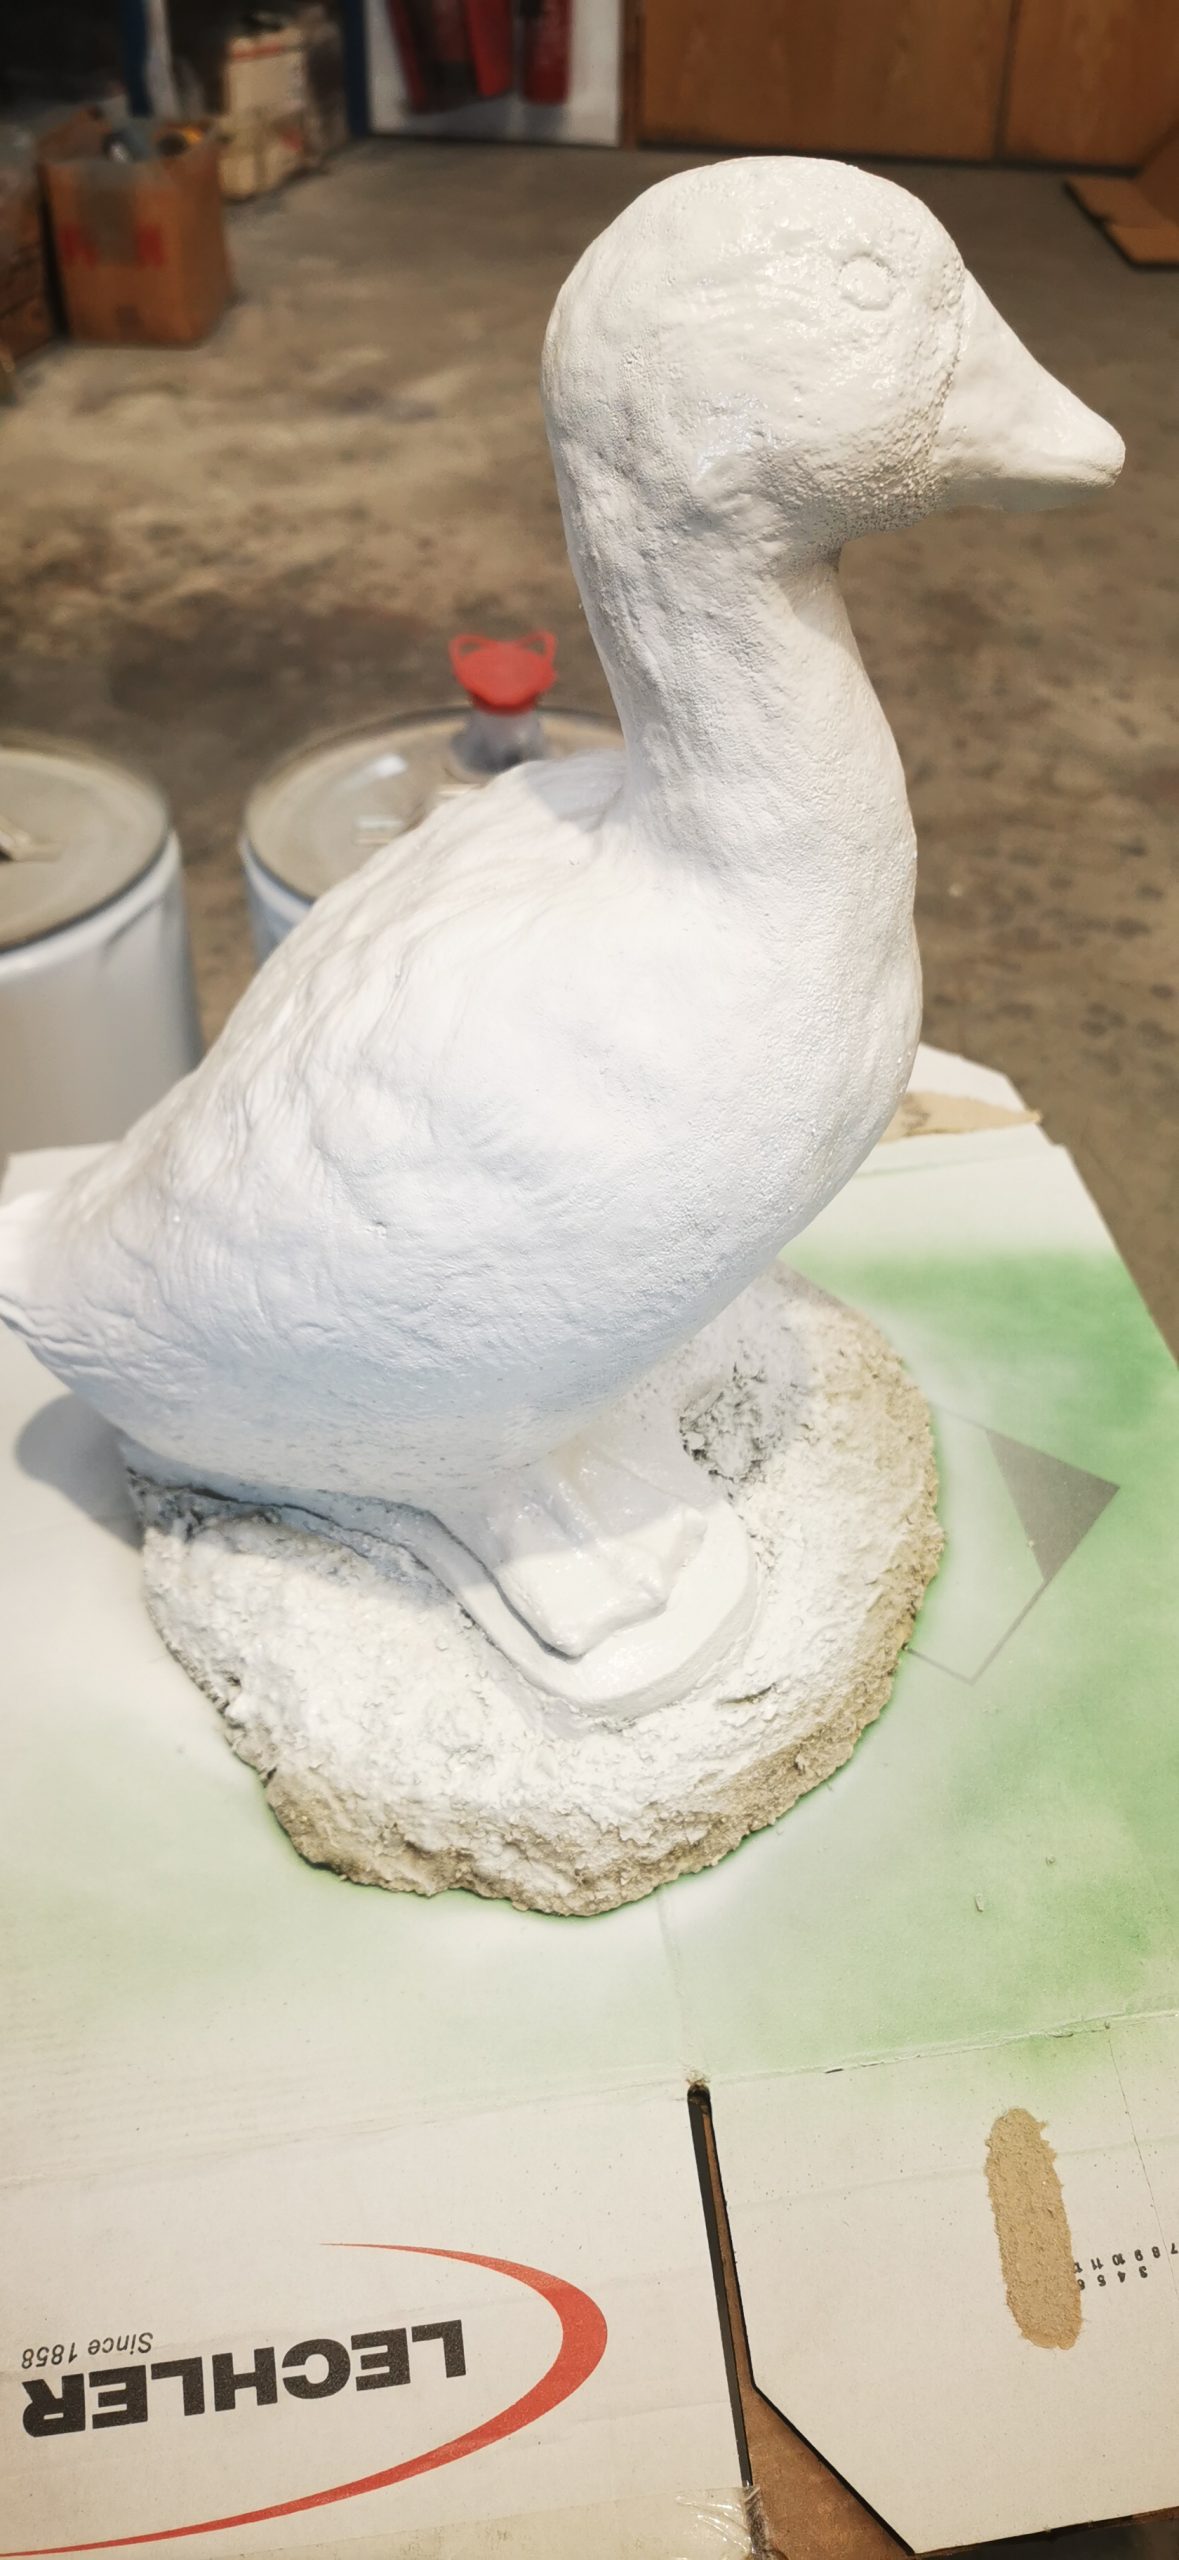
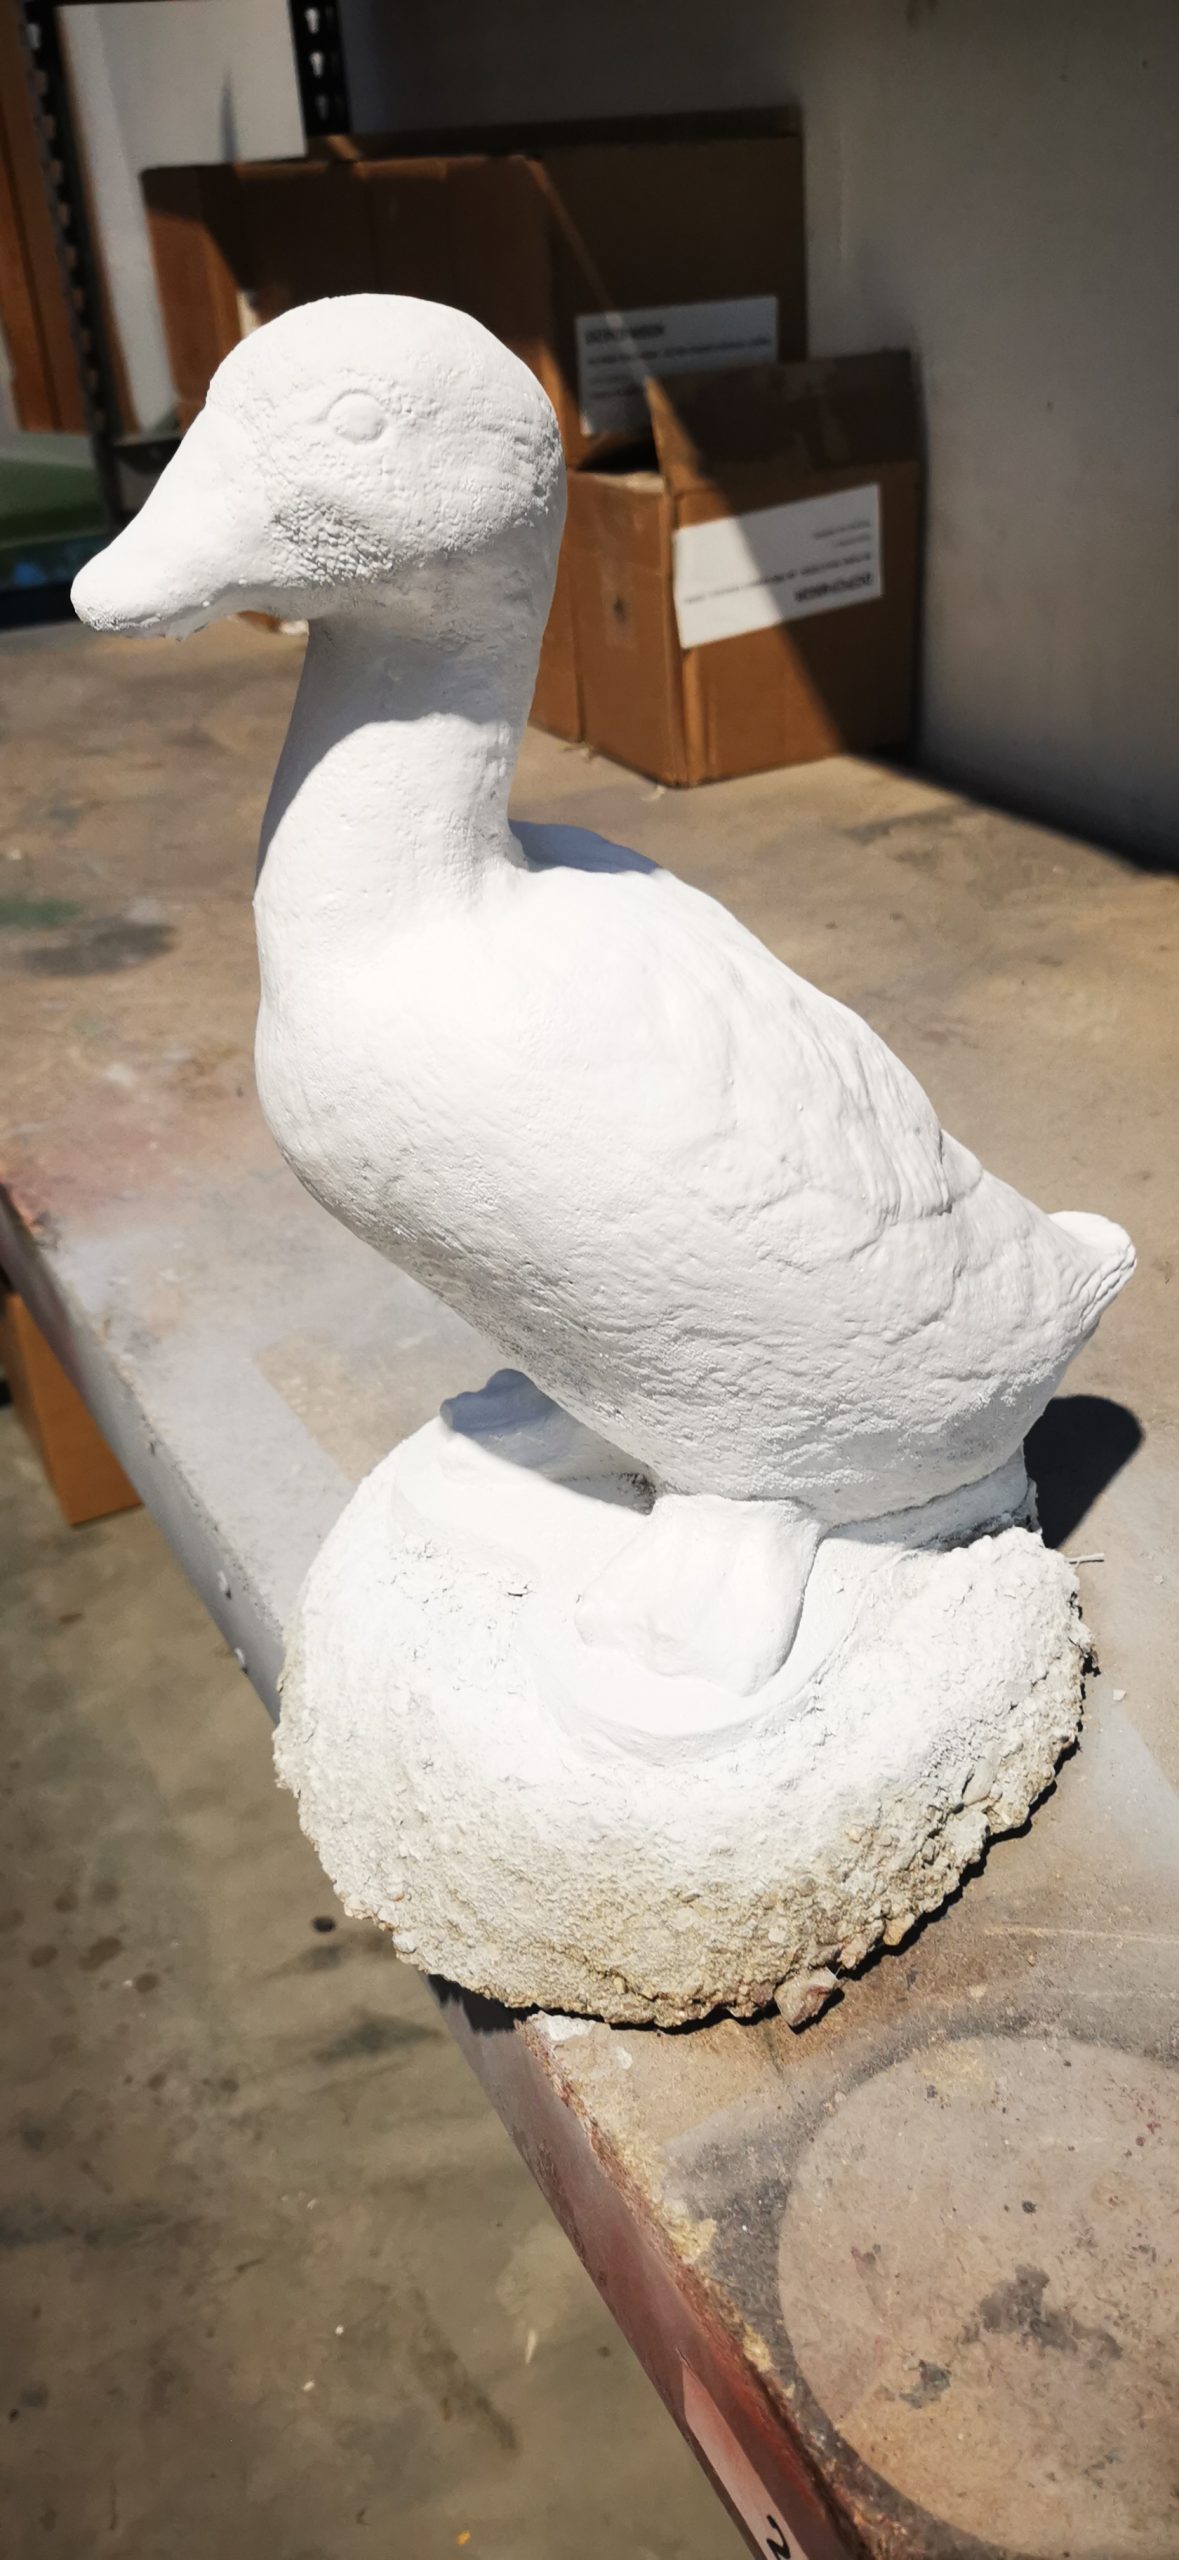
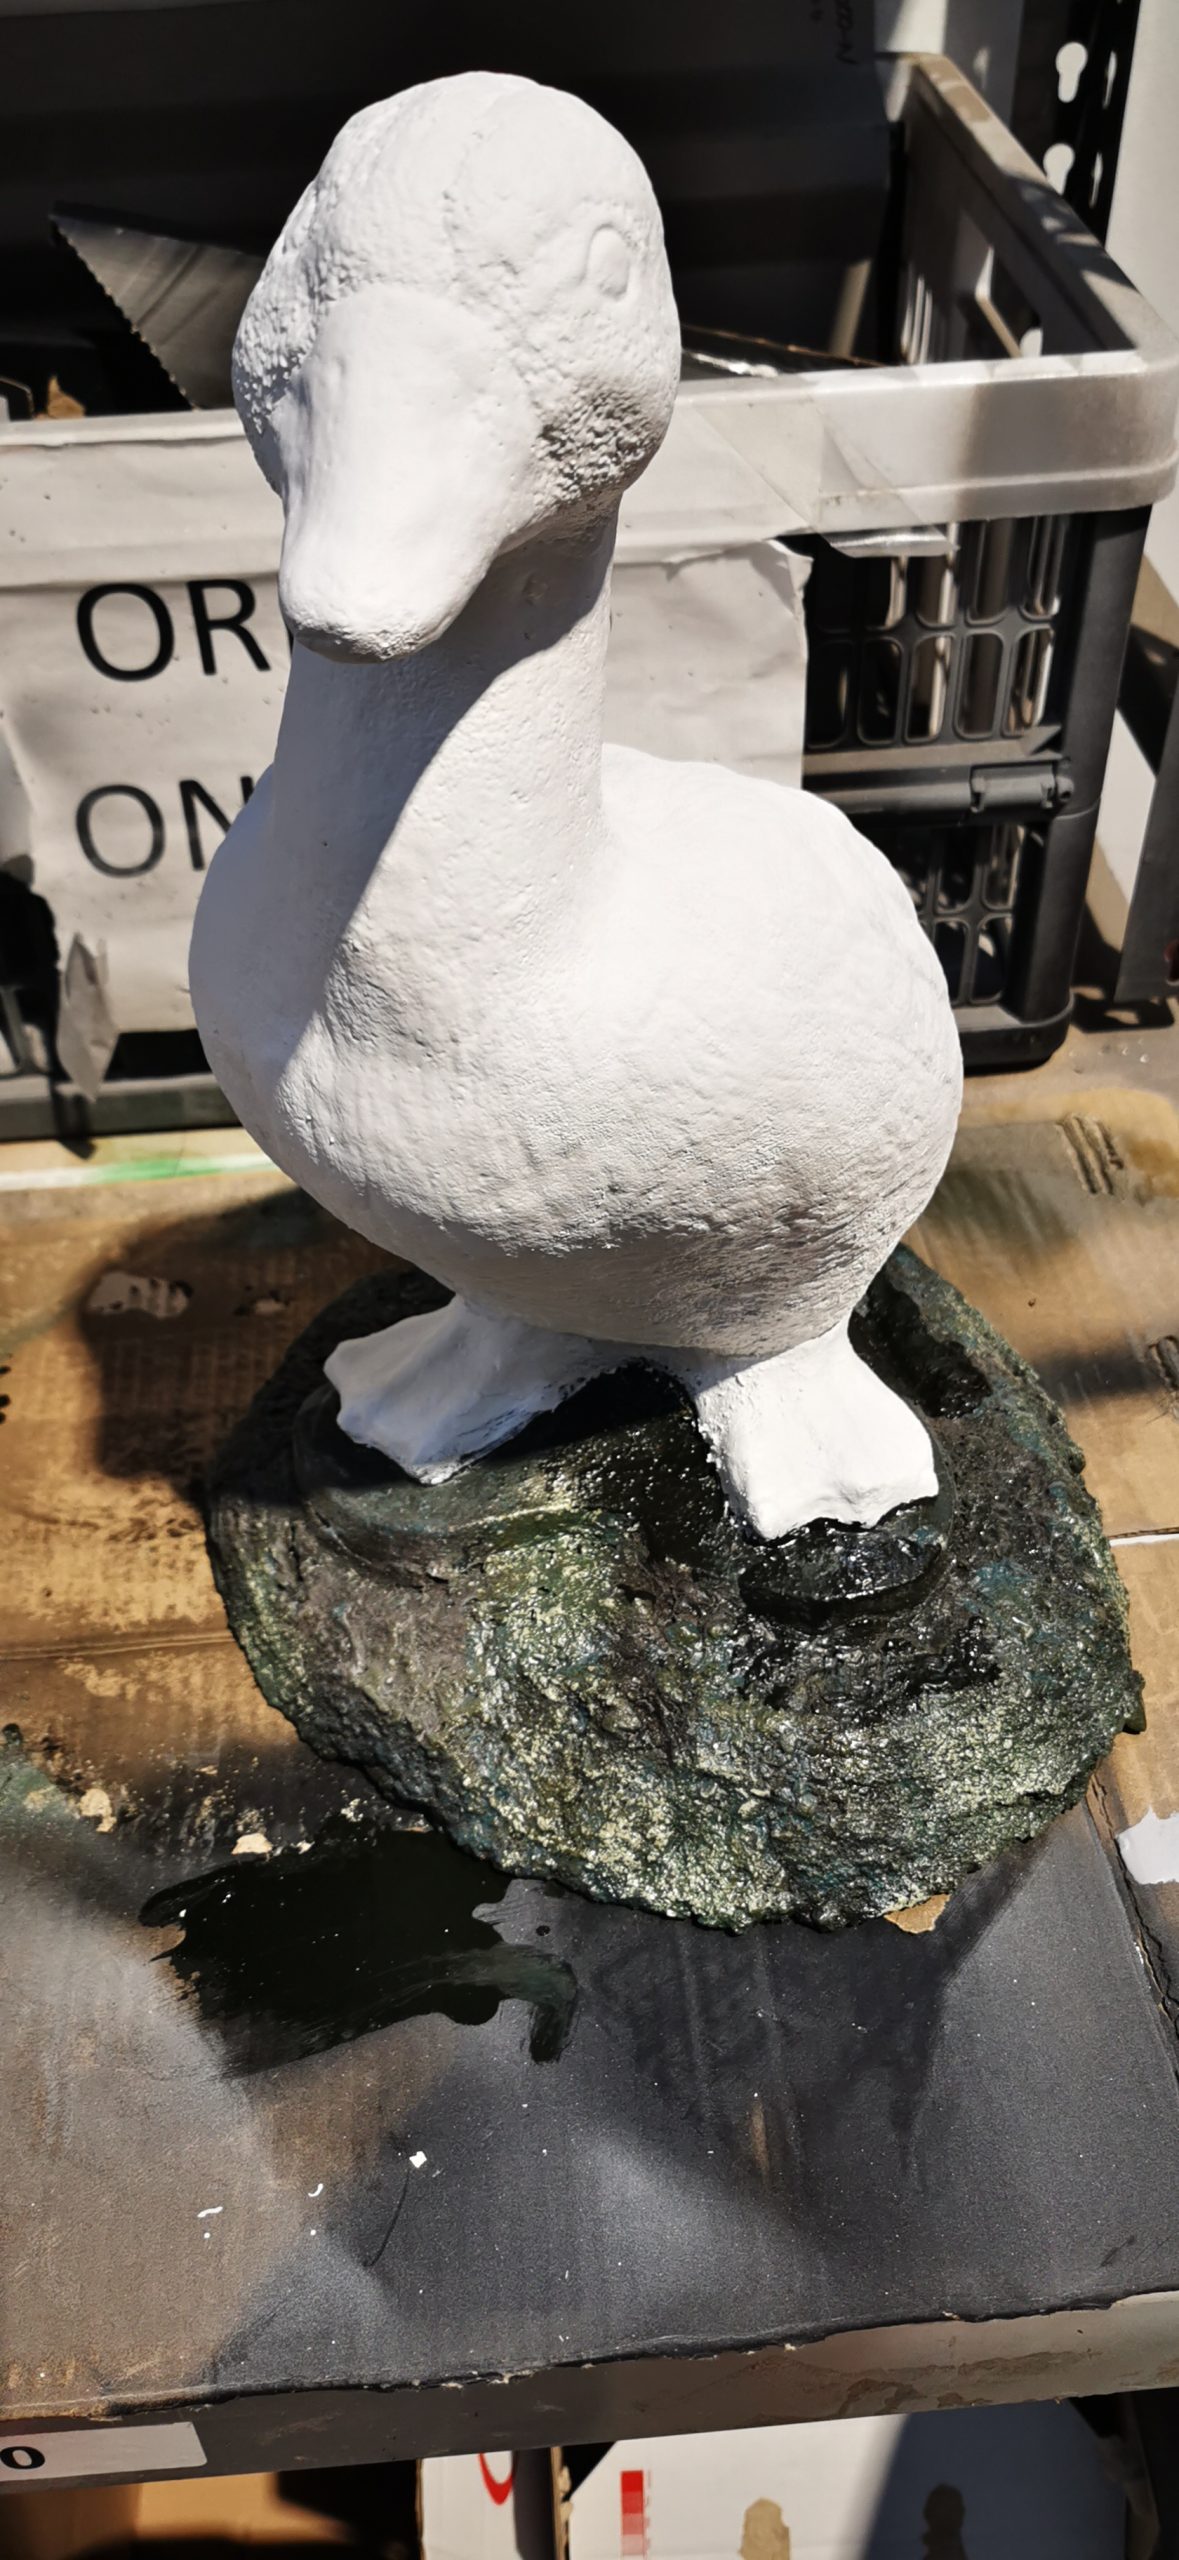
As the surface is very rough (concrete), we recommend opting for a full cover of 2K Filler Primer in RAL 9910 (pure white) to help smooth the surface. Apply three coats at 40-minute intervals around room temperature, then leave to cure overnight.
Effect Coat:
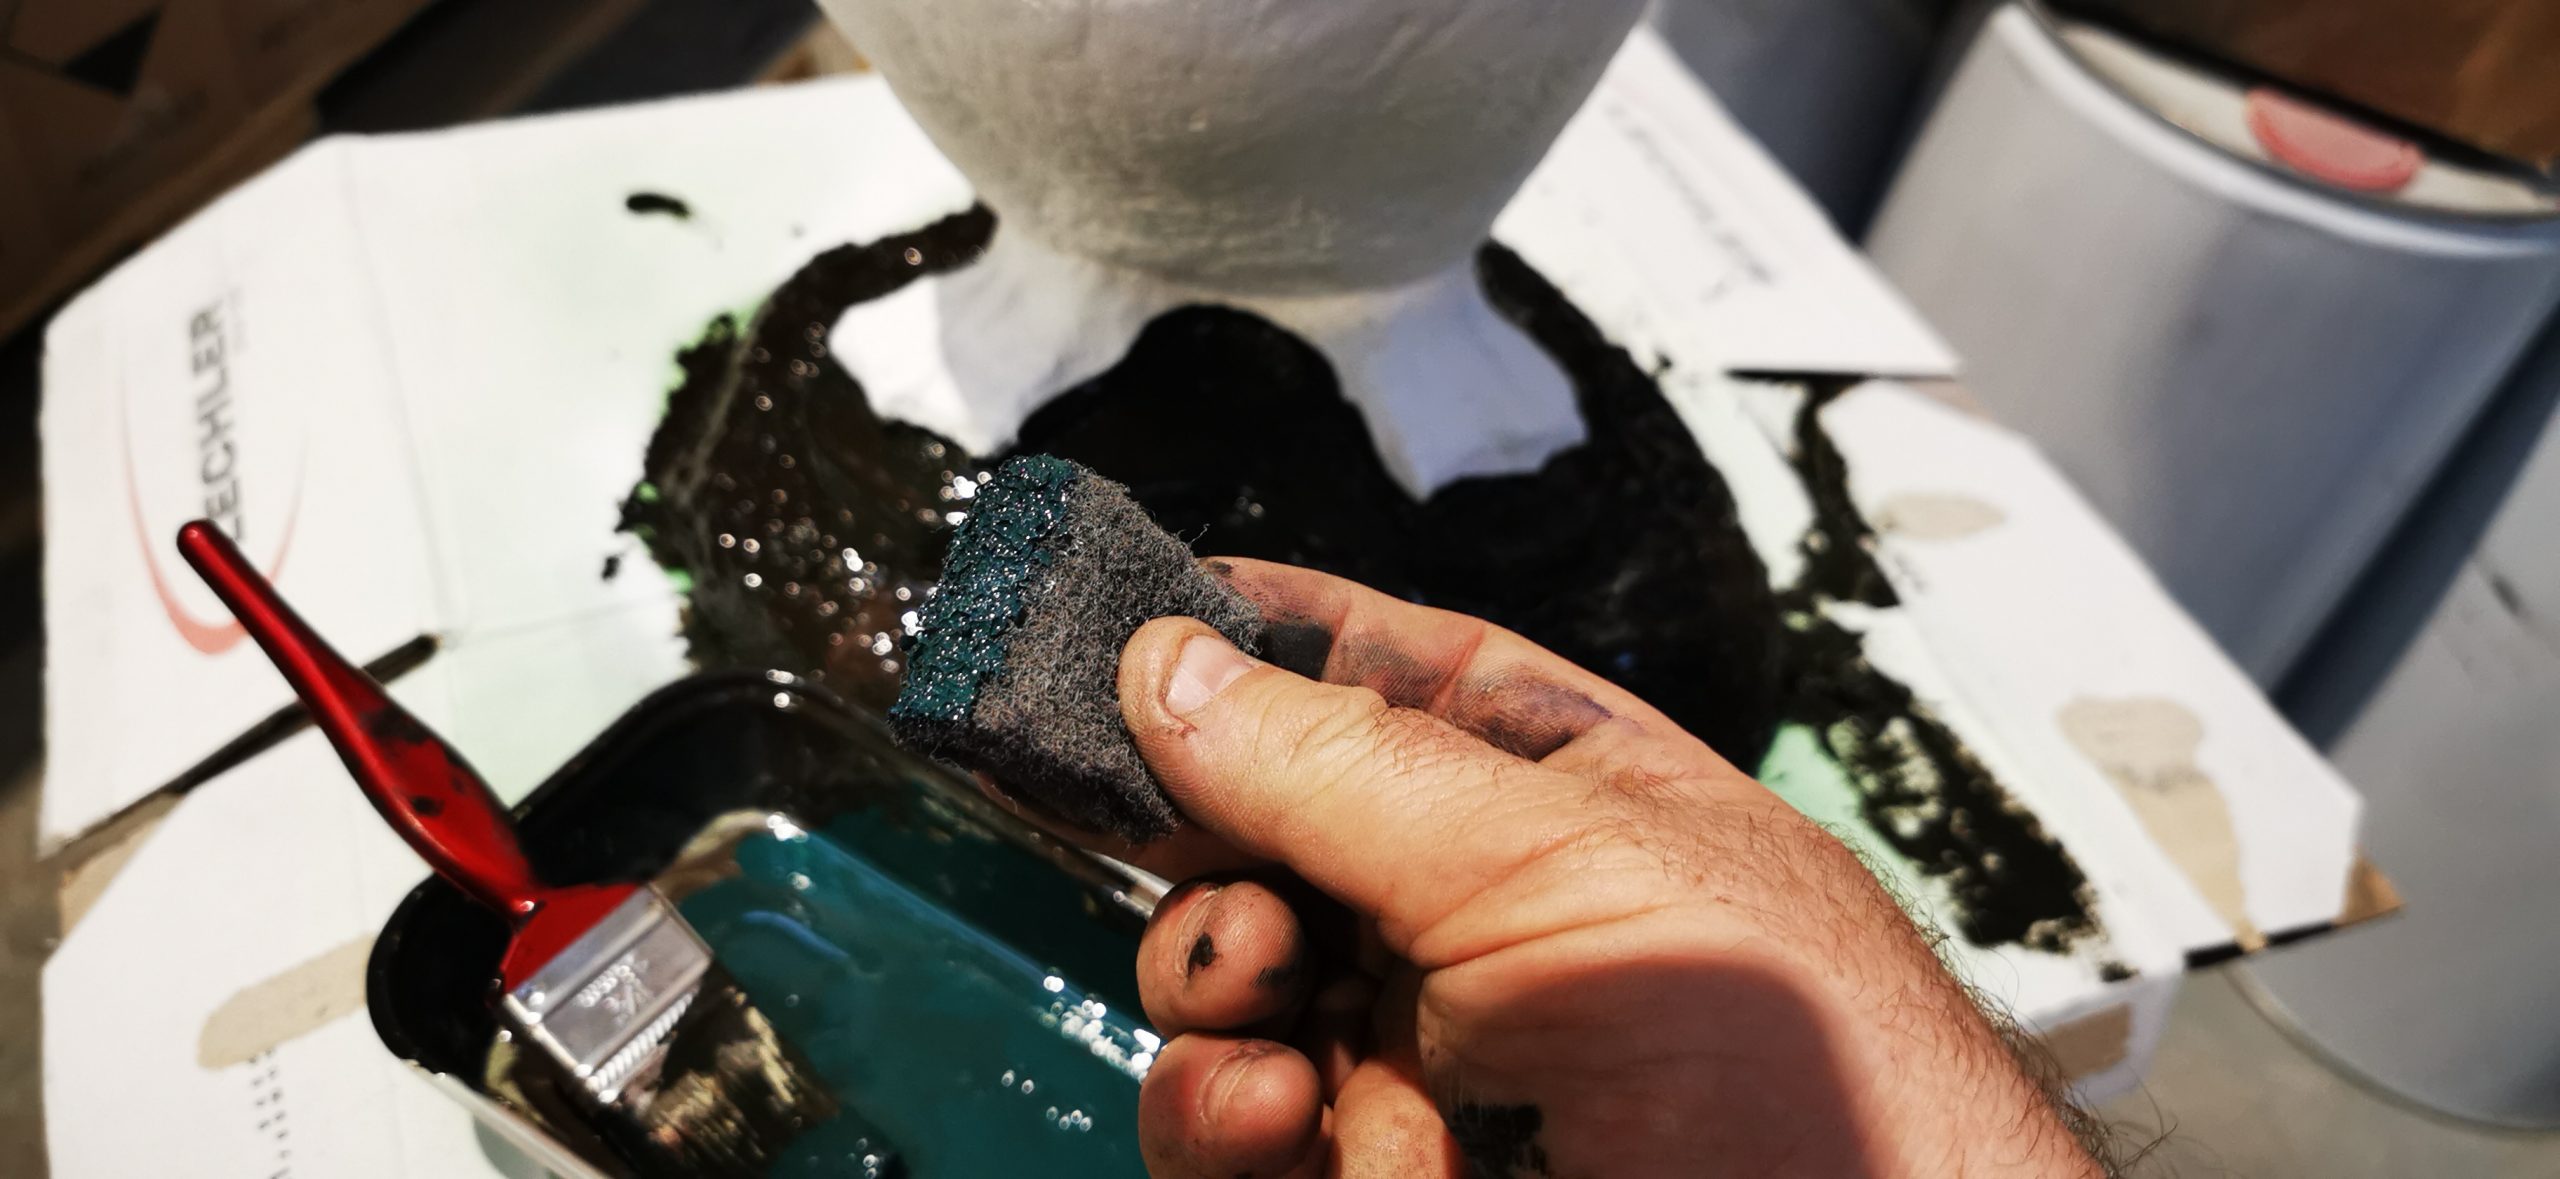
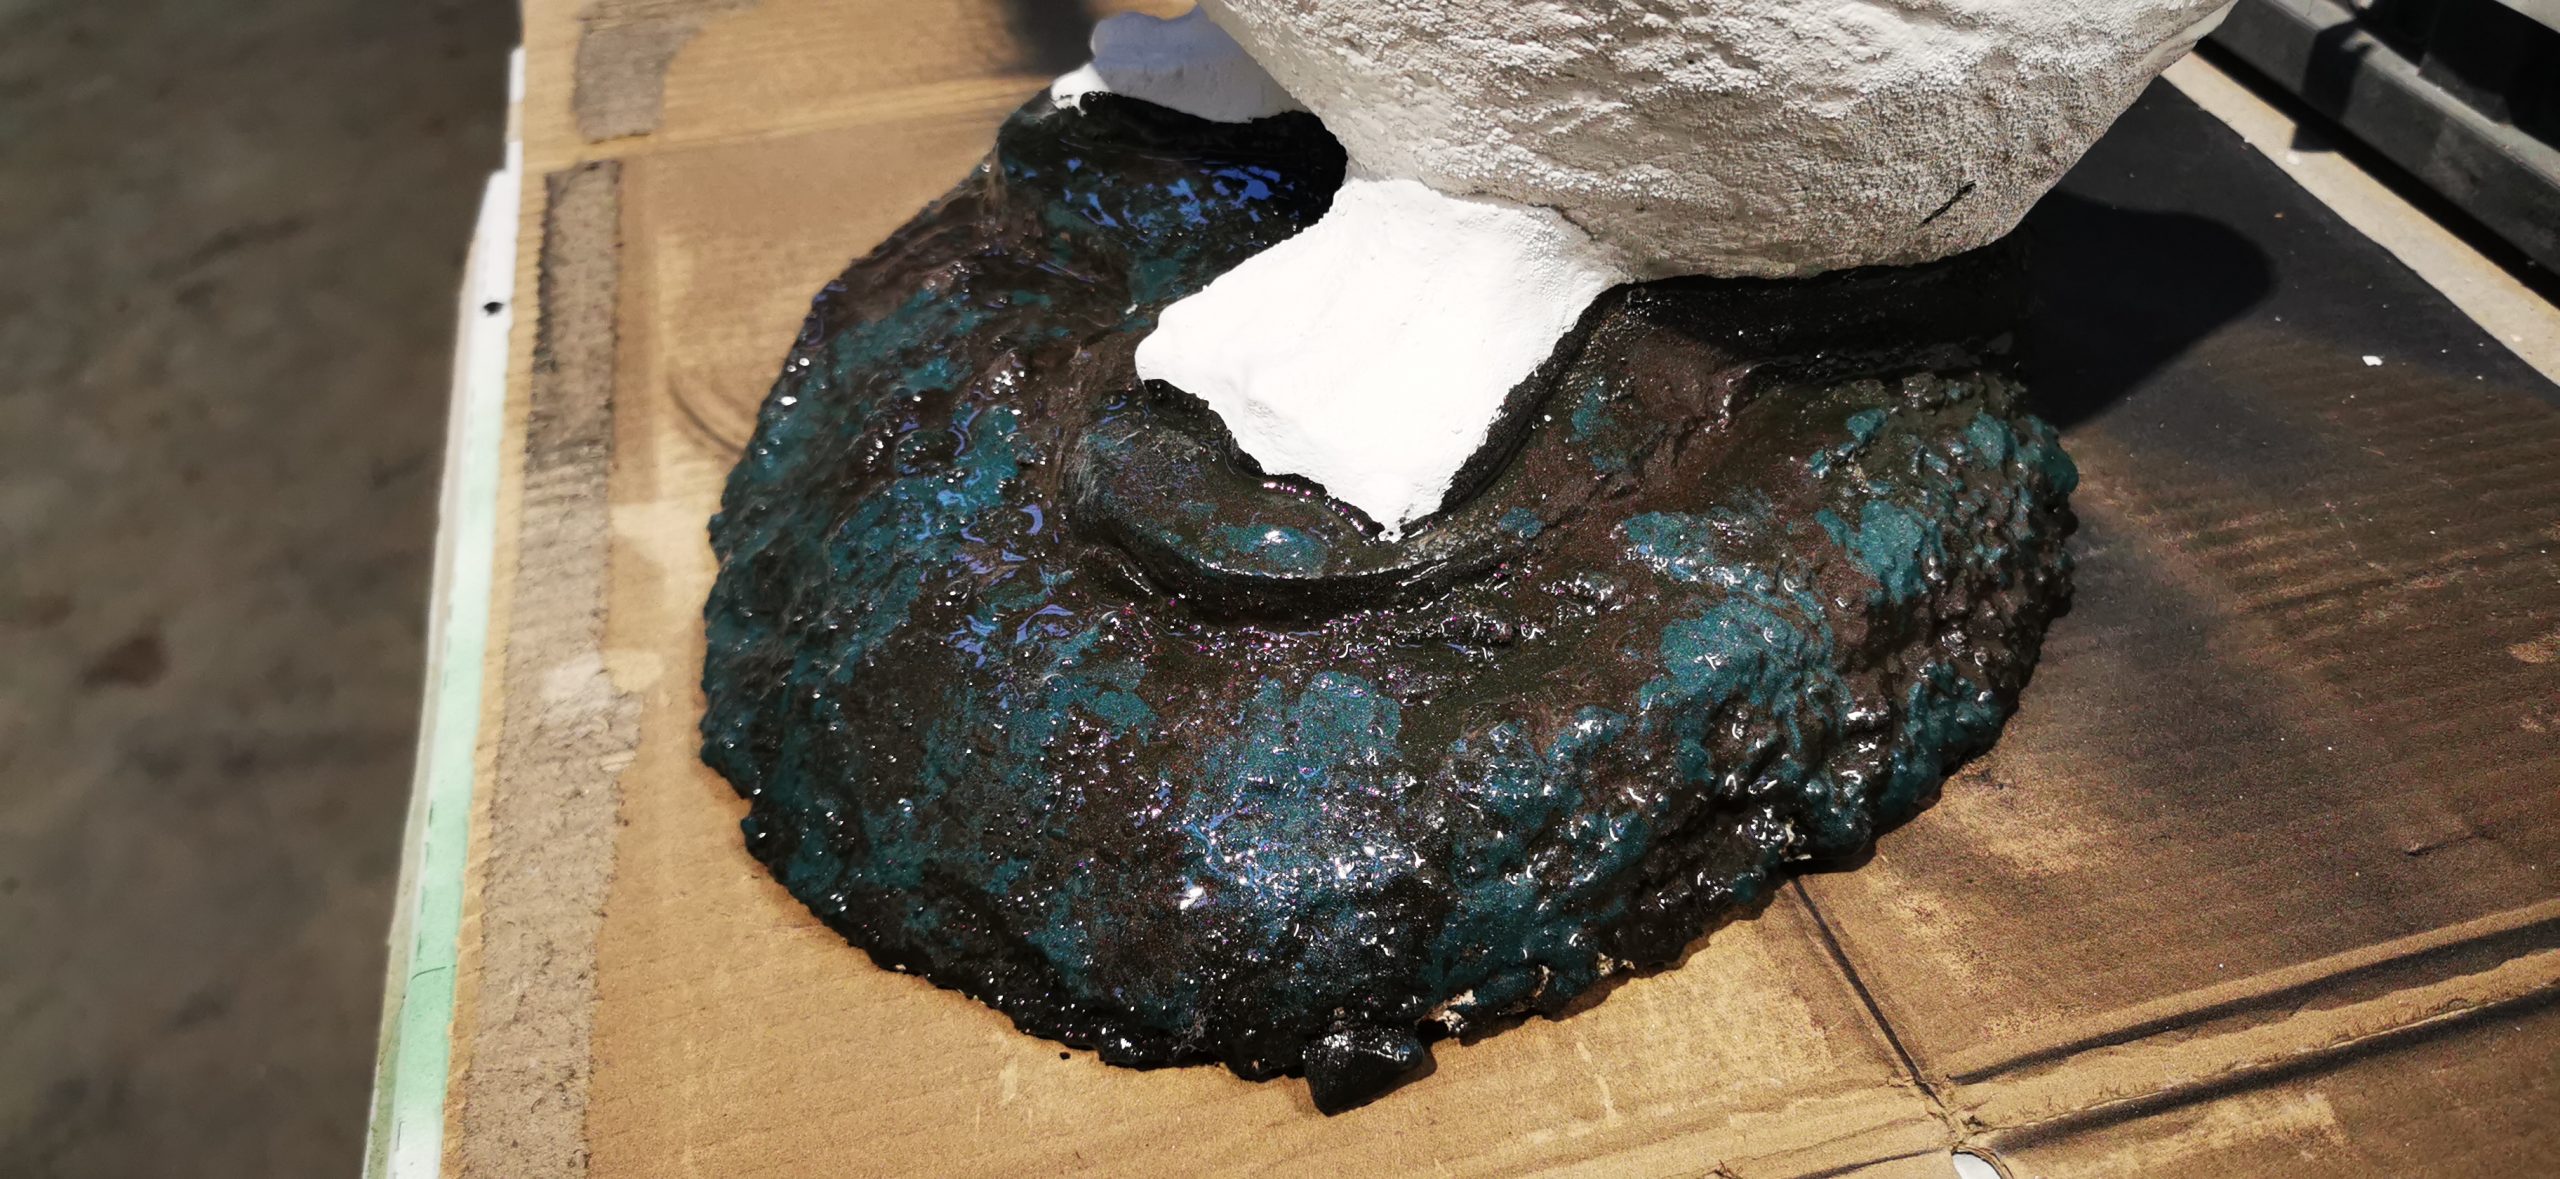
We used pictures of the real Hereford duck for reference. Use Acrylic Paint to refurbish the duck, starting with the duck’s ground, and choose several browns and greens to create a muddy and mossy finish.
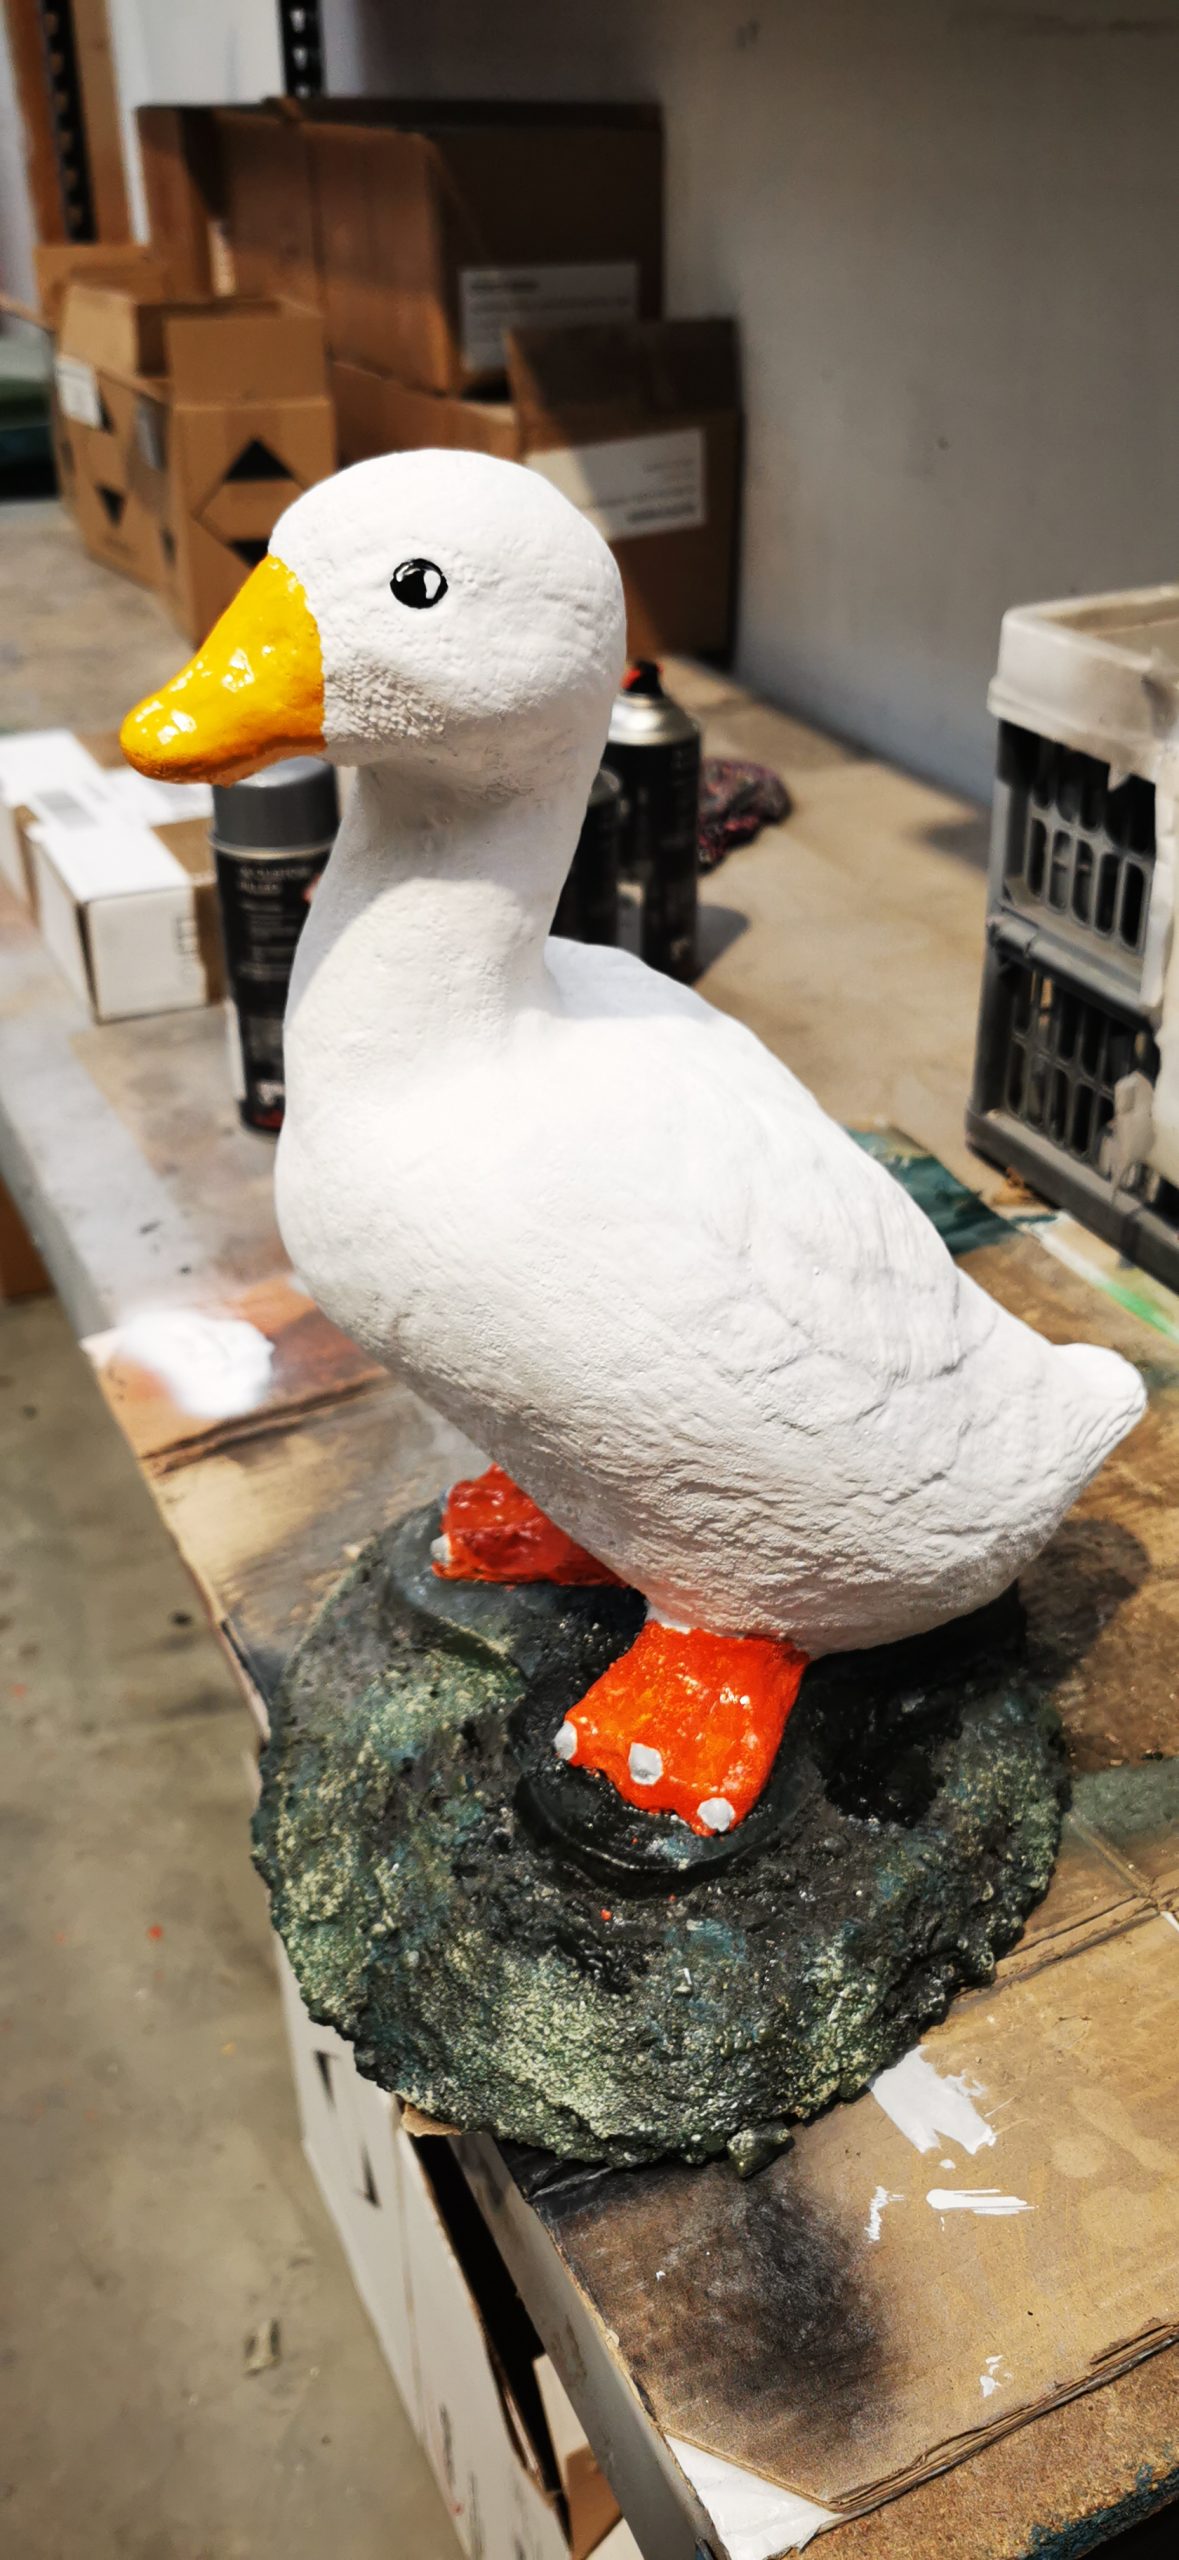
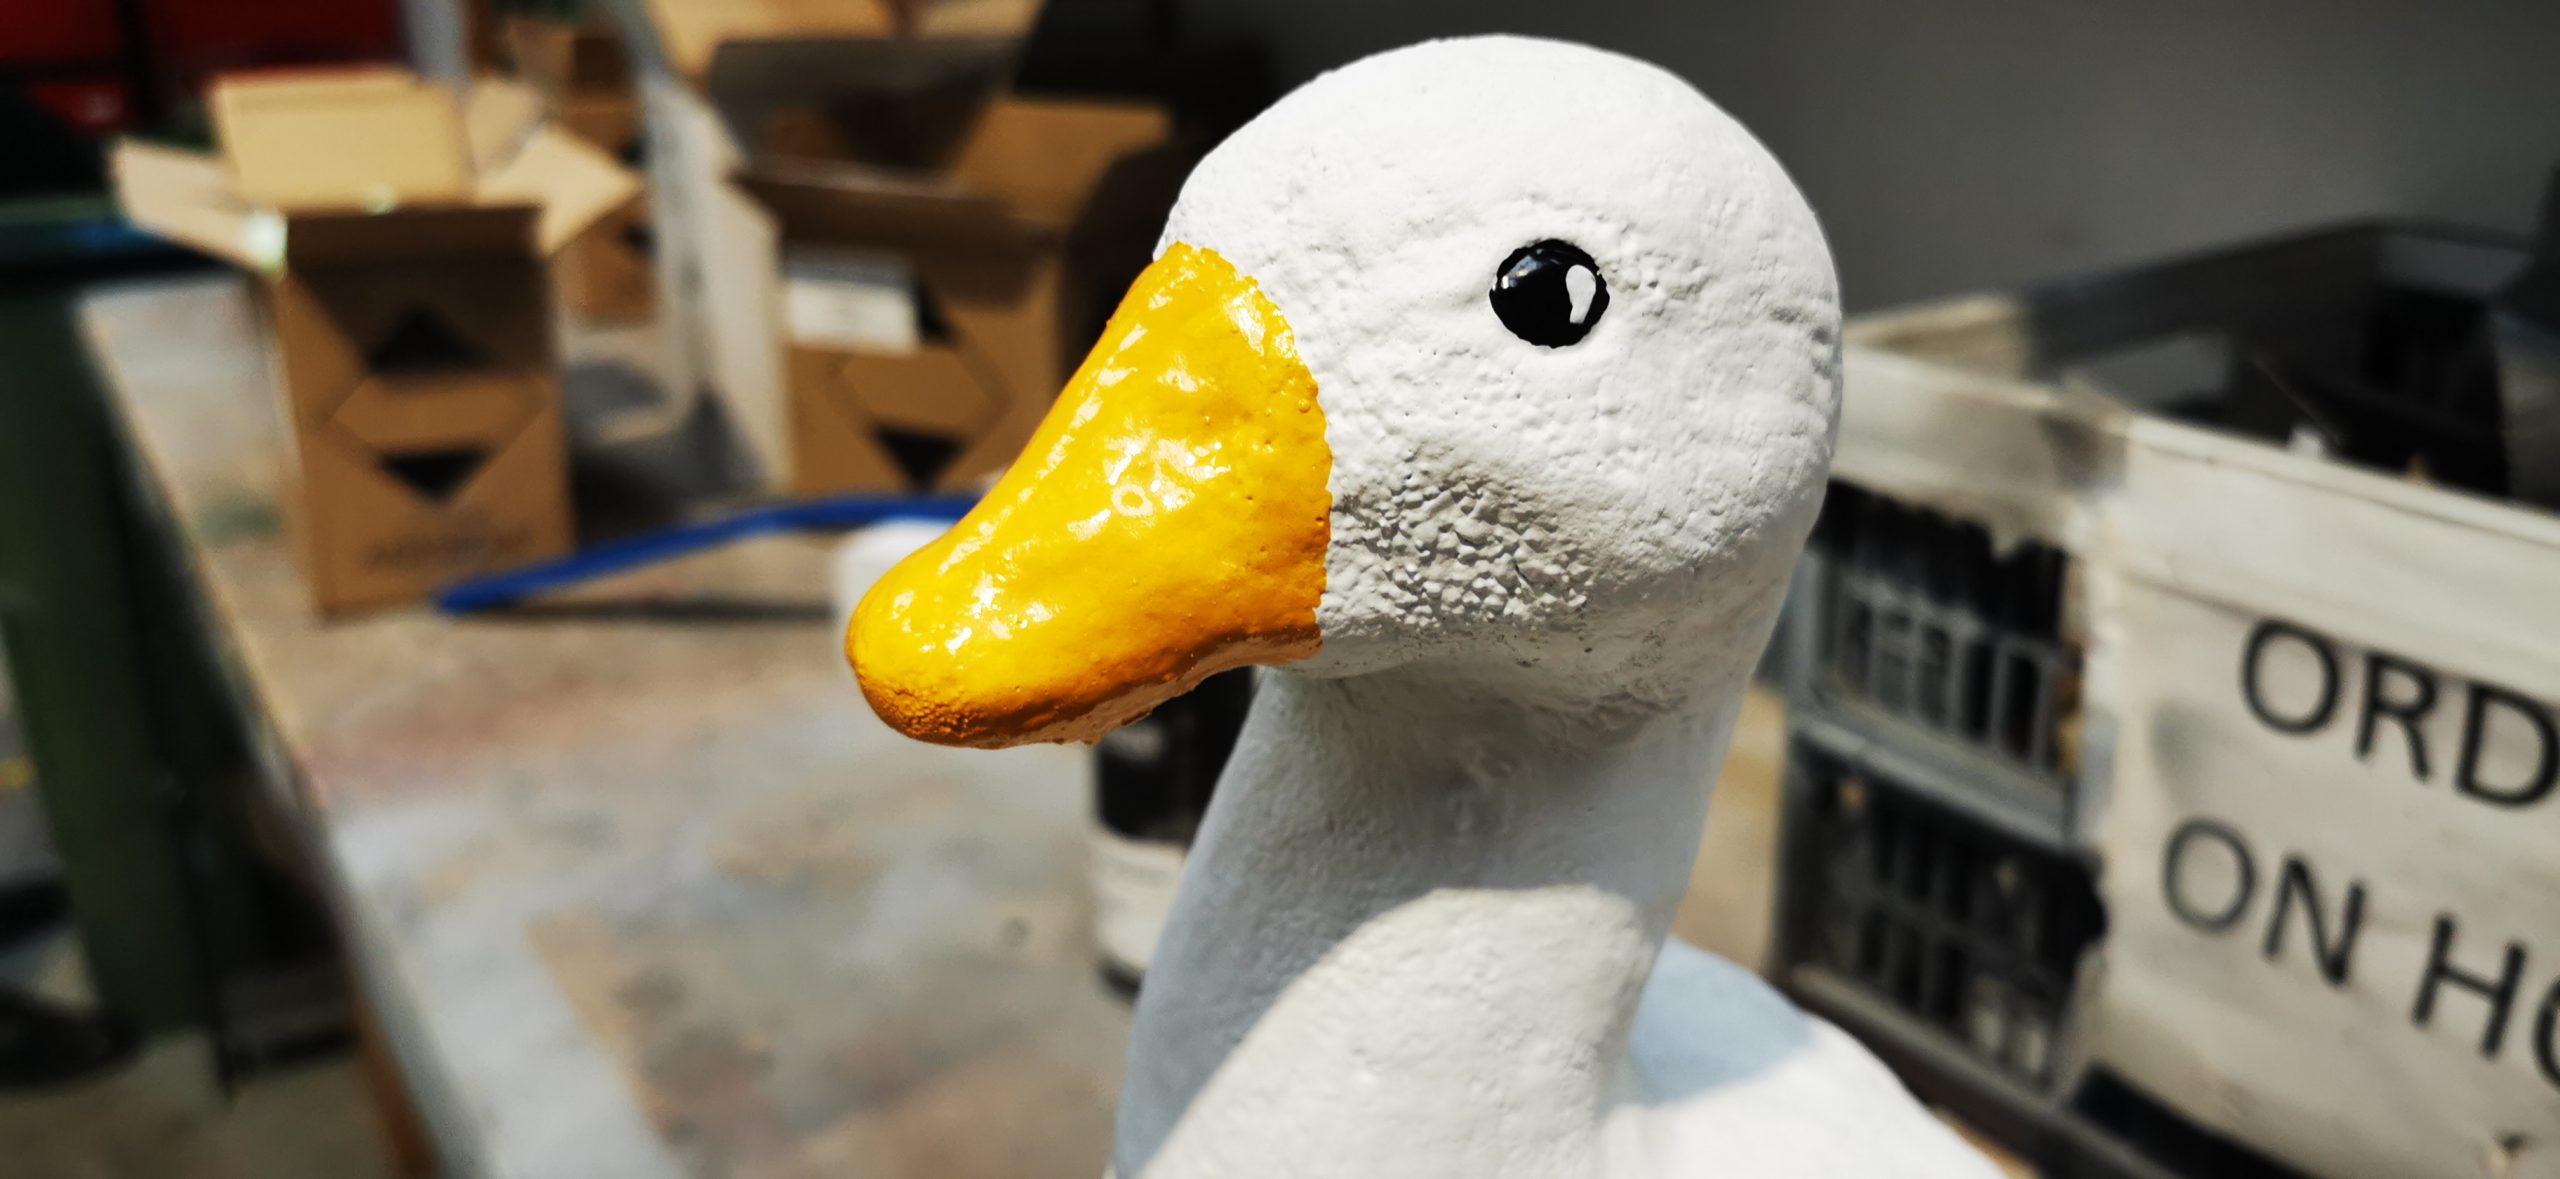
Then again, use Acrylic Paint and move on to choosing a colour for the beak and paint the eyes and other minor details.
The Top Coat:
Two lacquers are a good option as you may want to create a satin effect for the bird and a wet one for the ground. We recommend applying a 2K Satin Lacquer for the body and 2K Gloss for the legs then, make sure to leave them to cure overnight.
Final Word:
We loved being a part of this project, and Joe was more than impressed with the outcome.
Onwards to the next one.


