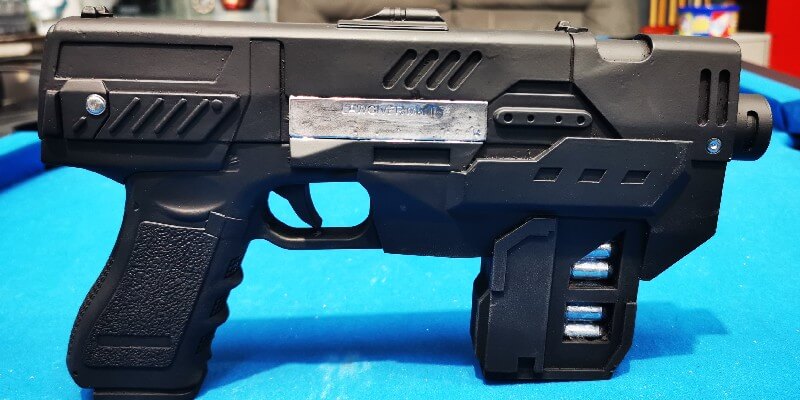
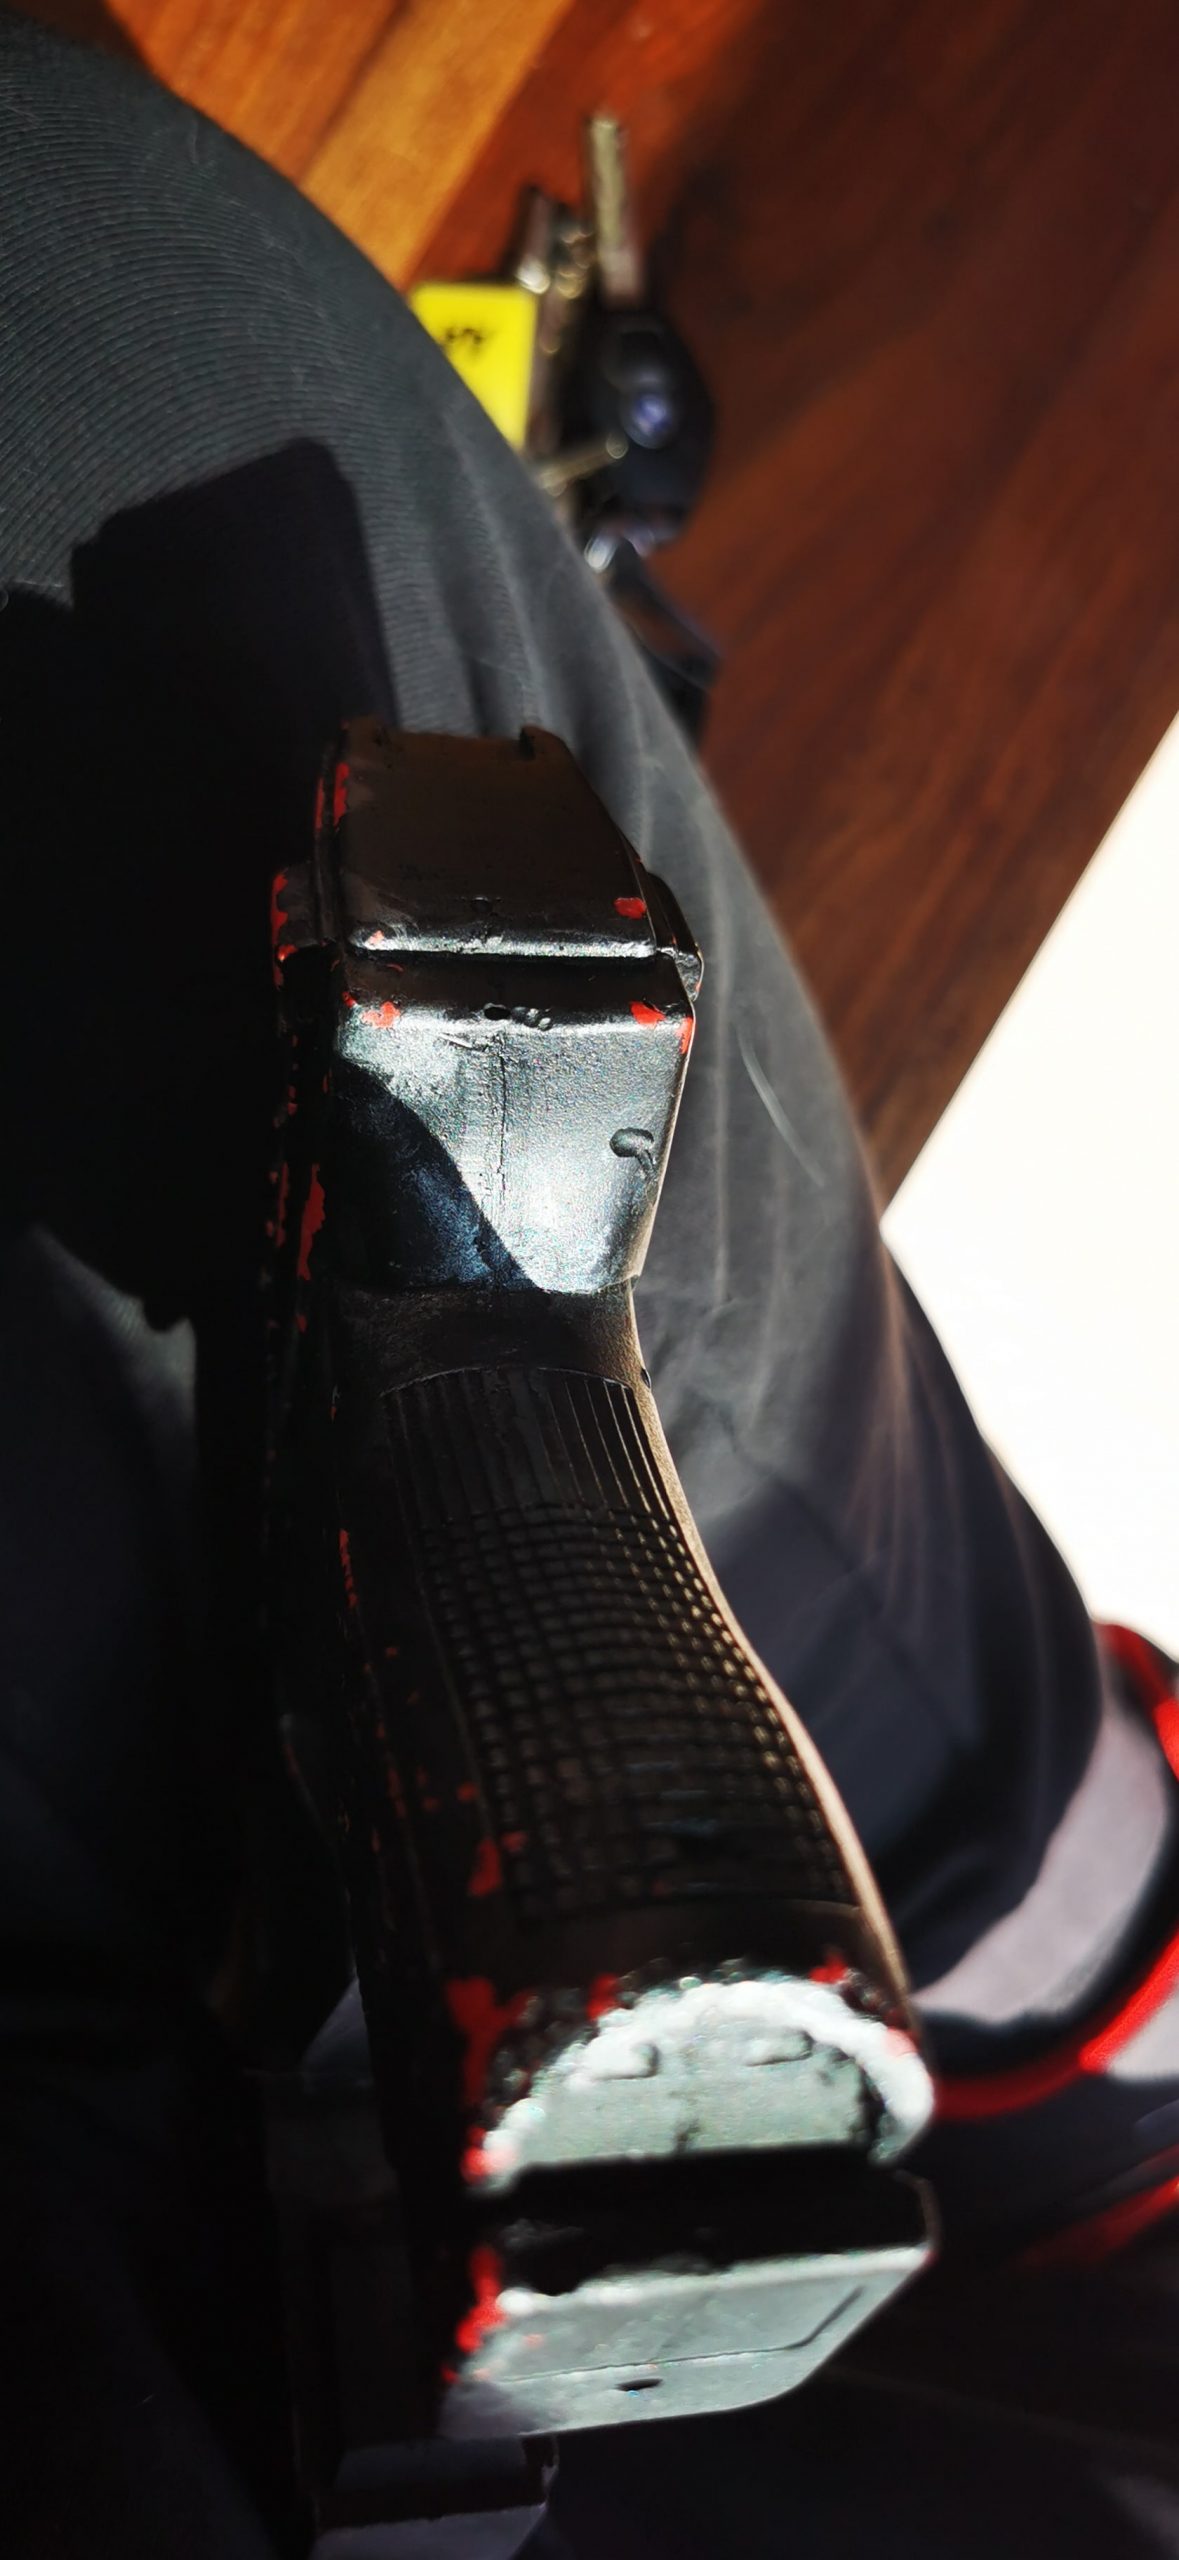
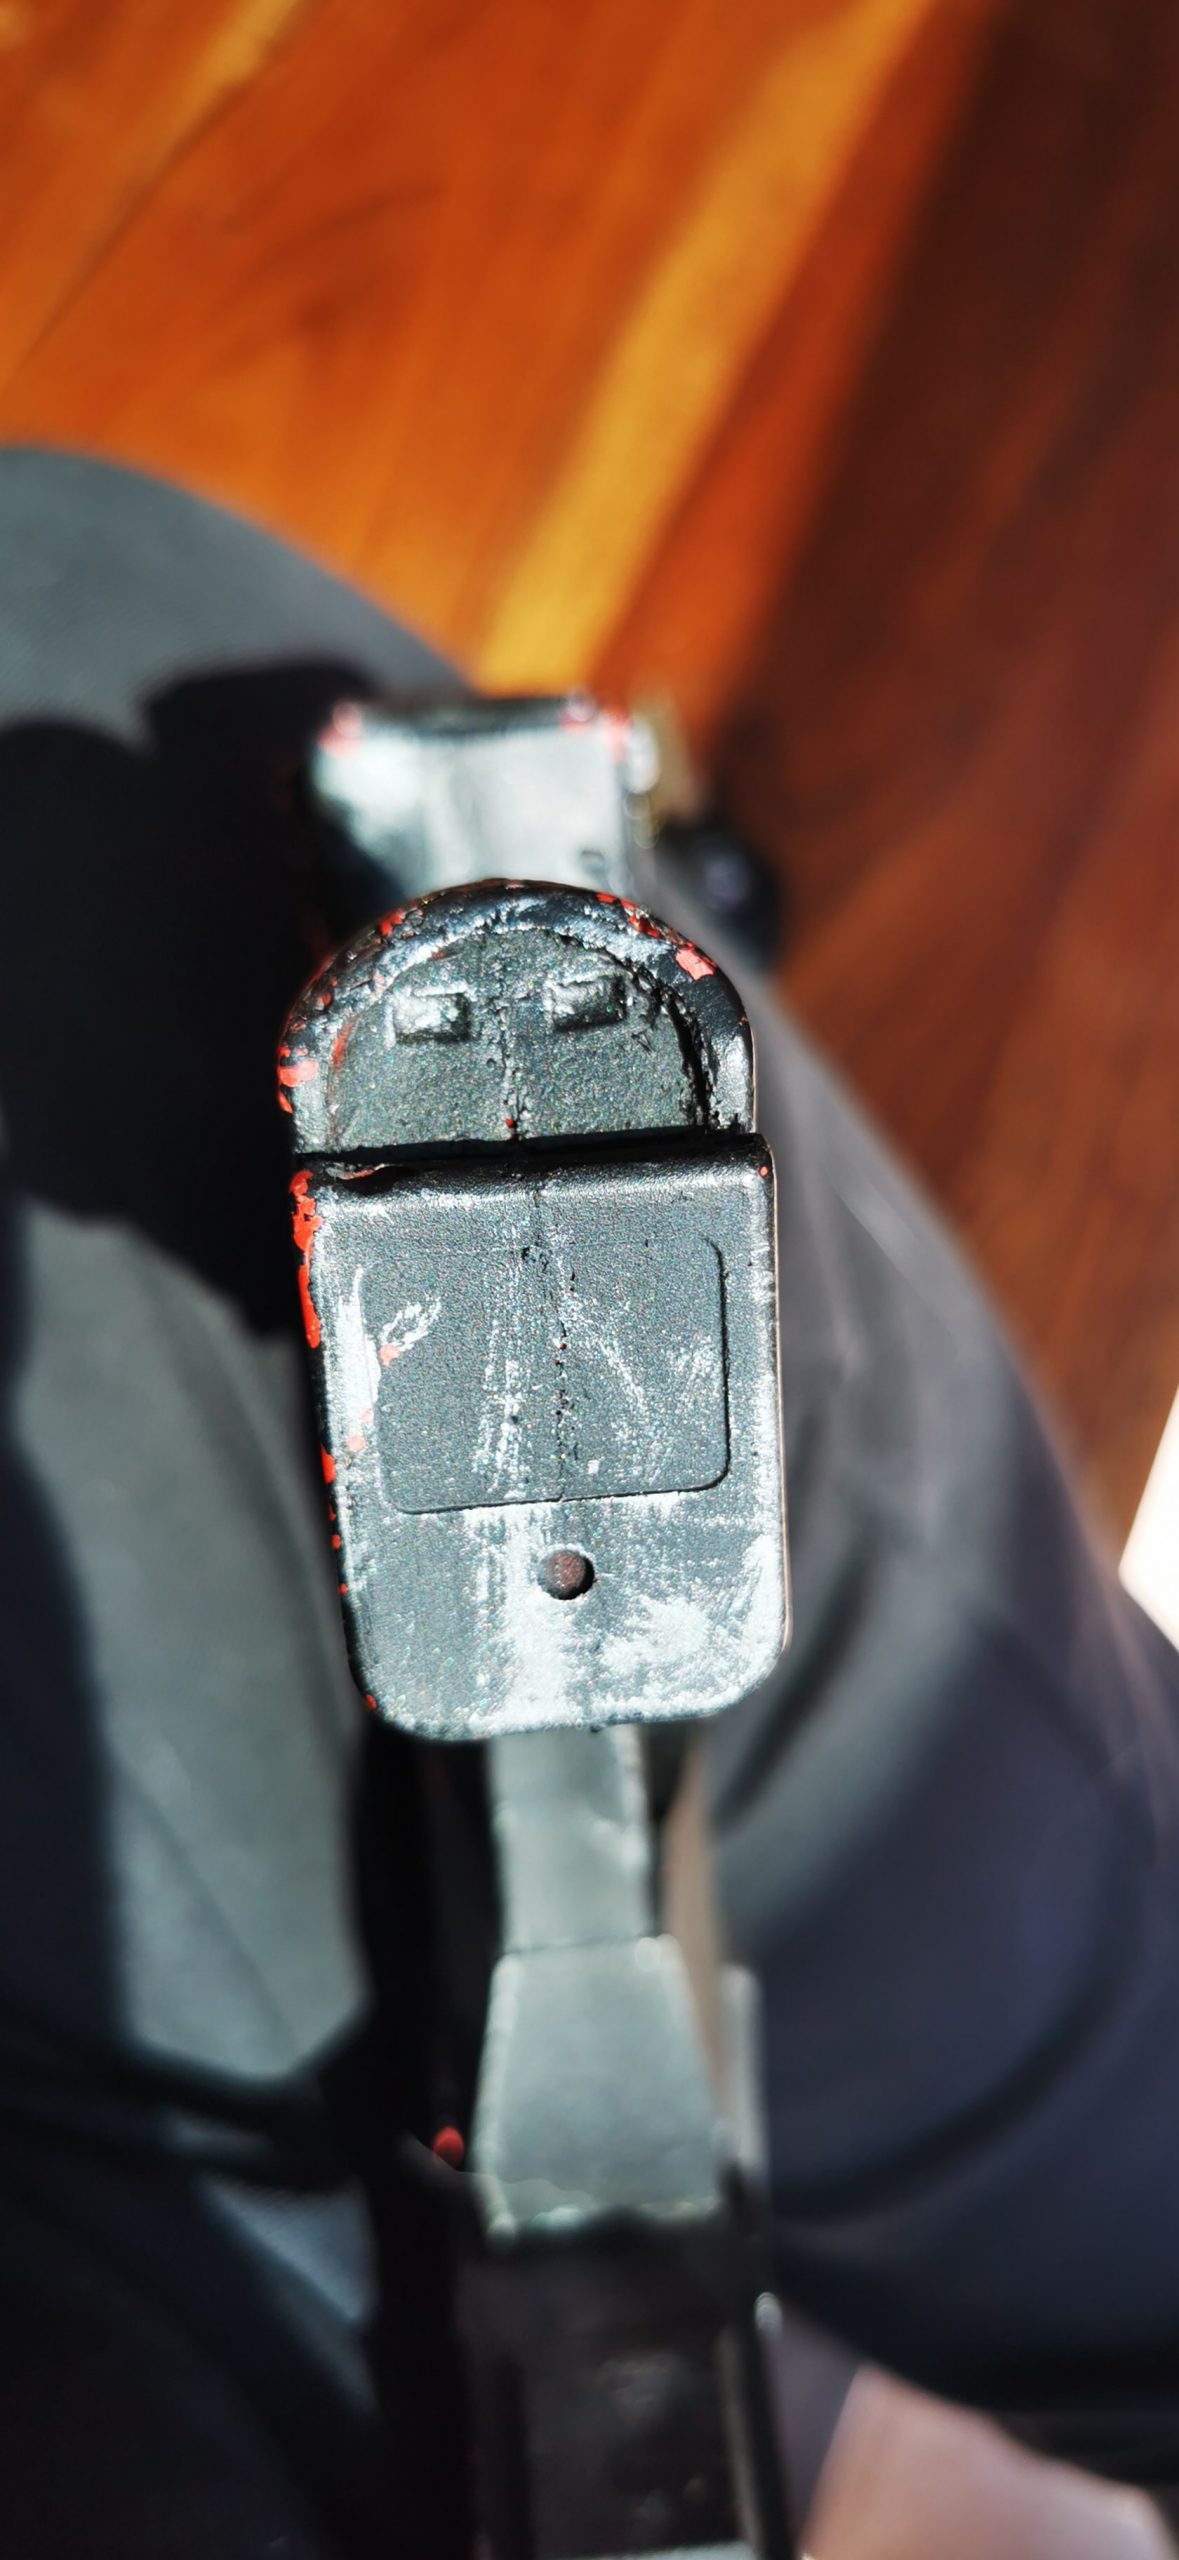
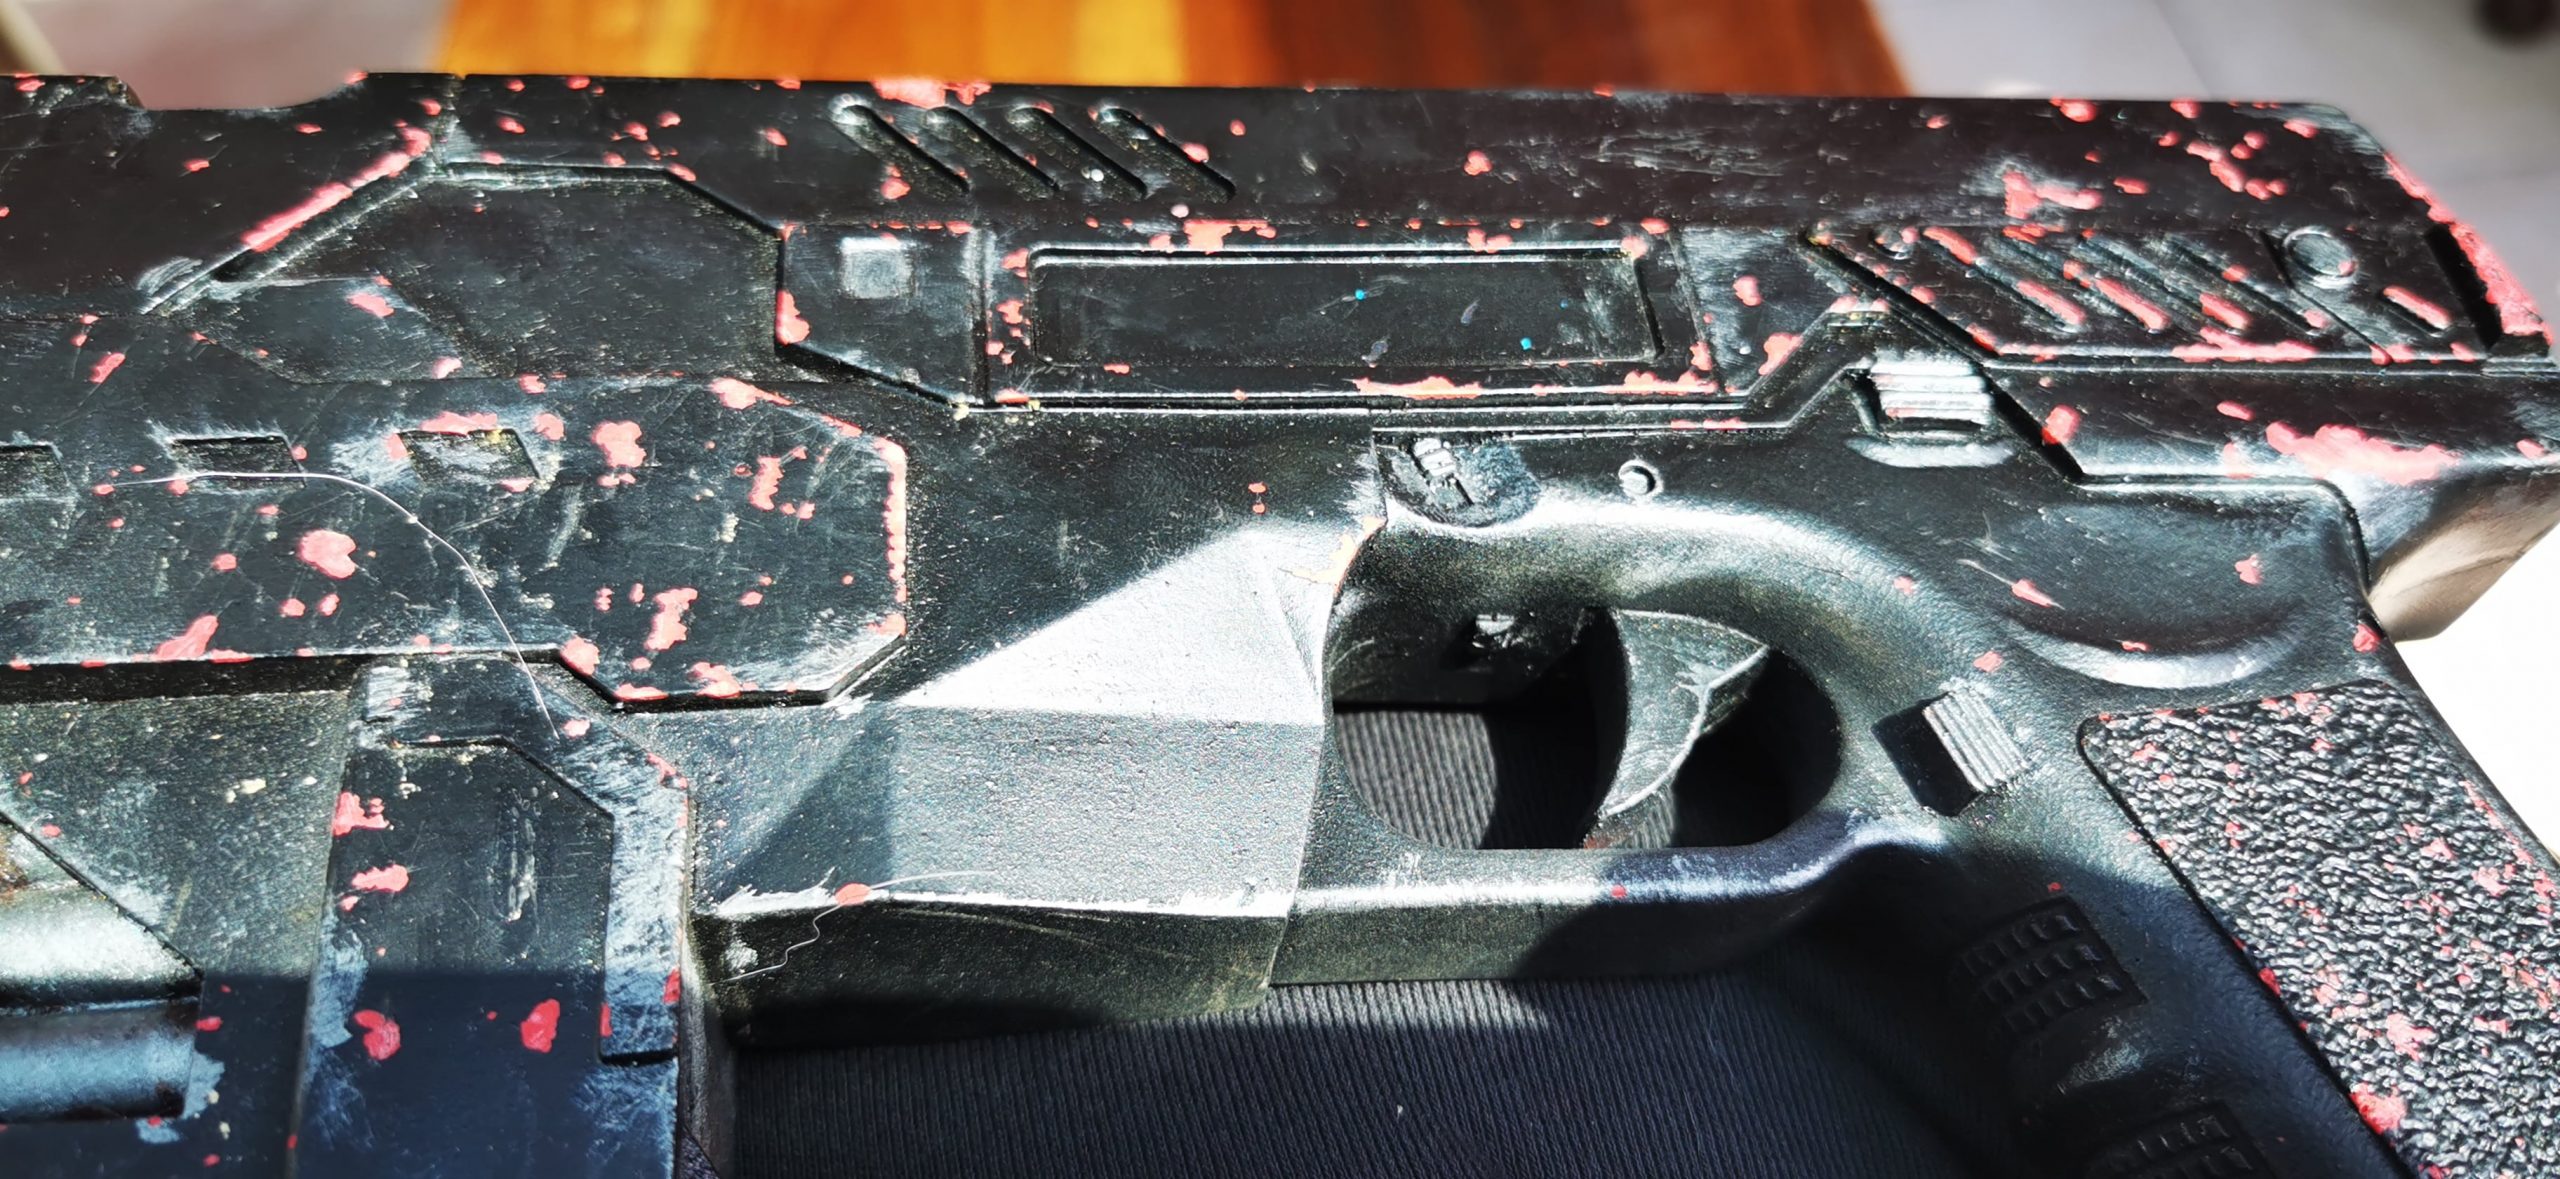
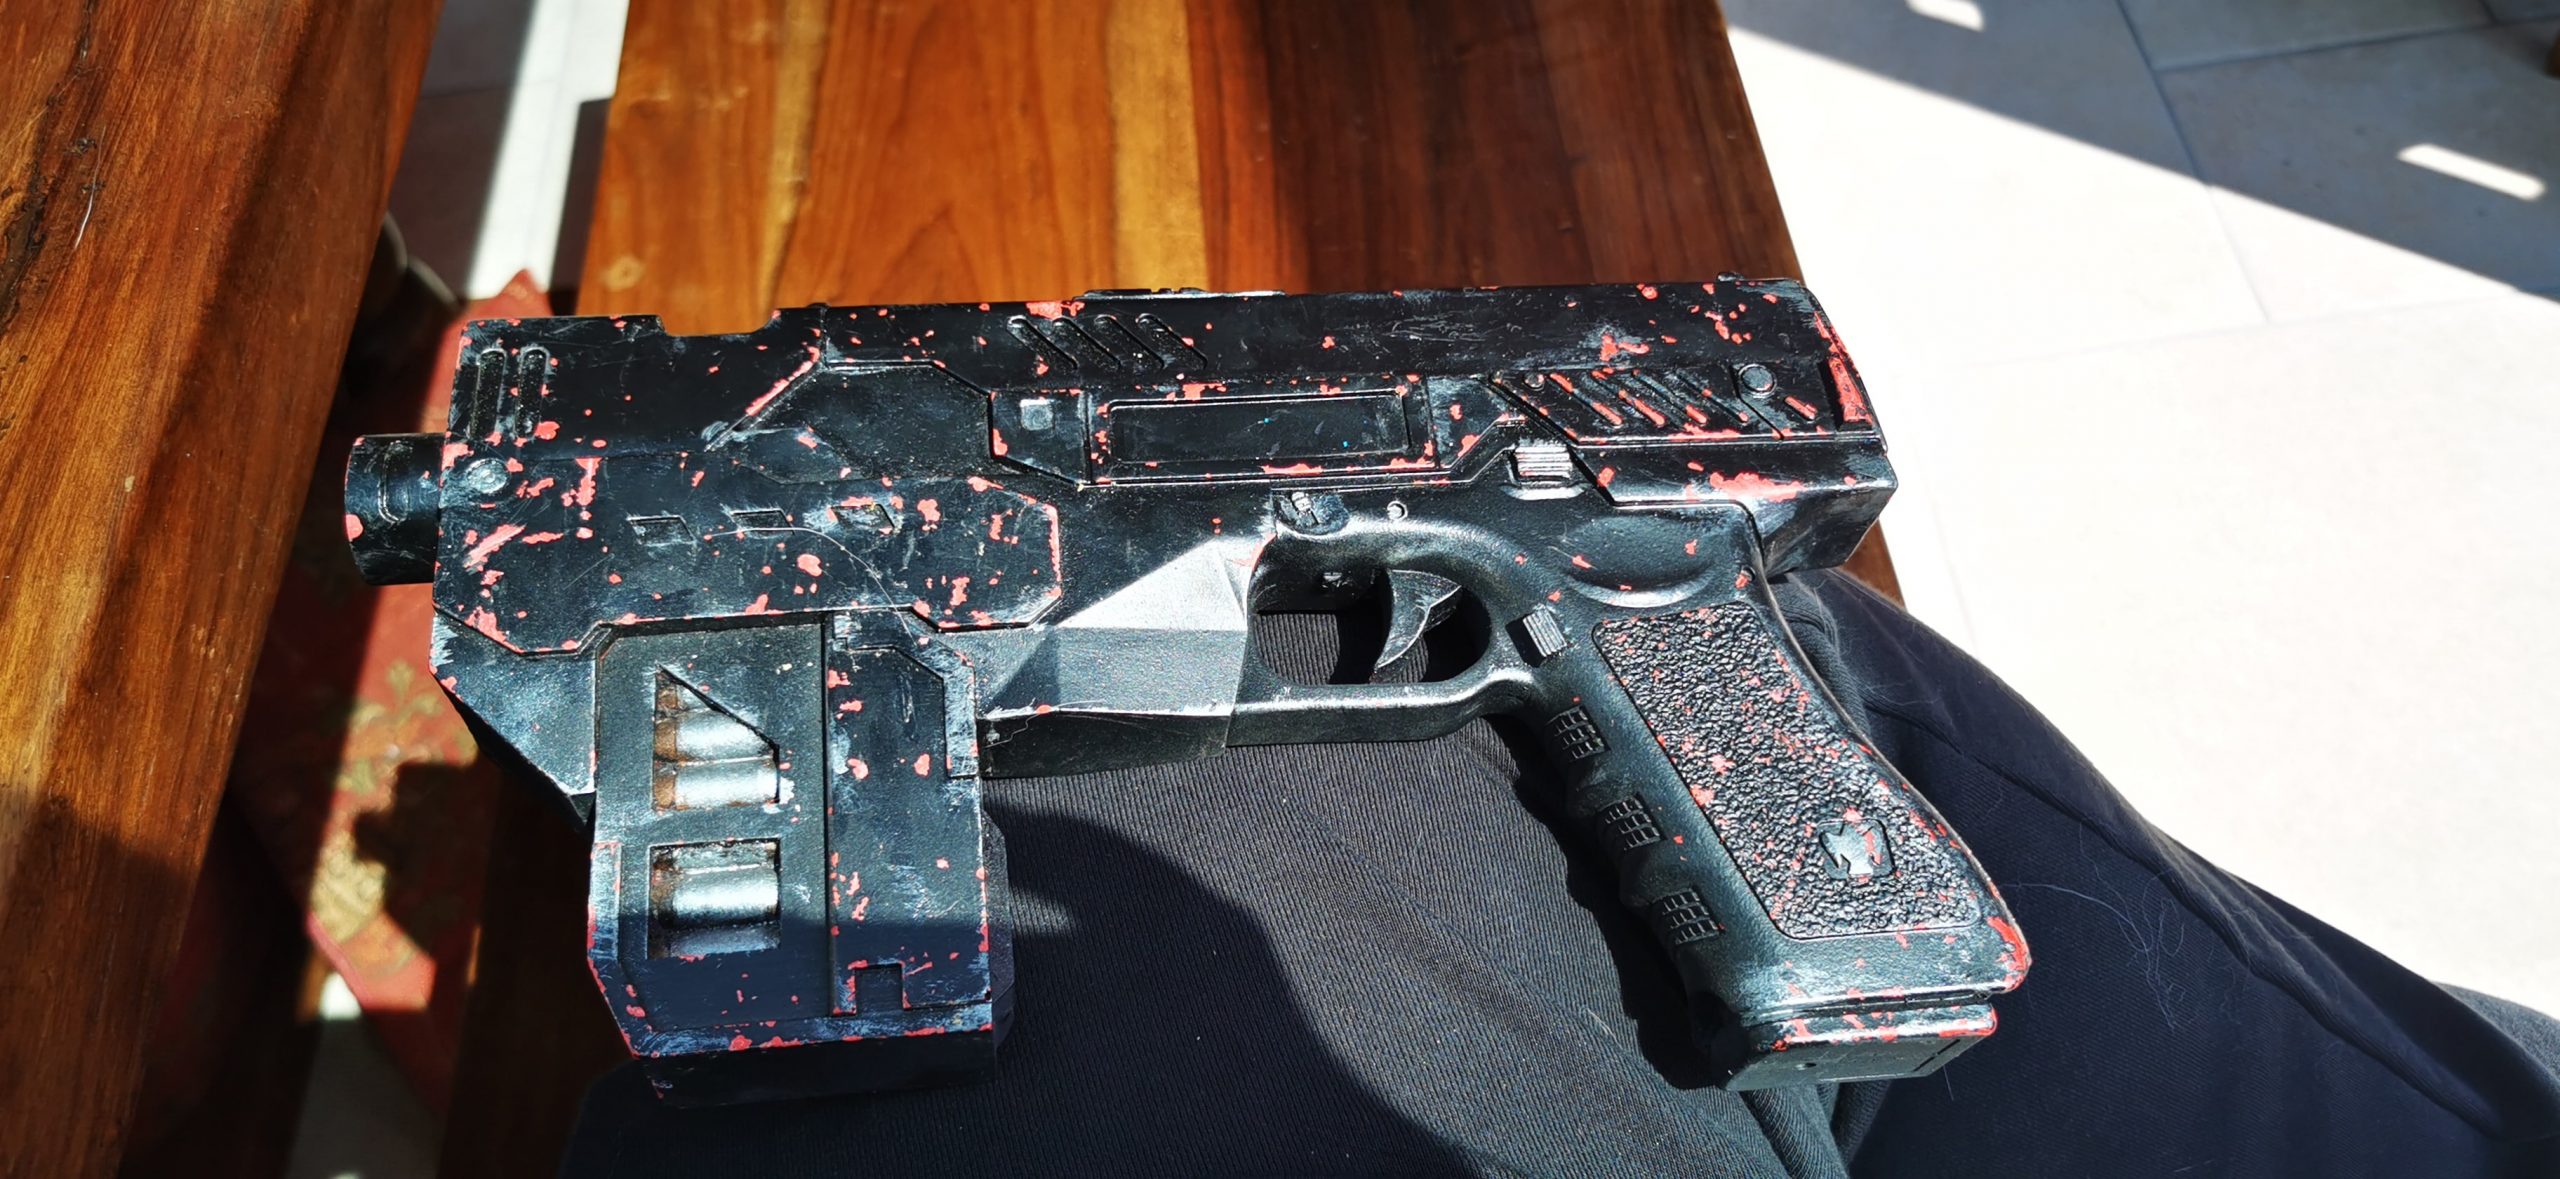
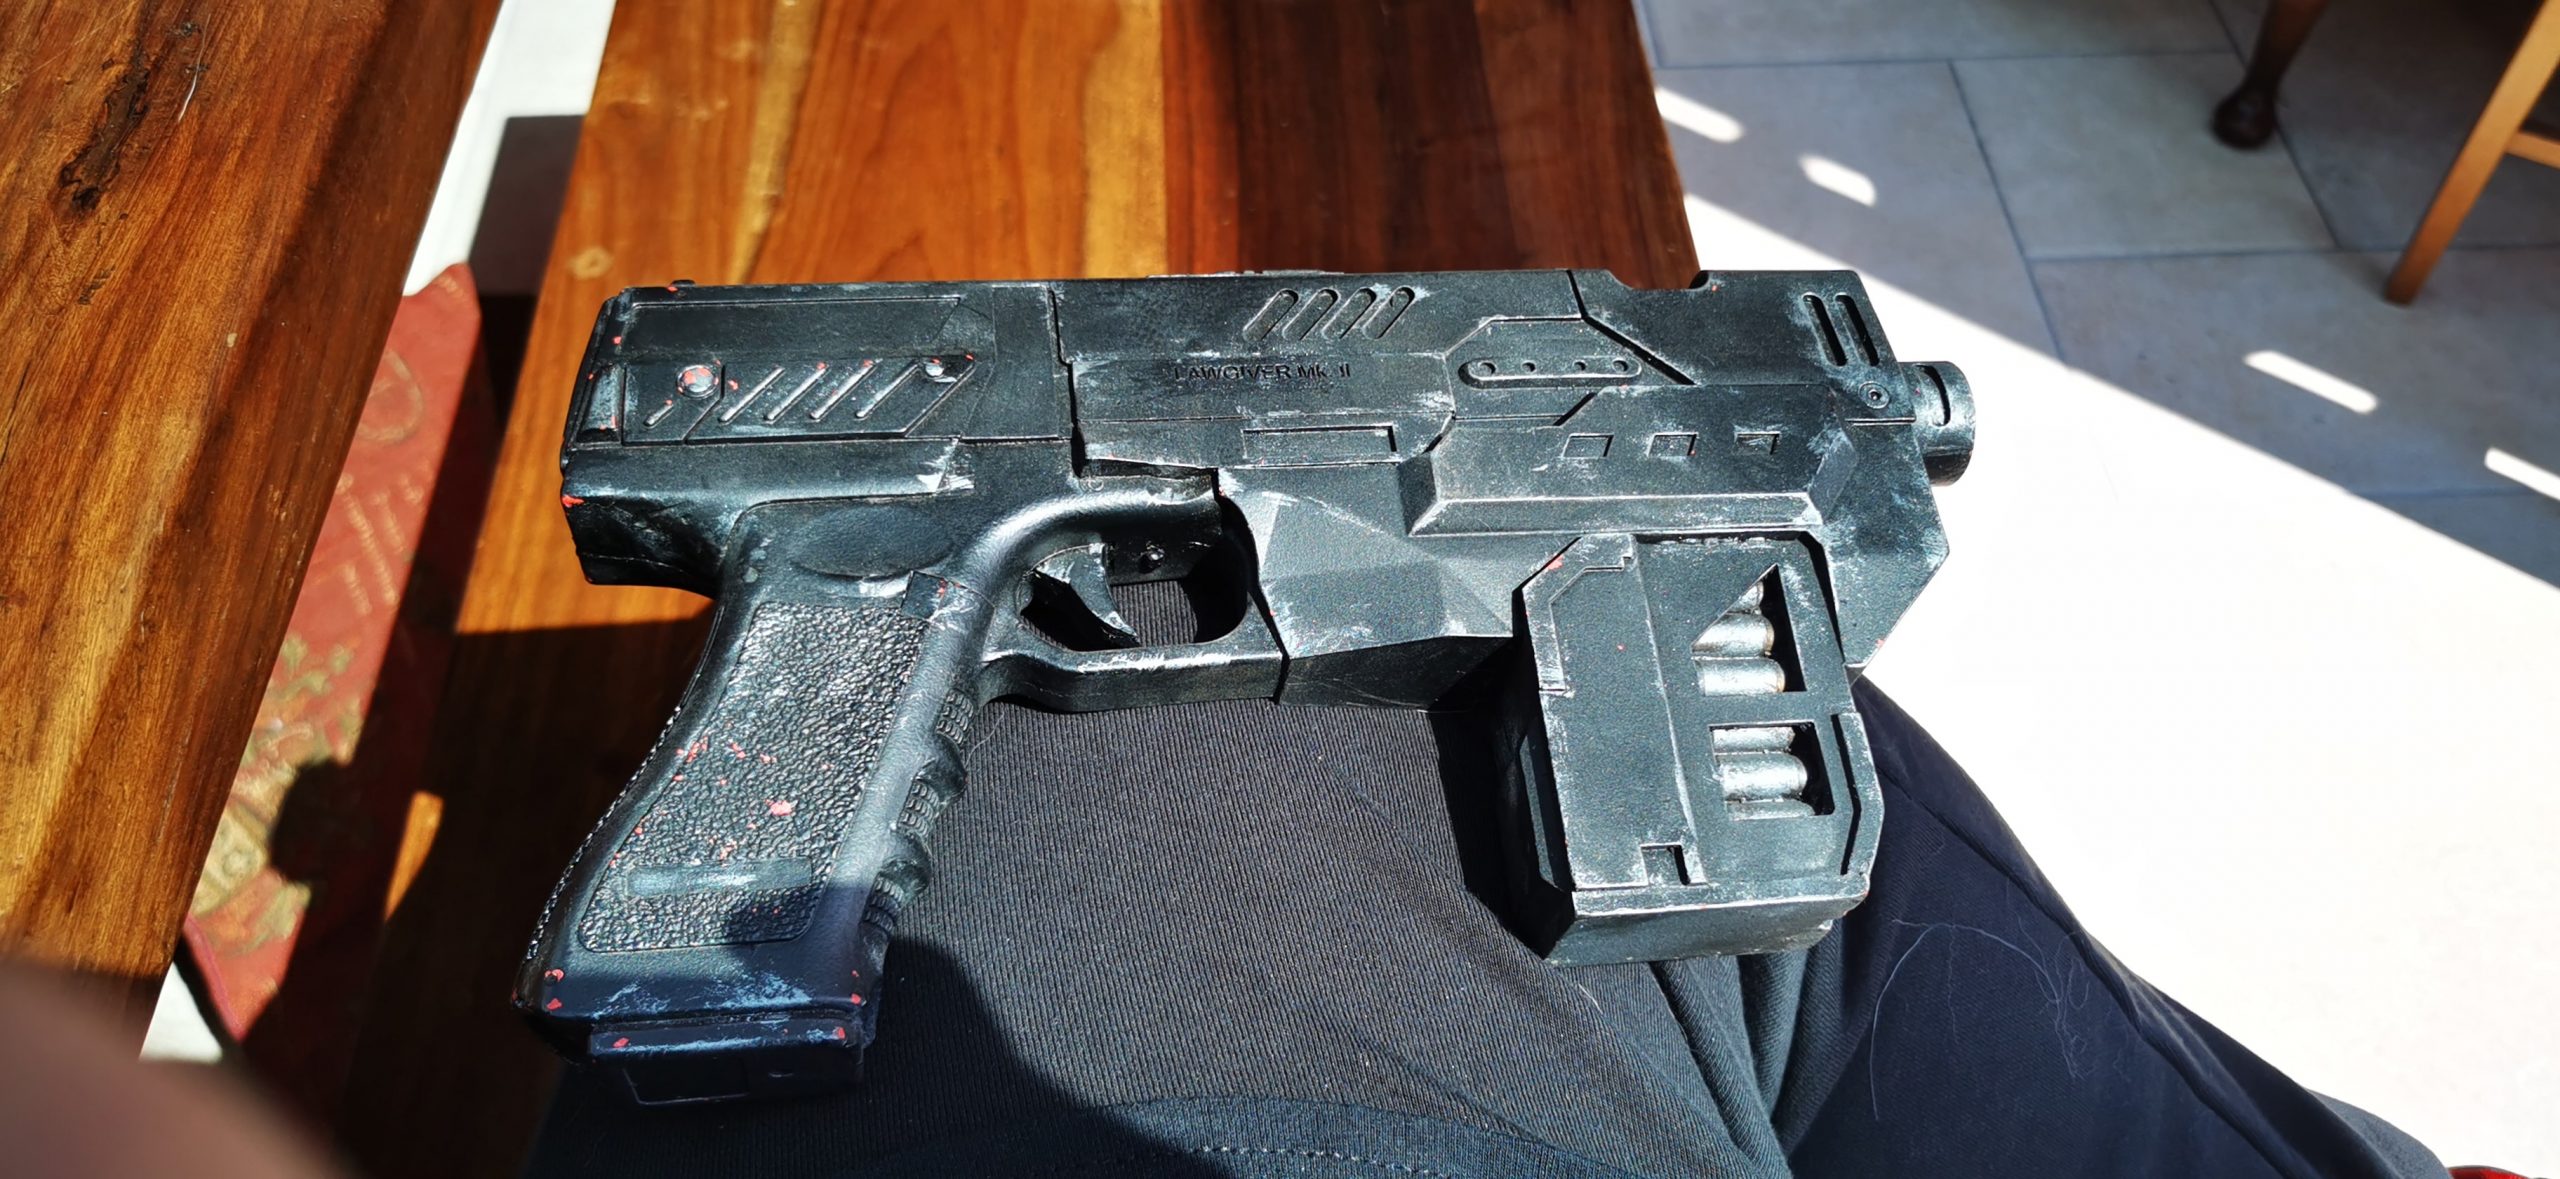
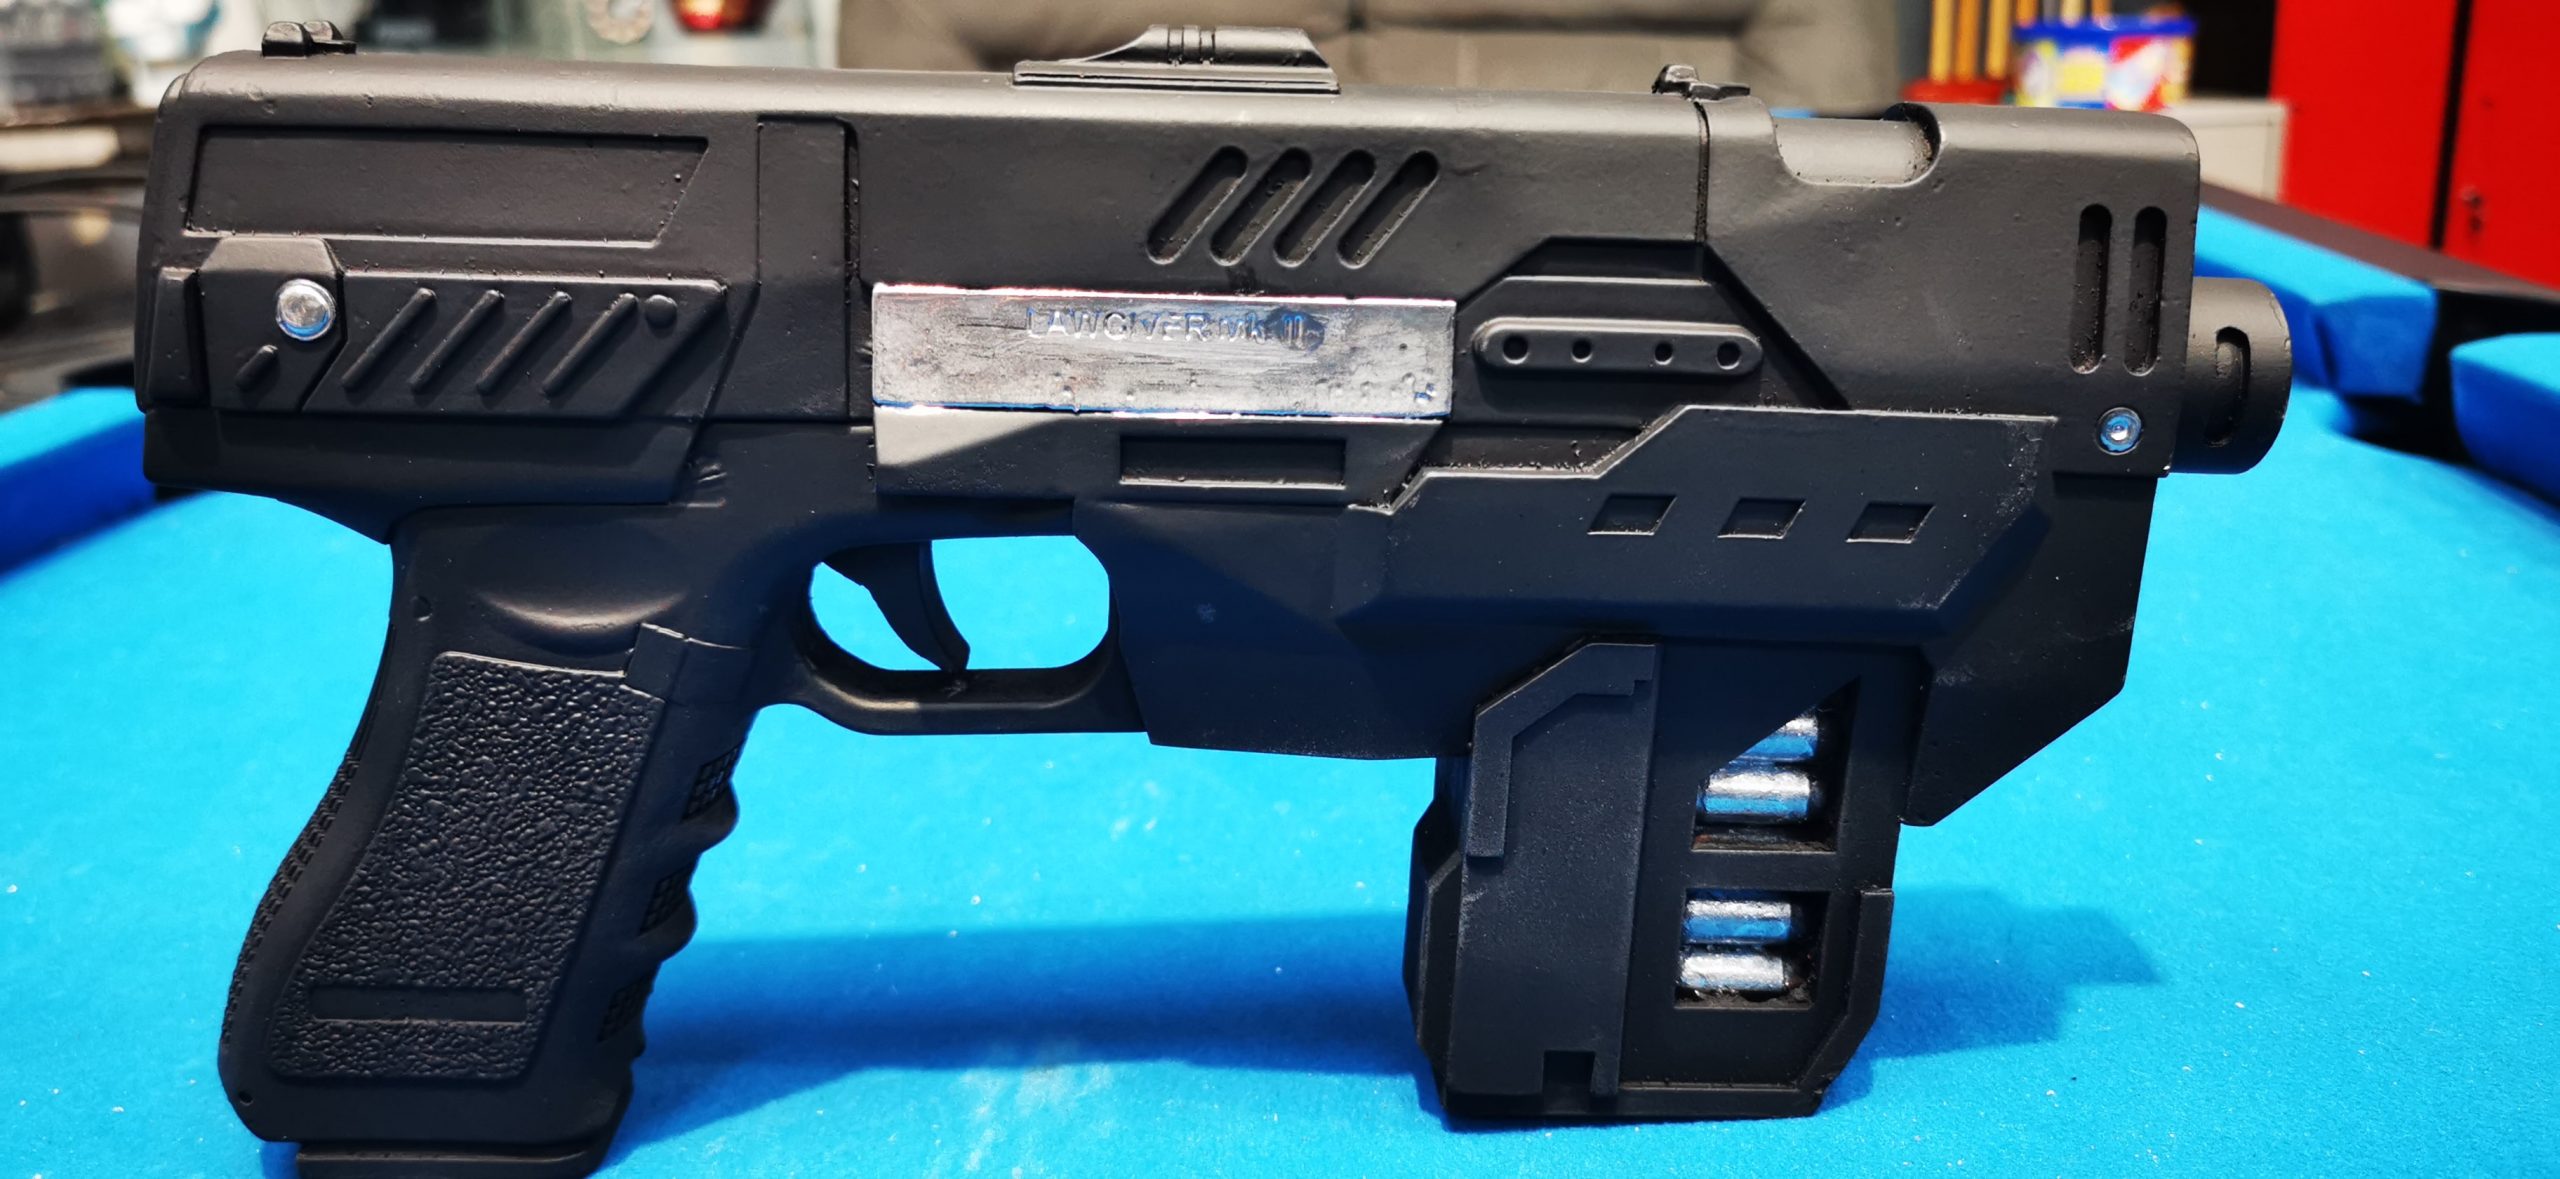
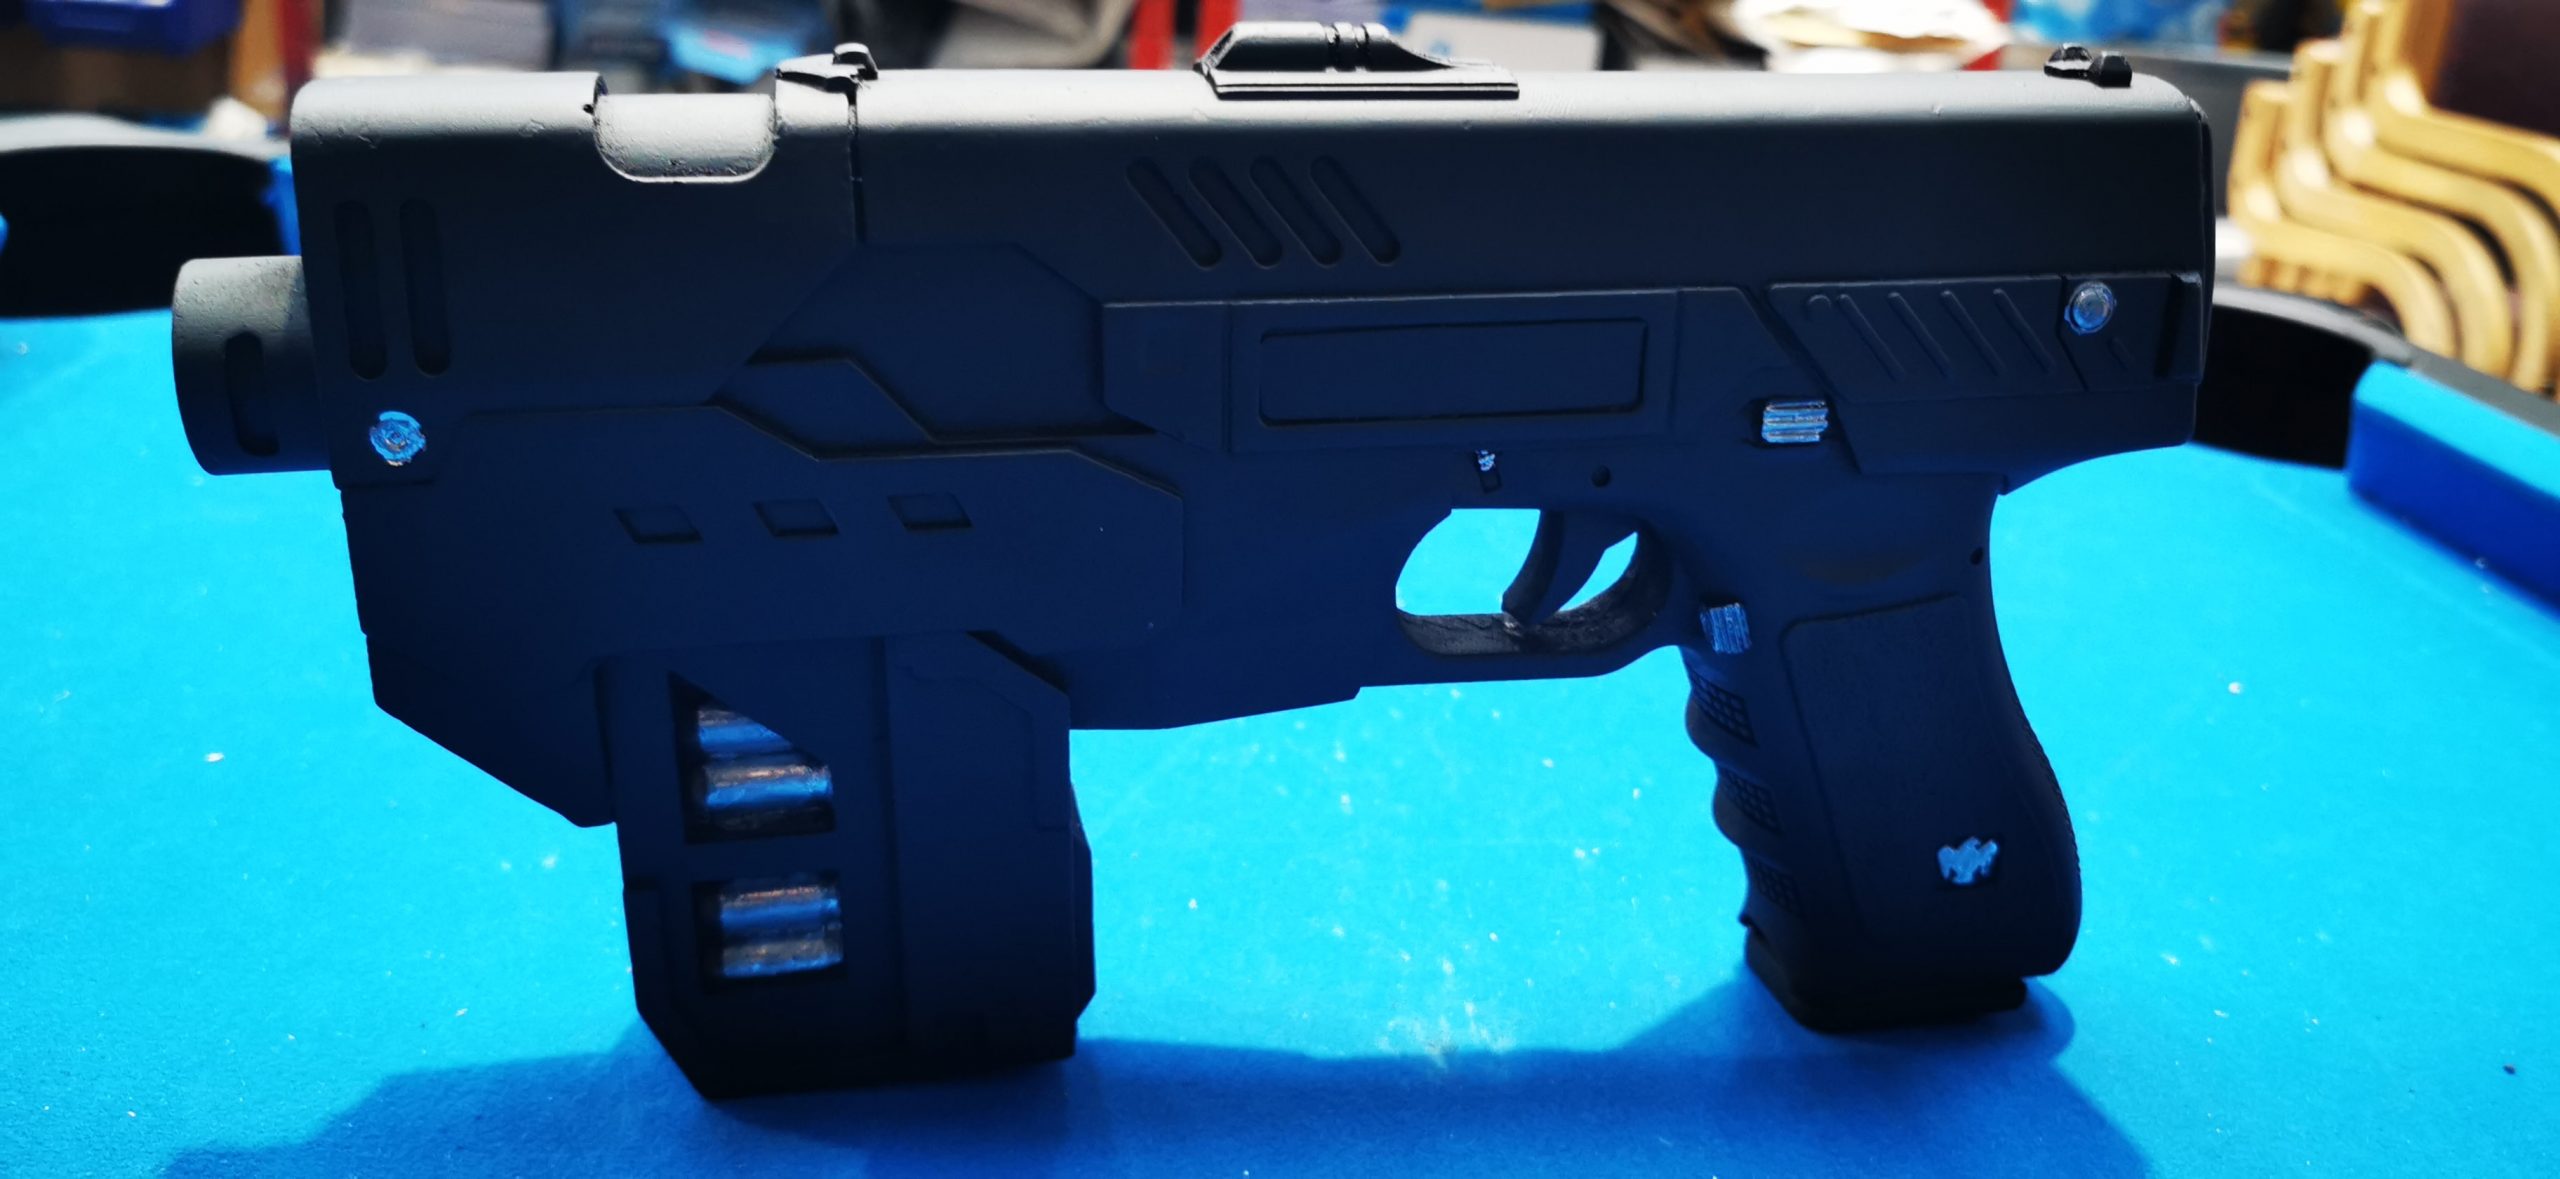
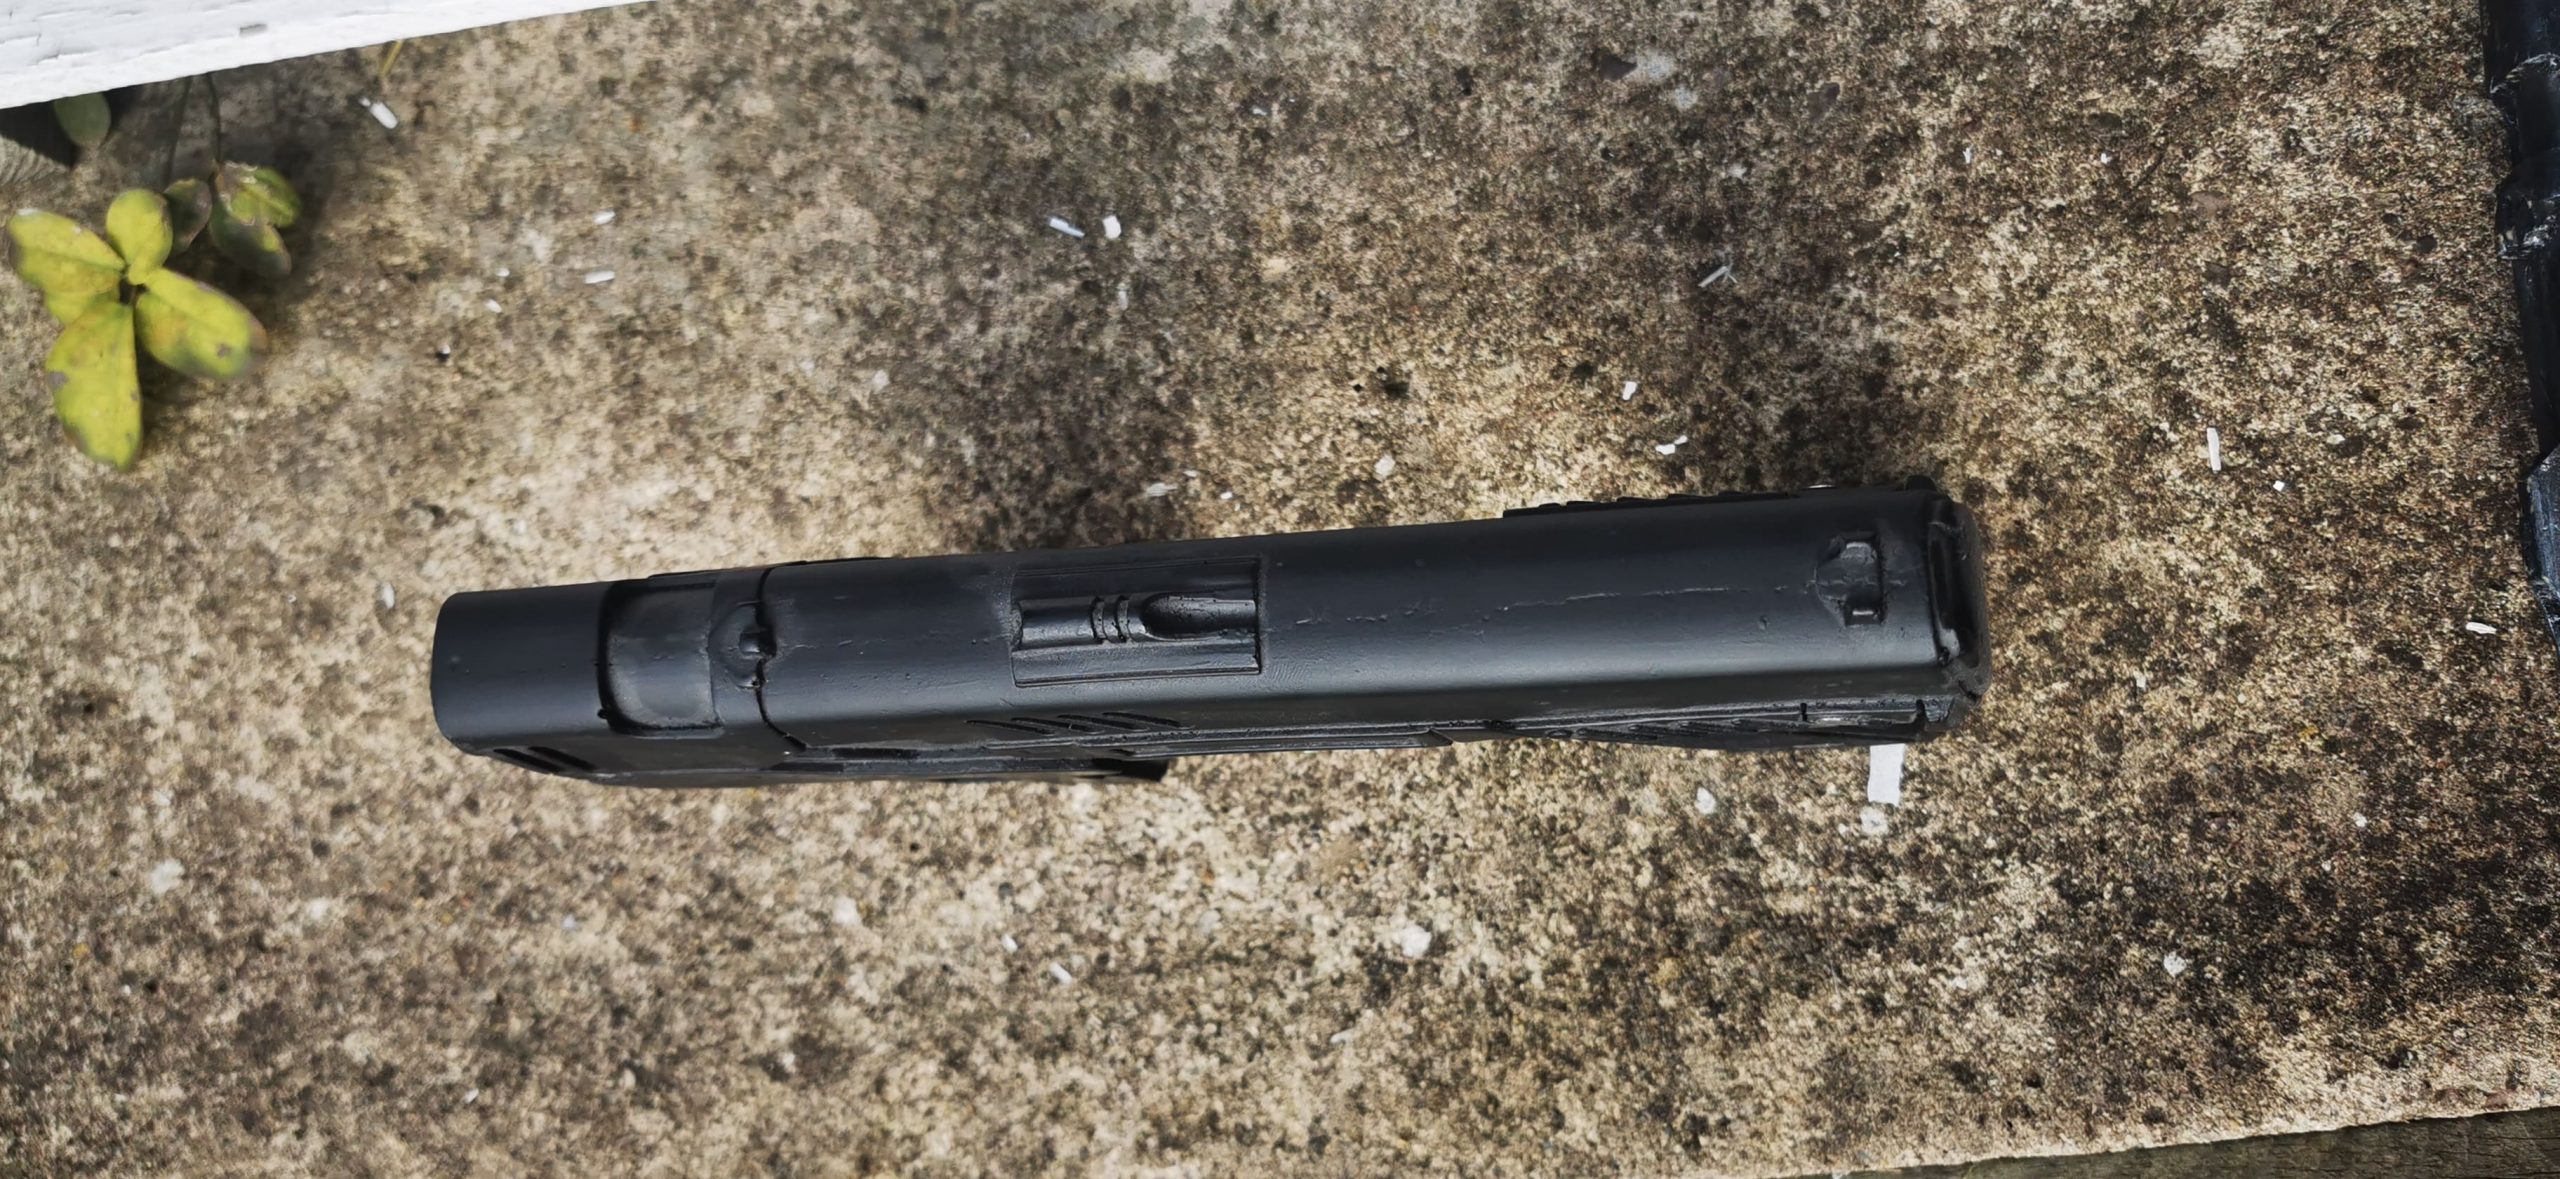
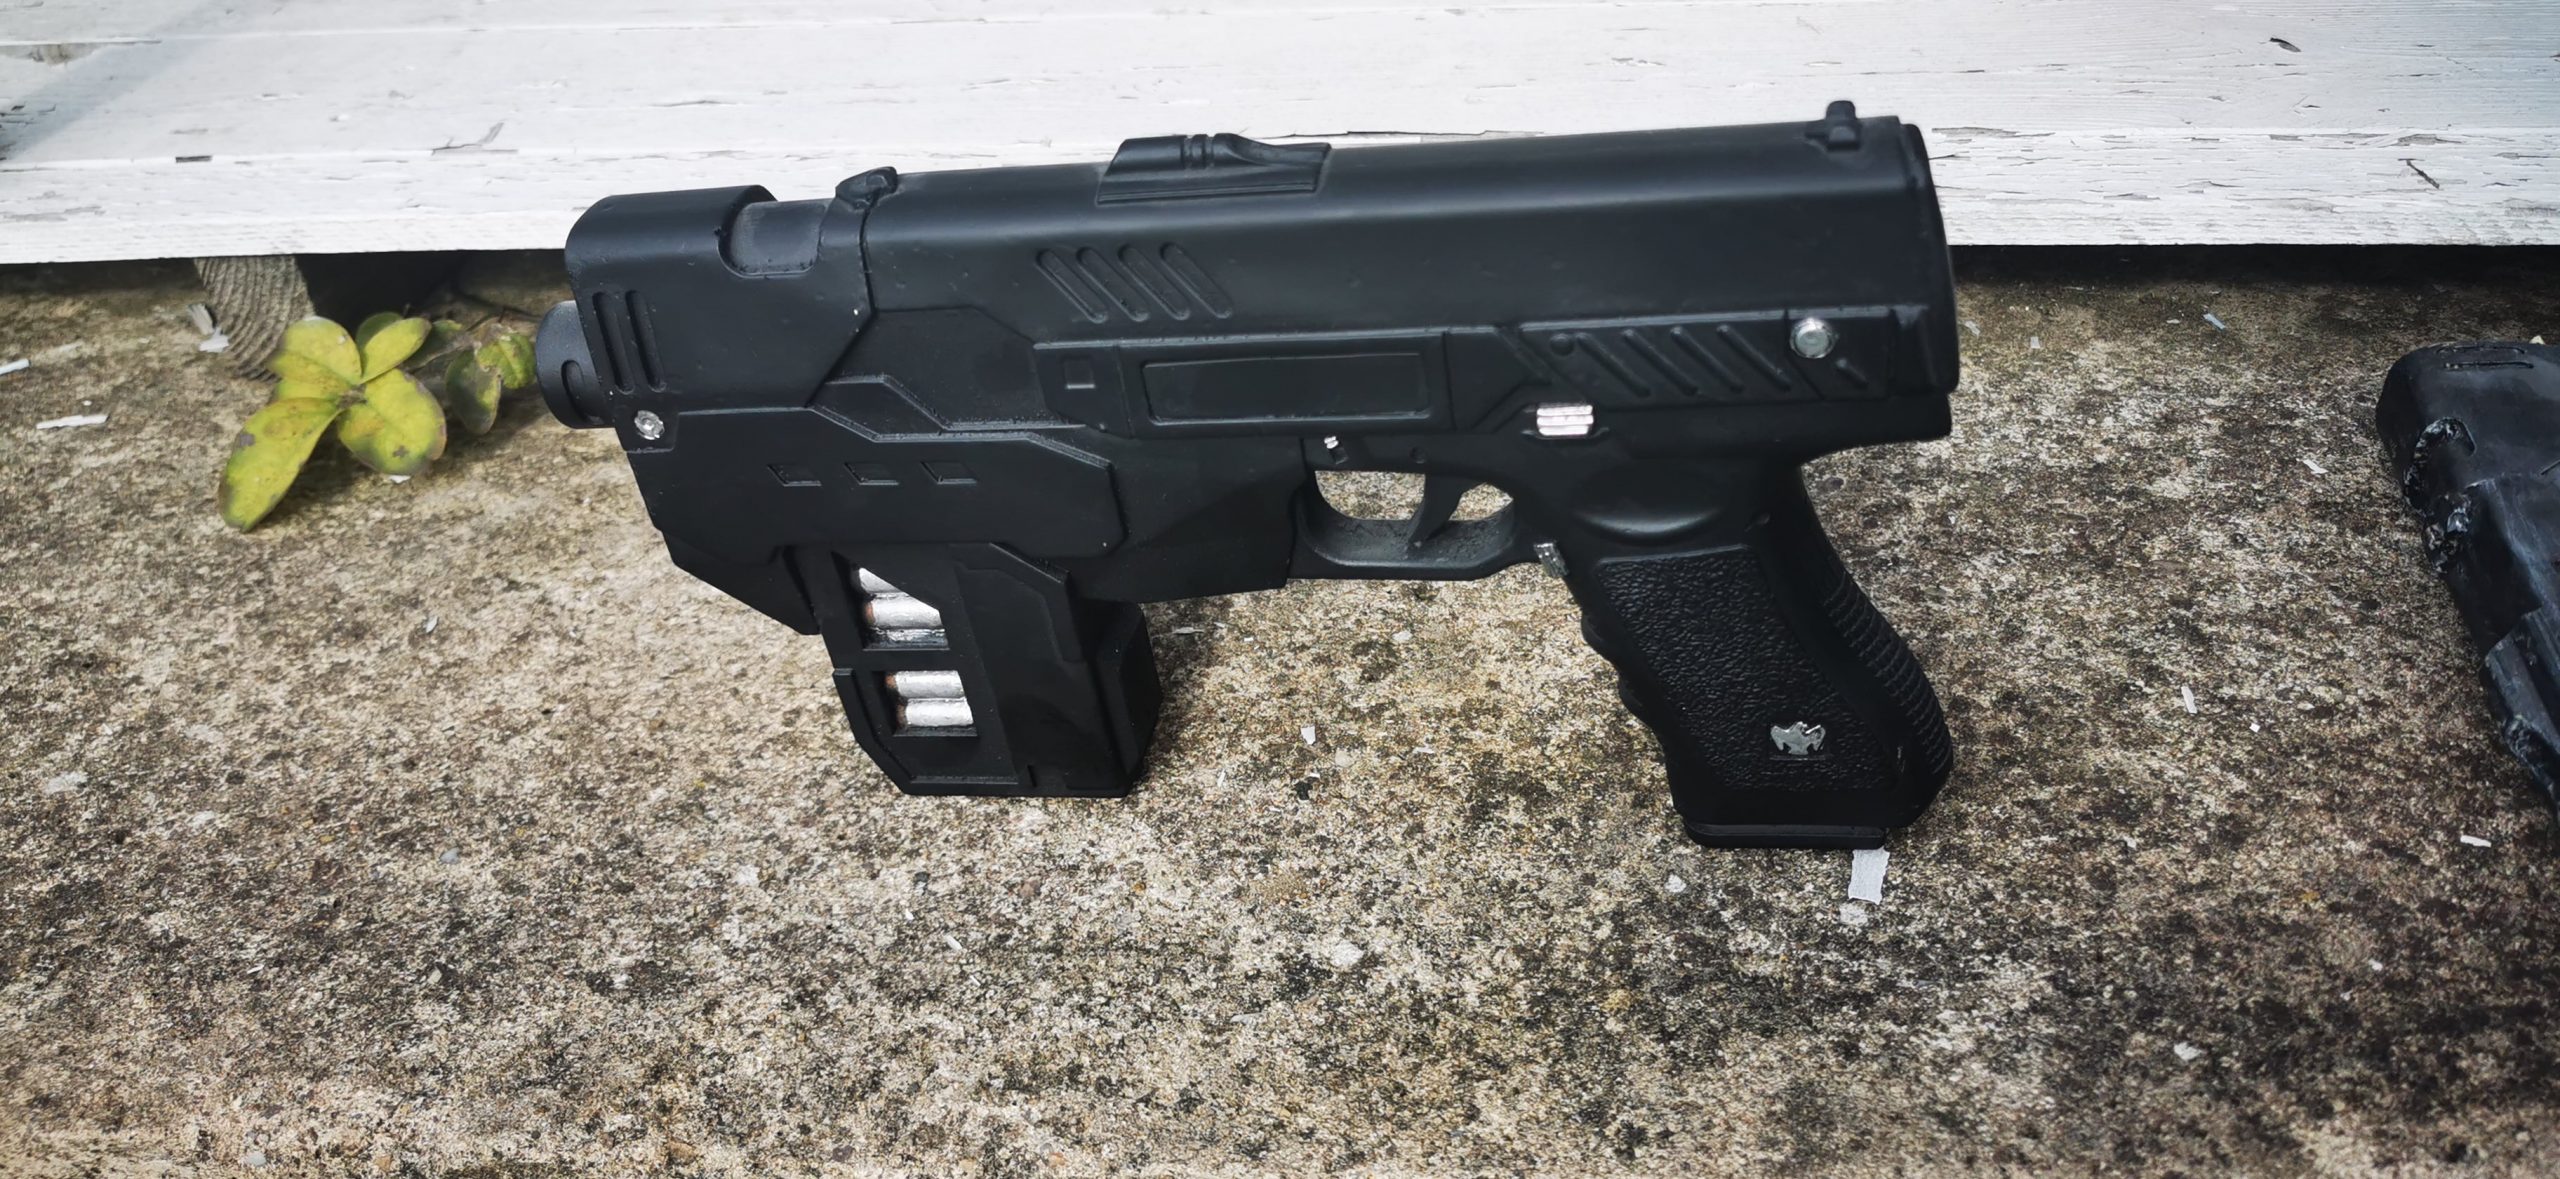
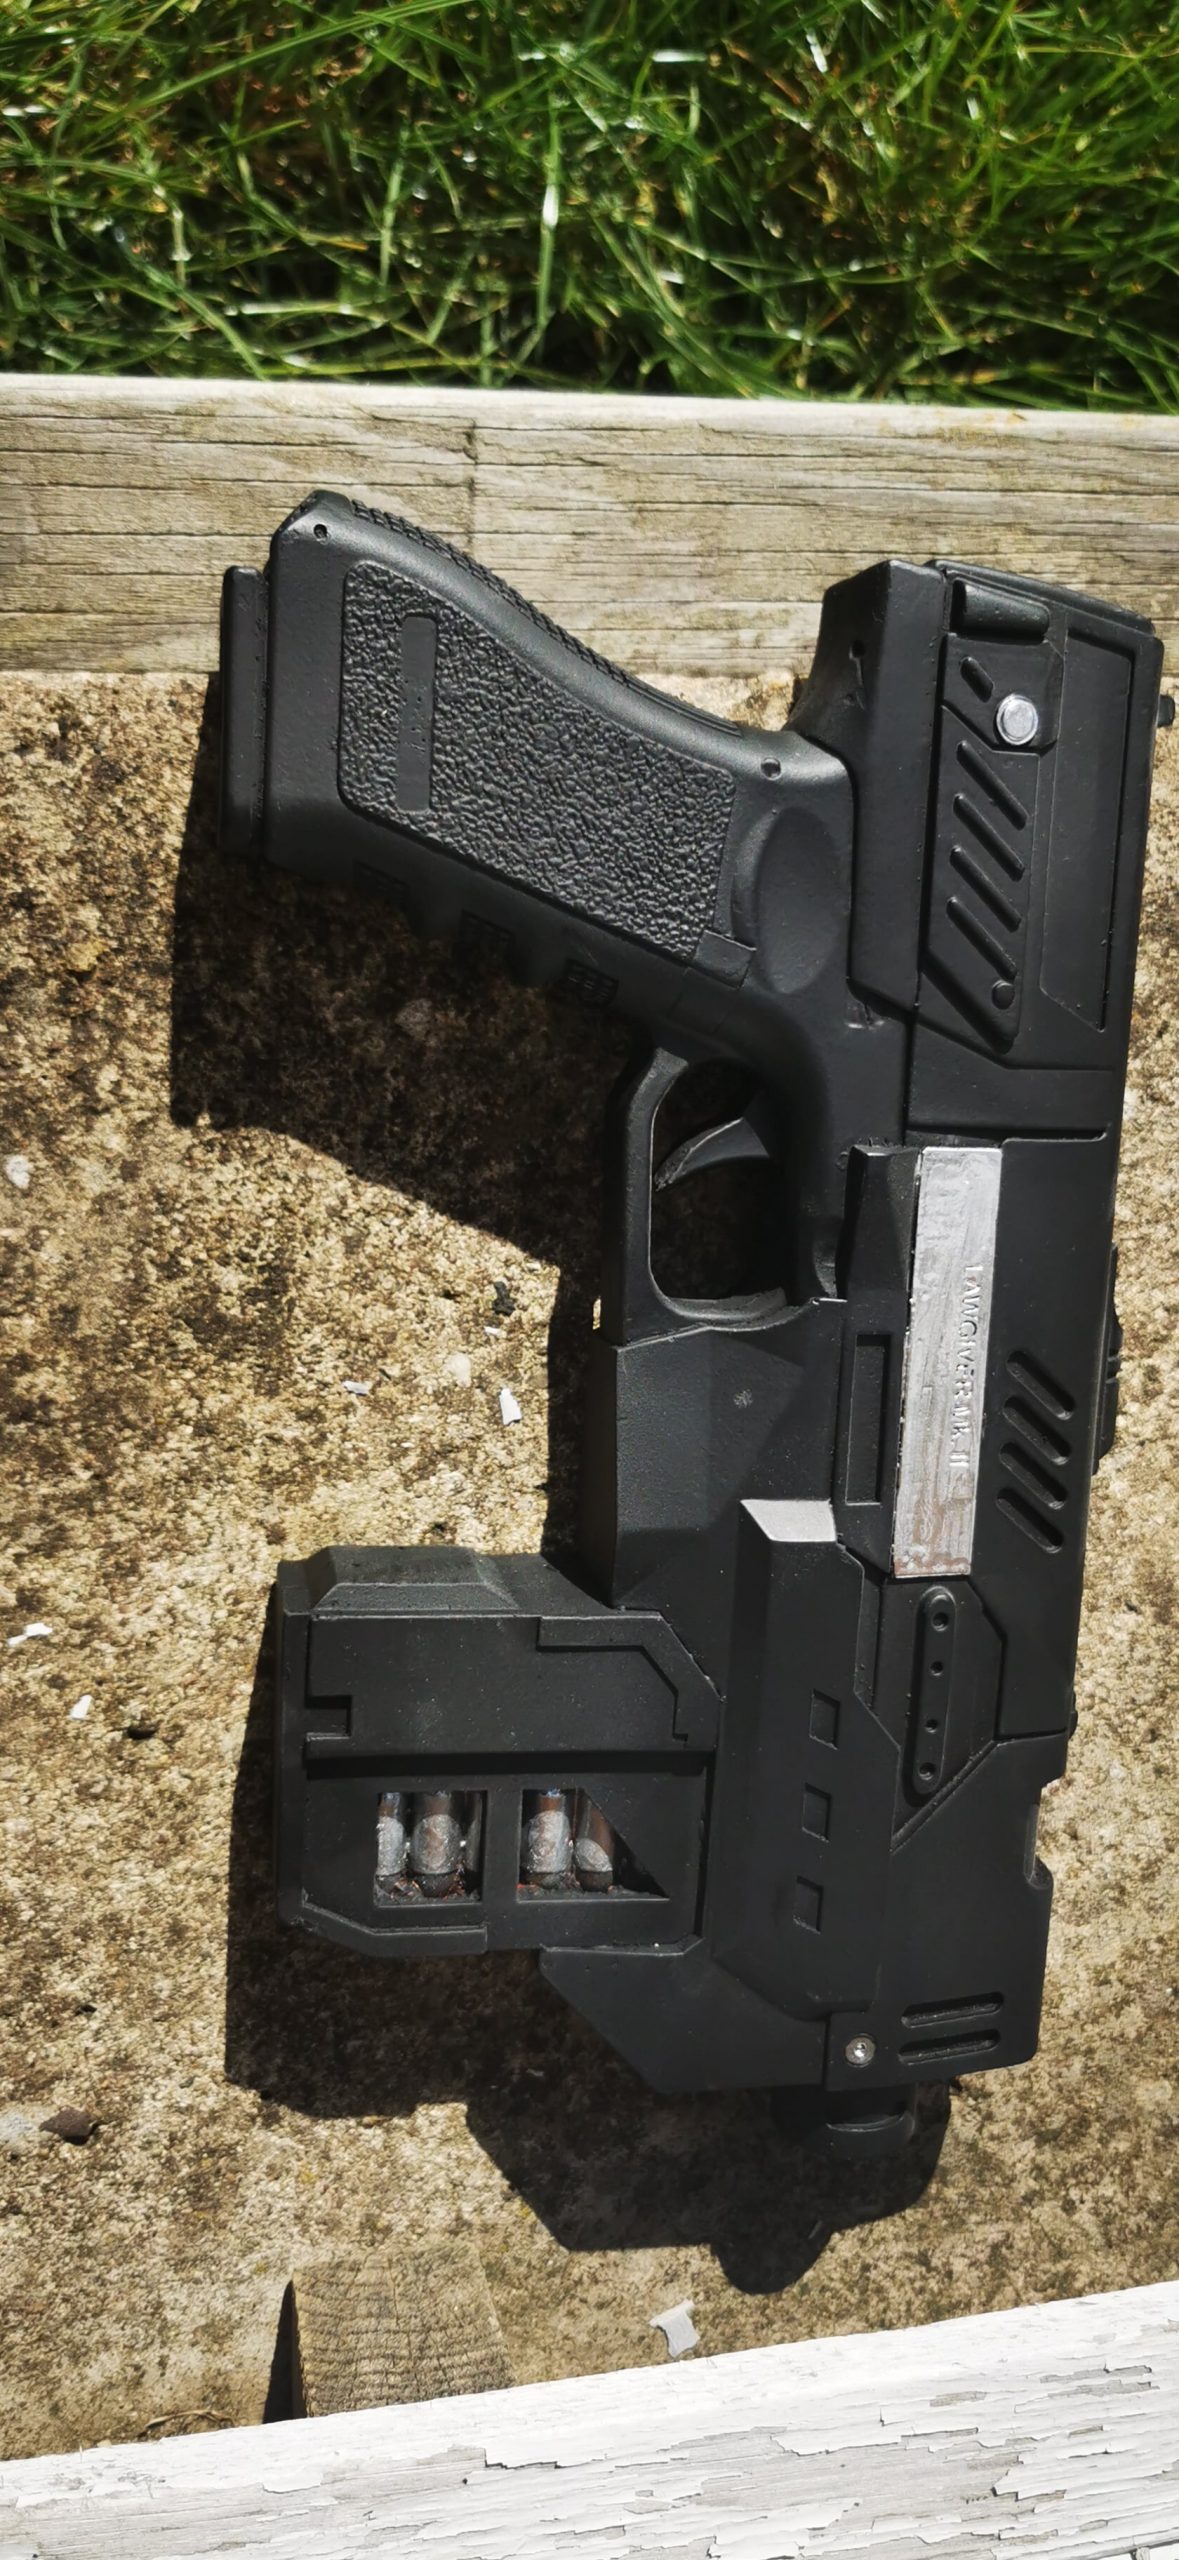
Drew’s resin cast Judge Dredd prop gun took a bit of a battering while filming a short film as it had been repeatedly dropped on concrete, which created dents and chipping. This required stripping back, repairing and then repainting and detailing the prop to bring it back to a high standard.
Tools:
- Masking Tape
- Plastic Filler
- Multi Grit Sandpaper
- 2K Filler Primer
- Black (RAL 9005) Acrylic Matt Paint
- Chrome Paint
Prep
The first job was to clear away any damage and the existing paint in case this caused a reaction. As the product had not been primed correctly, any painting over the top could still come away. Then, we taped up any pieces we didn’t want to get damaged or painted on. We then used a heavier 80 grit sandpaper for the more damaged areas and up to a 320 grit sandpaper to strip as much loose paint as possible. Any great paint job is a direct result of the prep, so never underestimate the importance of prepping your project.
Filling & Priming
The next job was to fill any damaged areas and smooth over it with a 320 grit sandpaper. Once the surface has been prepped and is now flat, you need to seal it to make it ready for painting. We applied a black 2K filler primer all over the prop gun to smooth any rougher edges and provide a smooth surface. We applied two coats as any more could have buried some of the intricate designs in the gun.
Final Paint & Detailing
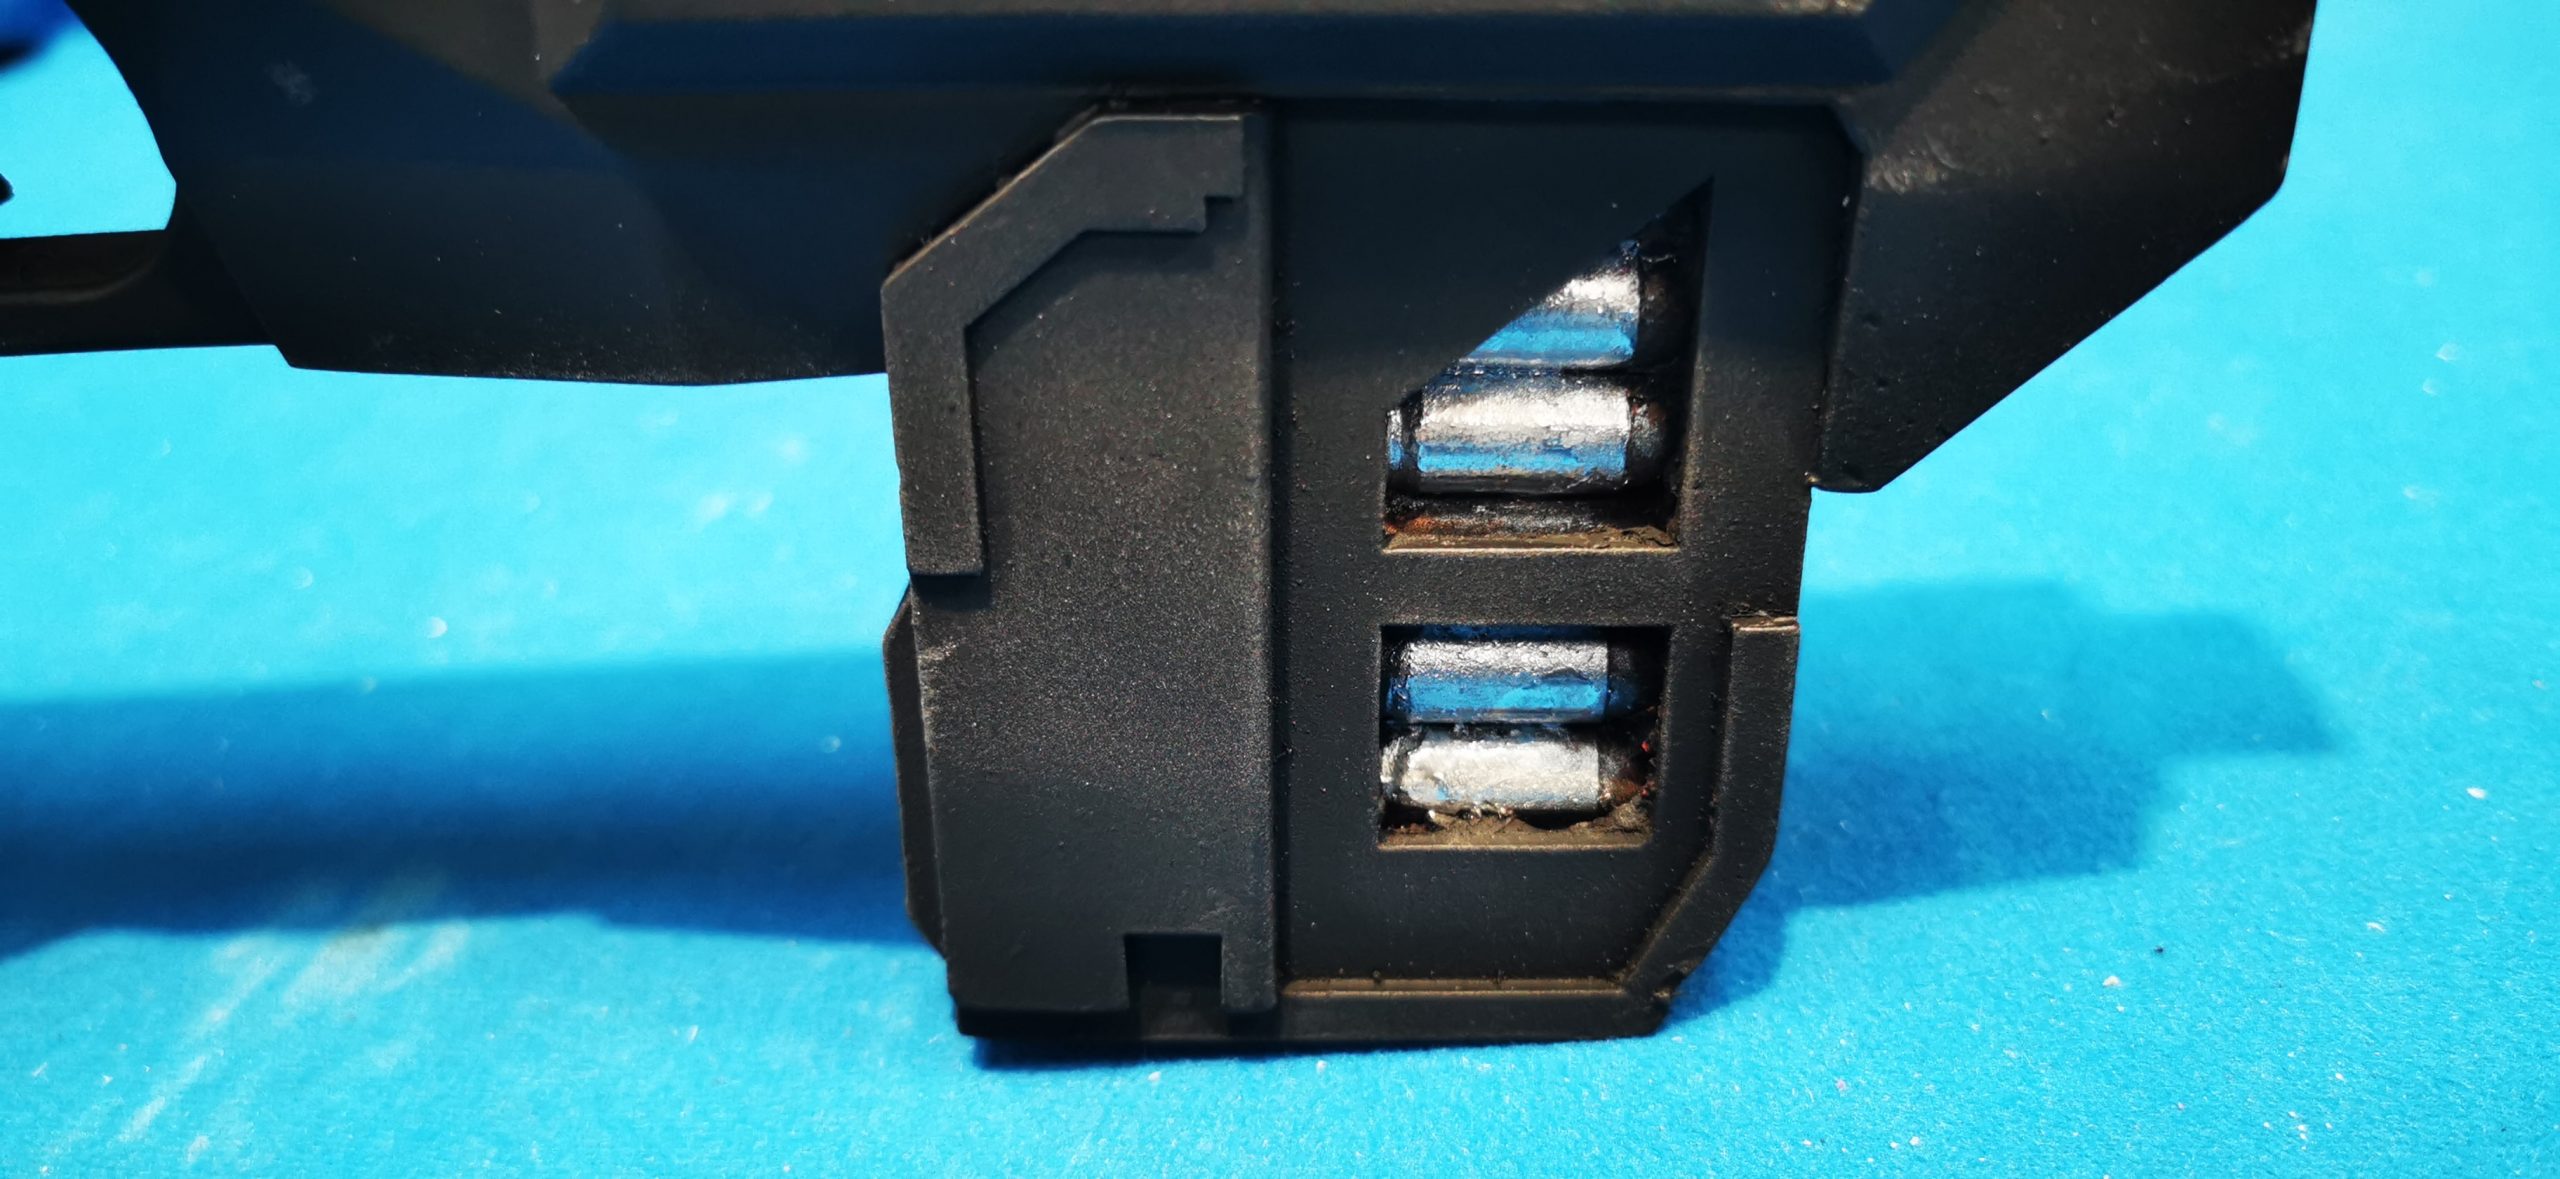
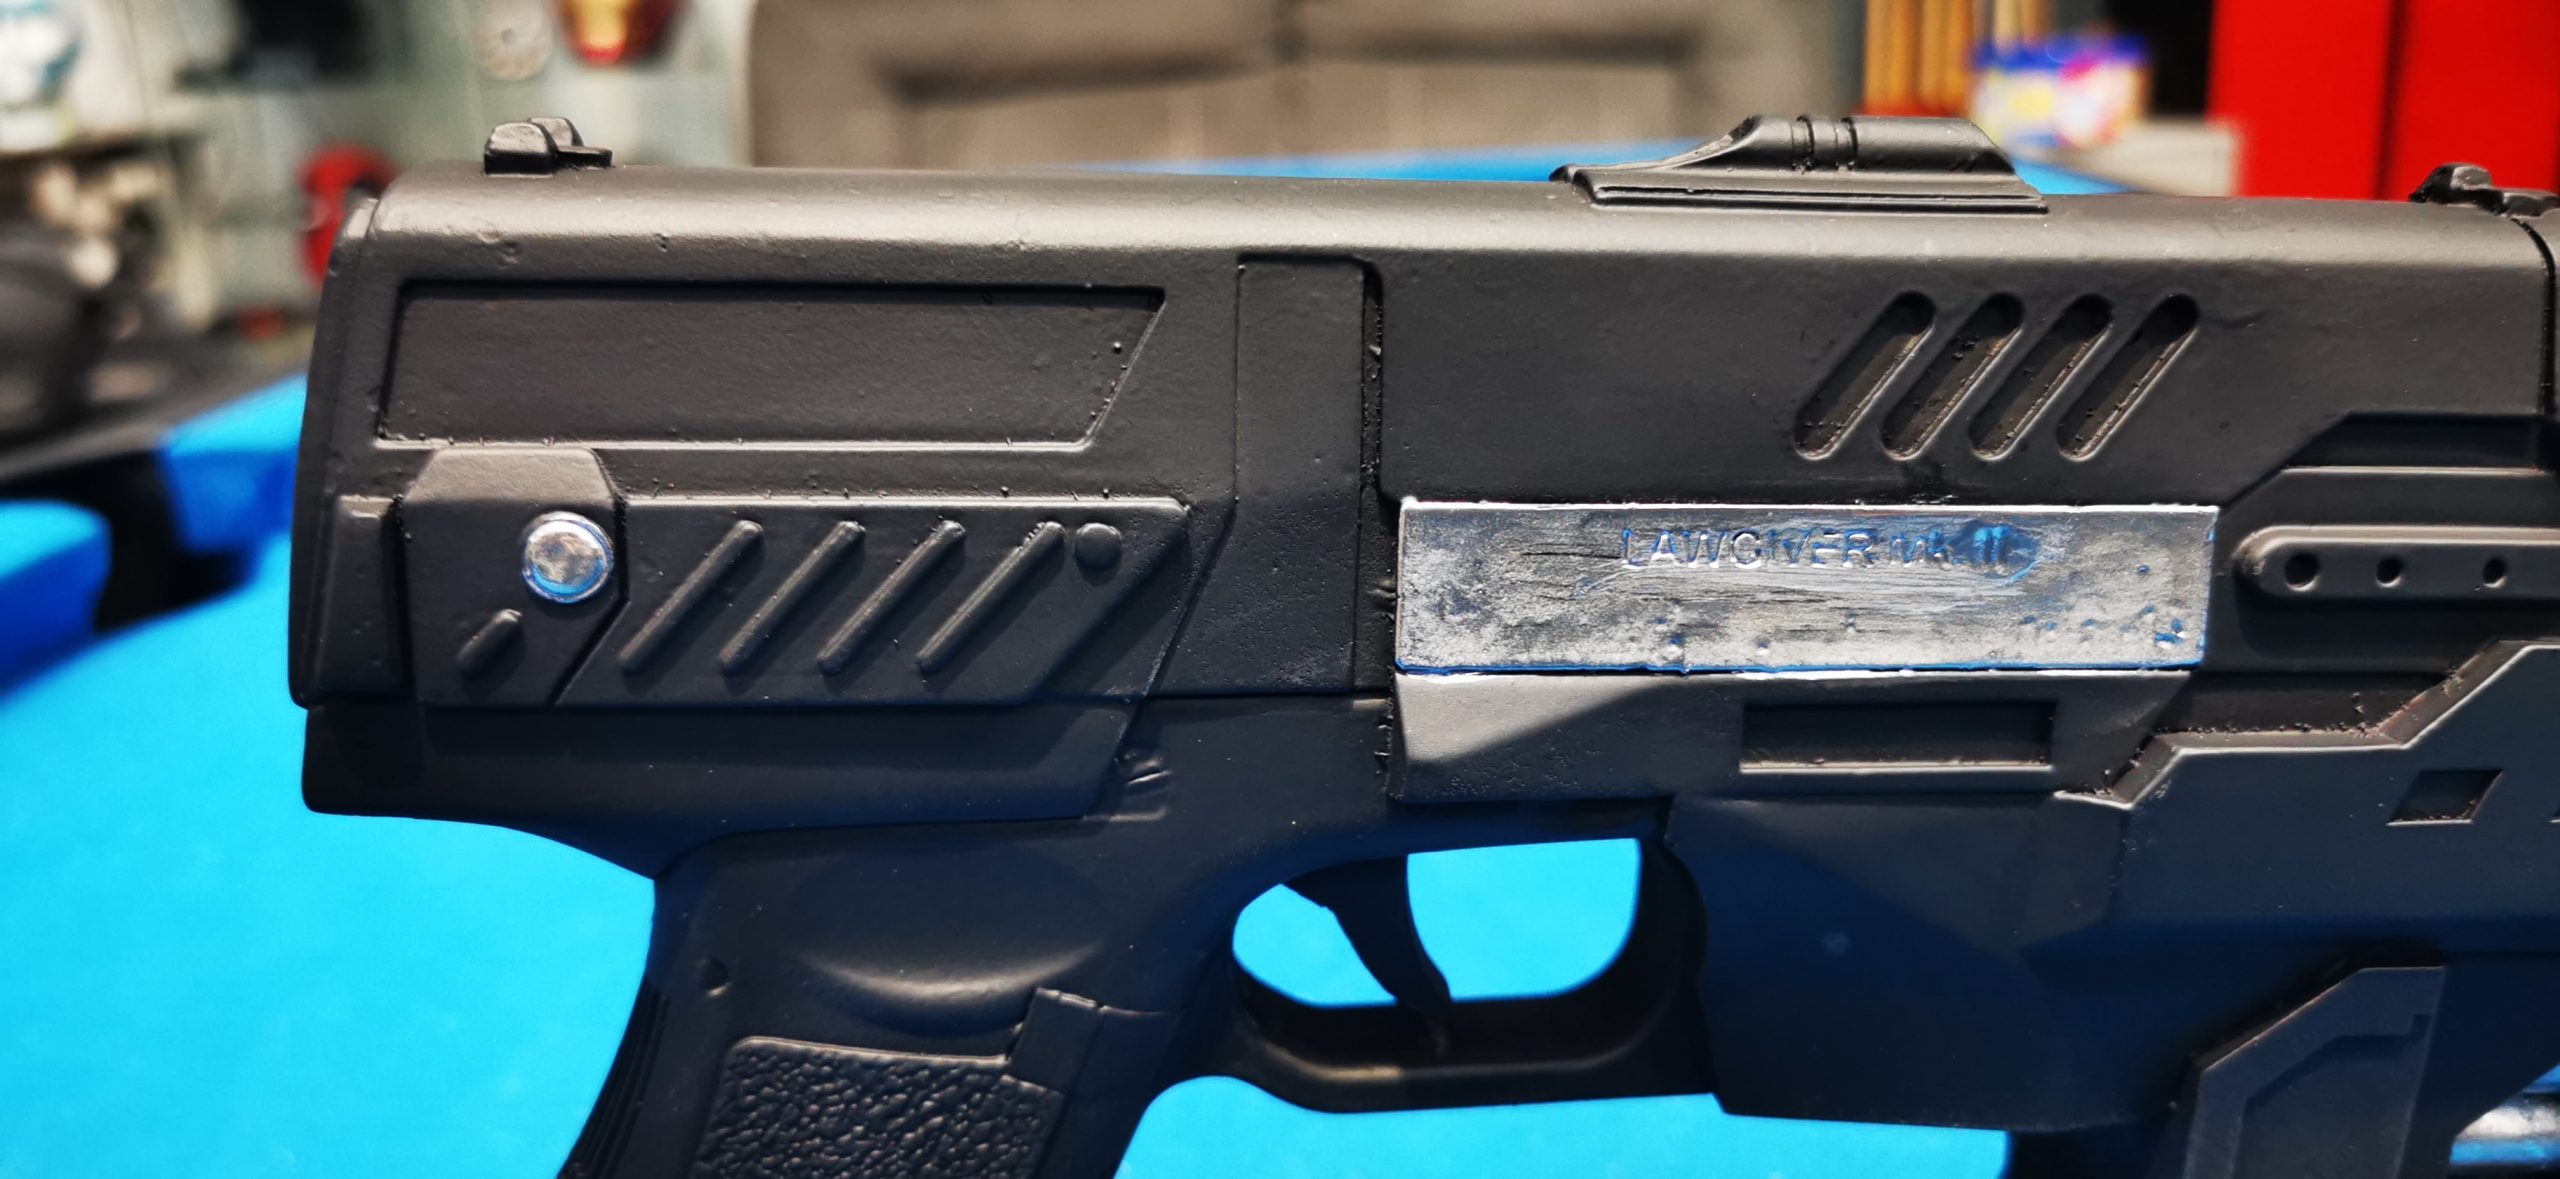
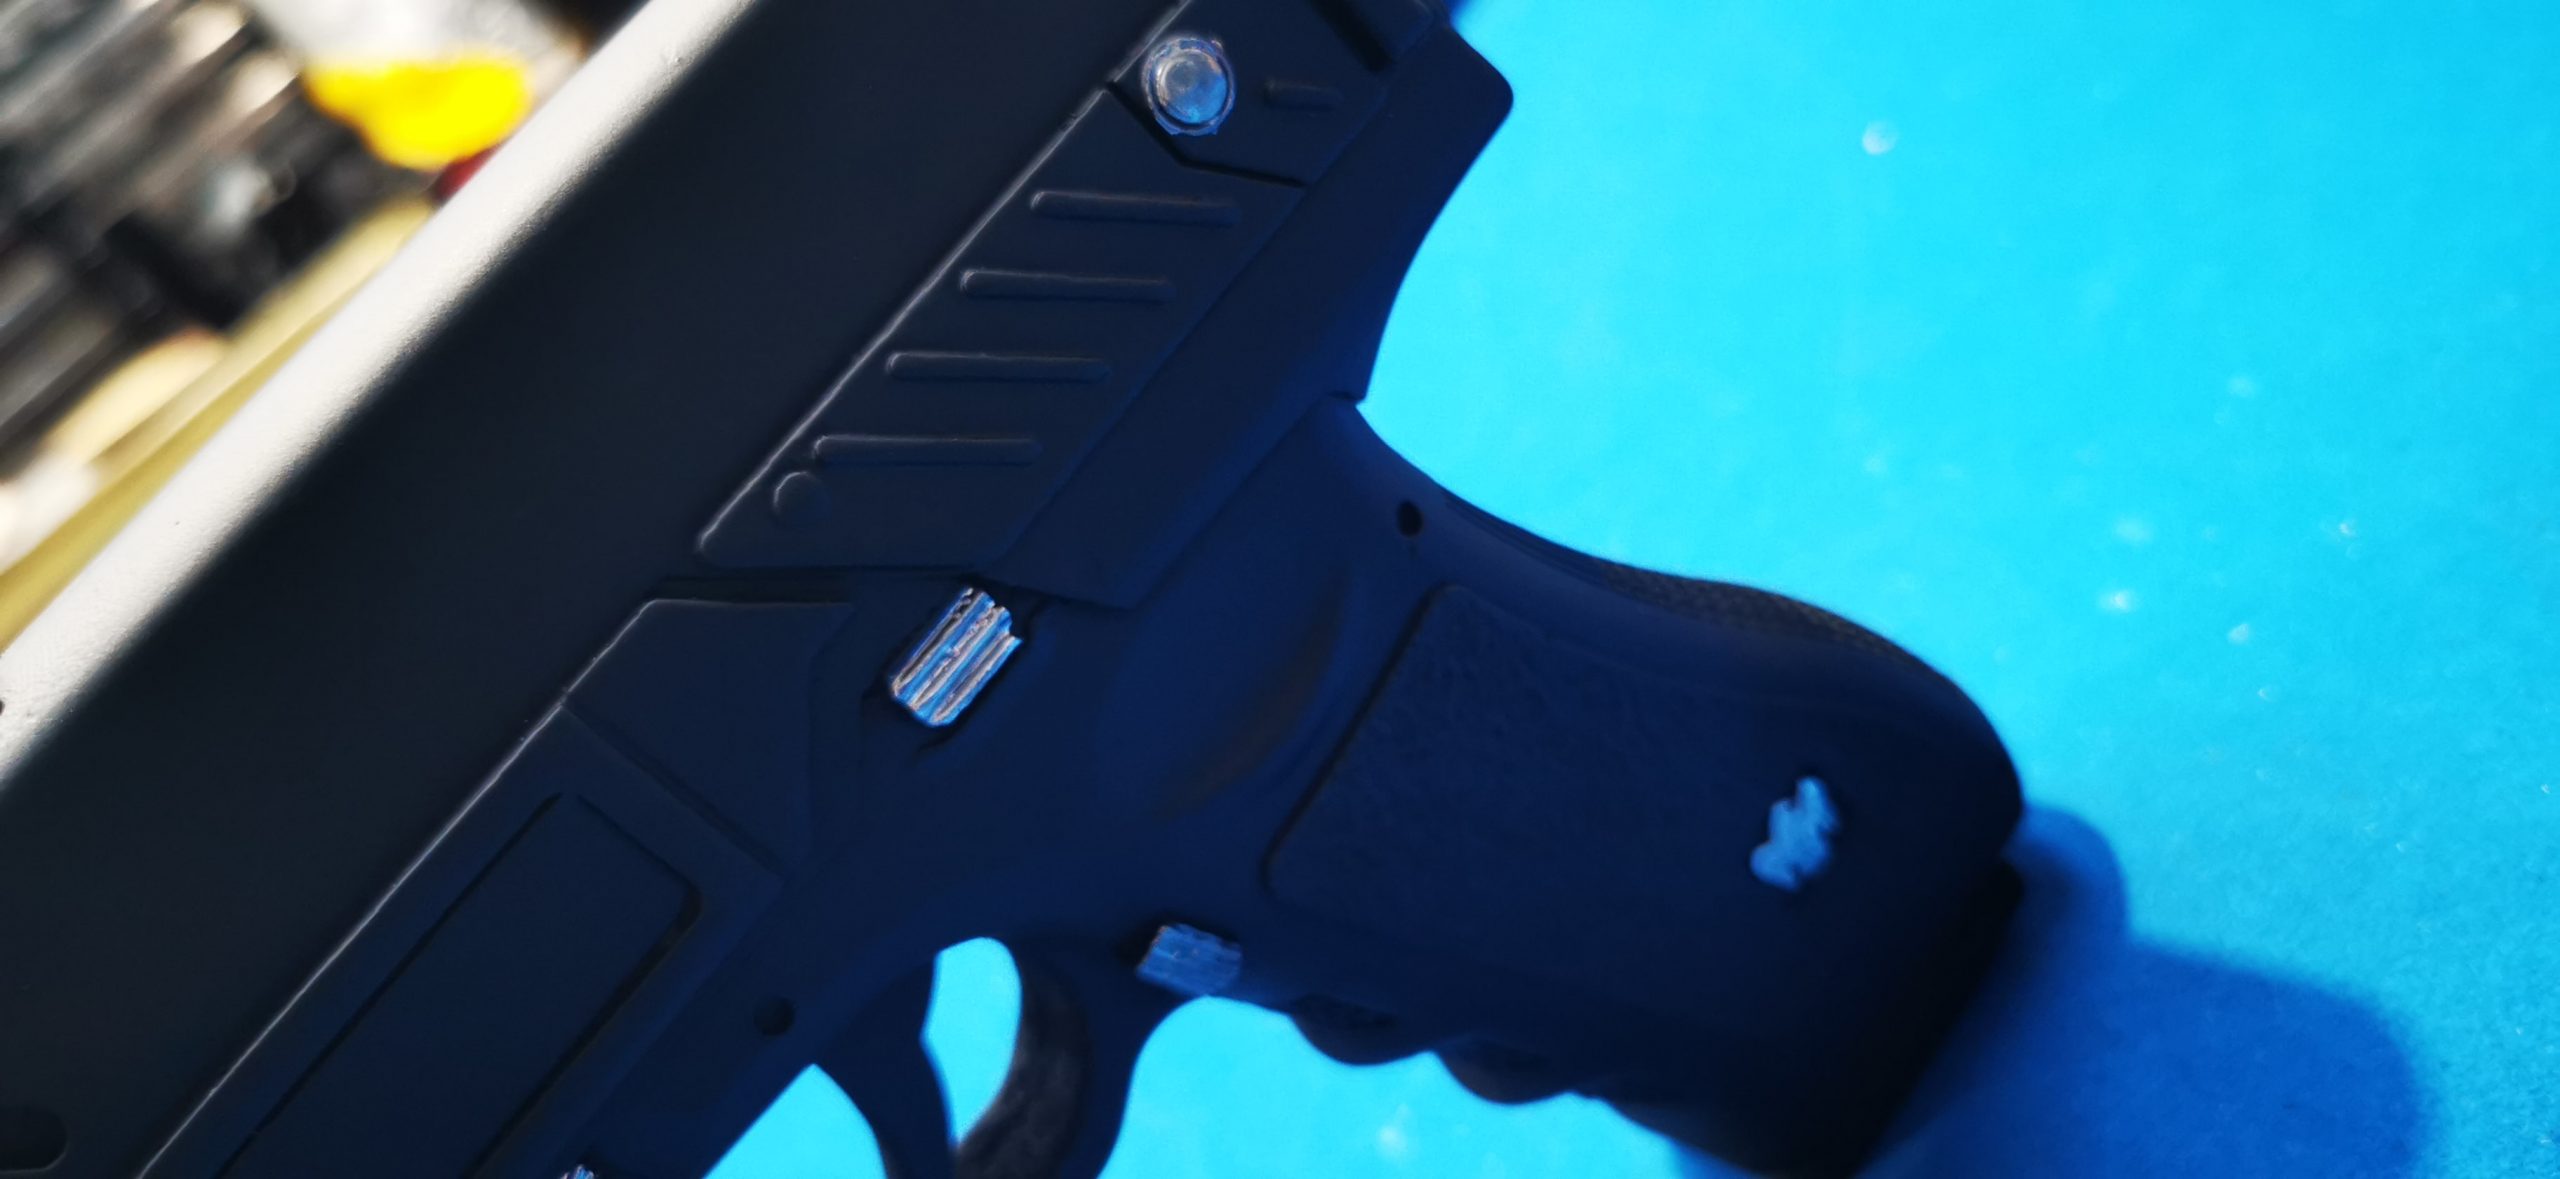
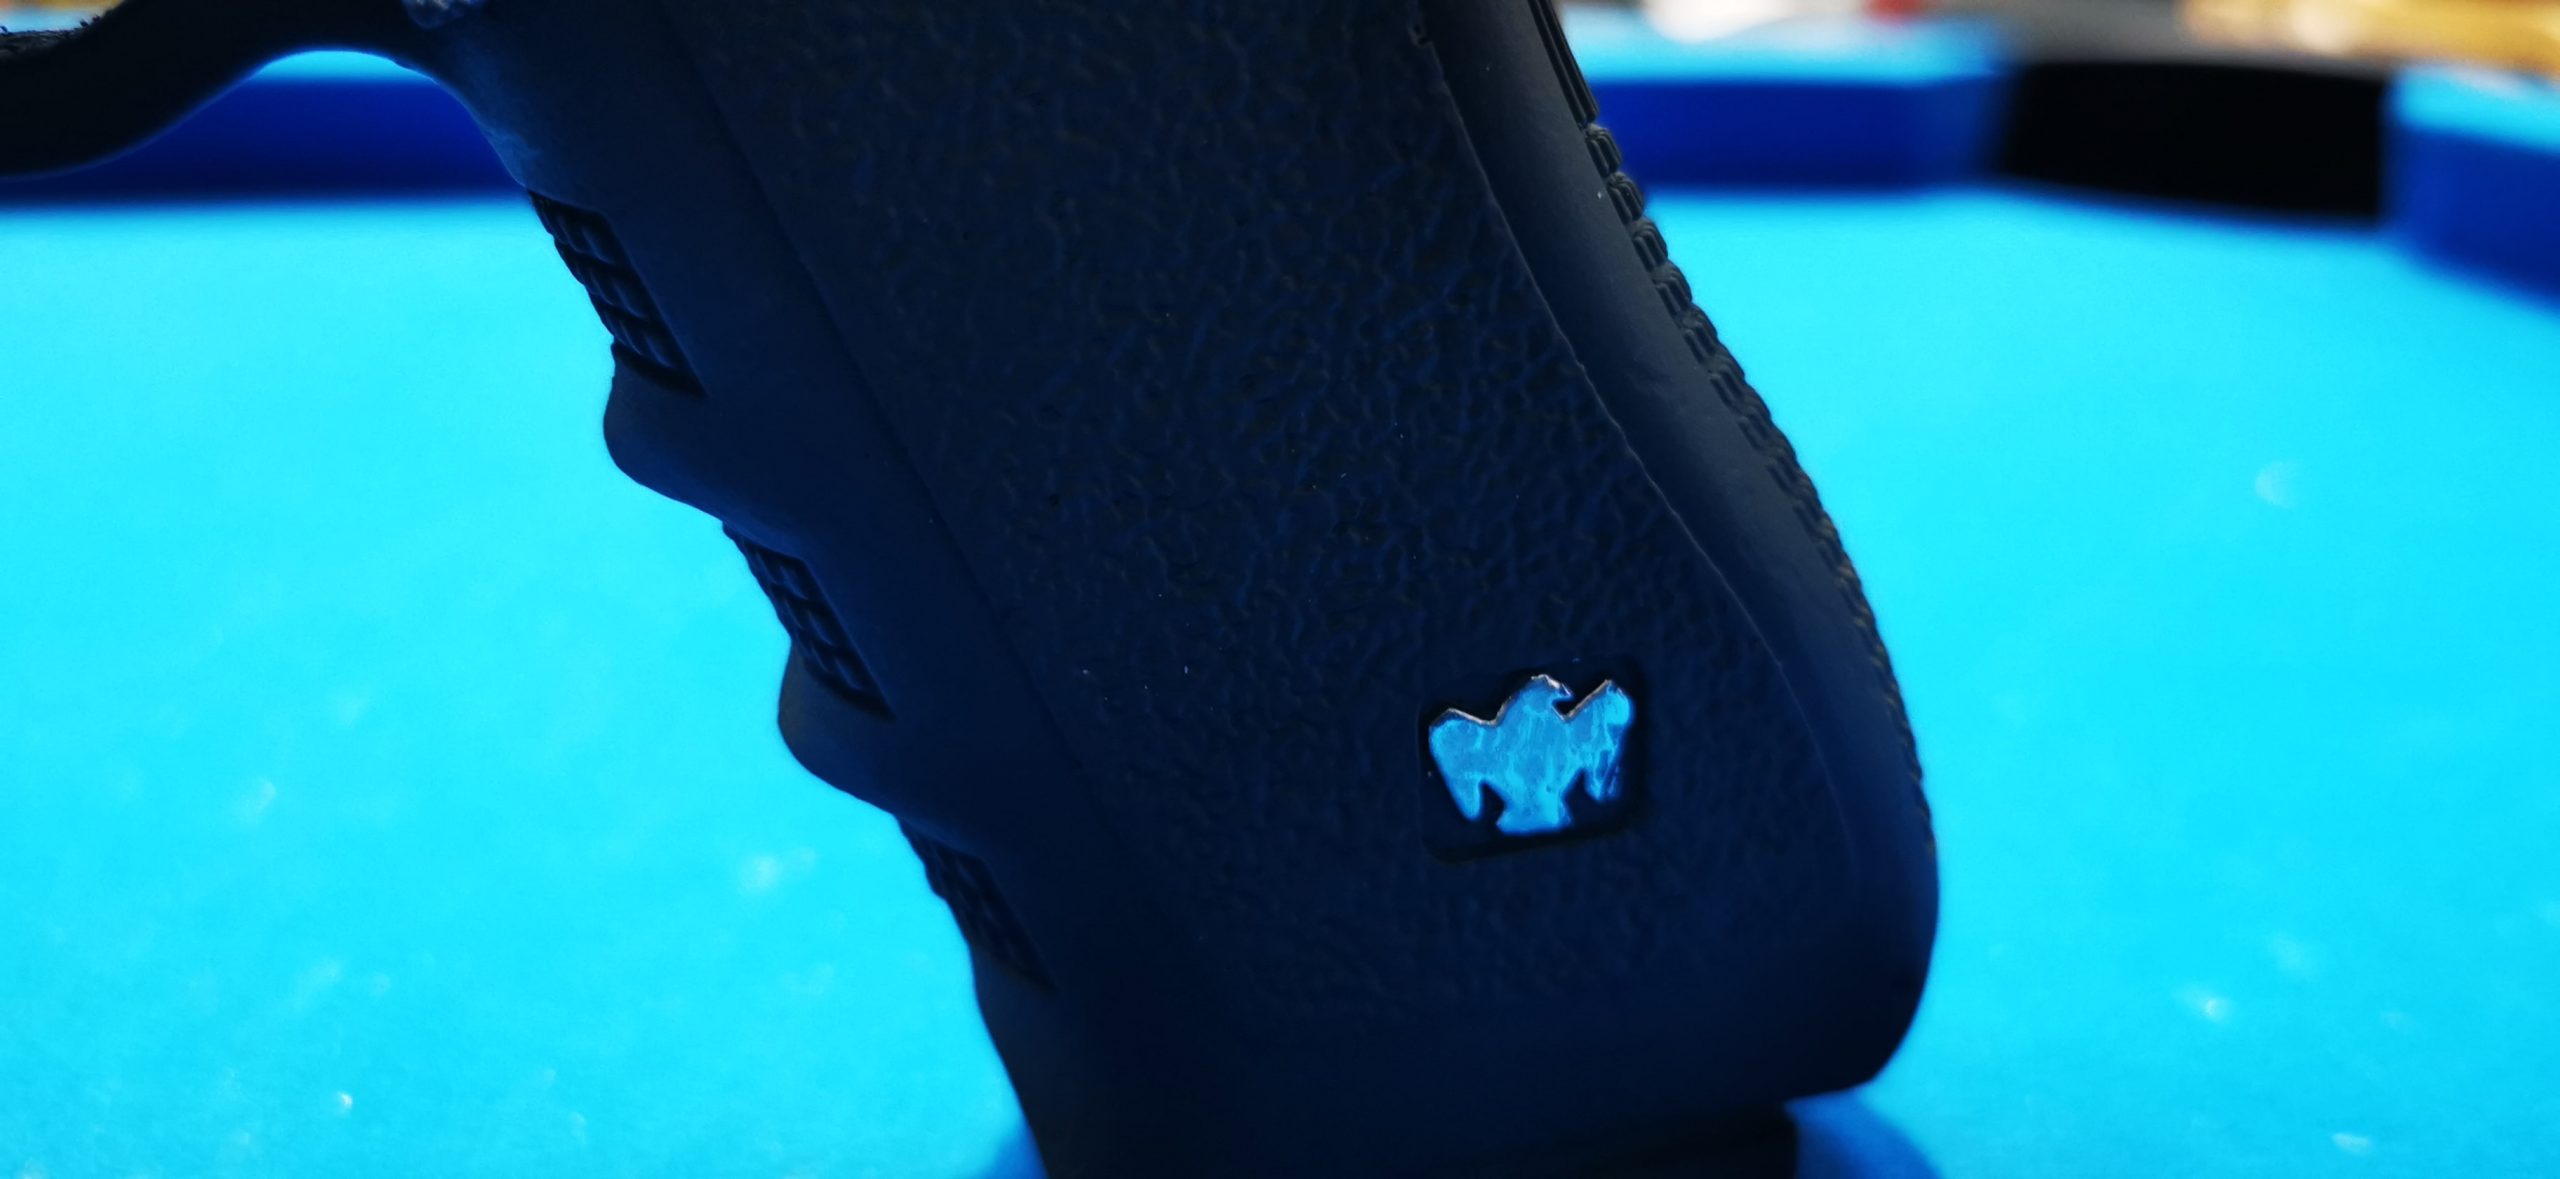
Once the 2K filler primer paint was fully cured, we moved on to the final topcoat. We applied the rich black base coat and left the paint to cure, and then applied it in two light coats so it would dry quicker. The final touch was to apply chrome highlights to detailed parts of the prop. We didn’t want to go overboard, so we only added highlights on a few parts of the gun.
Drew was really pleased with the end result, especially considering the condition the prop came to us in the first place. This was another great little project, not too difficult to do, and if you have anything like it at home, it’s worth an attempt yourself. Thanks, Drew.


