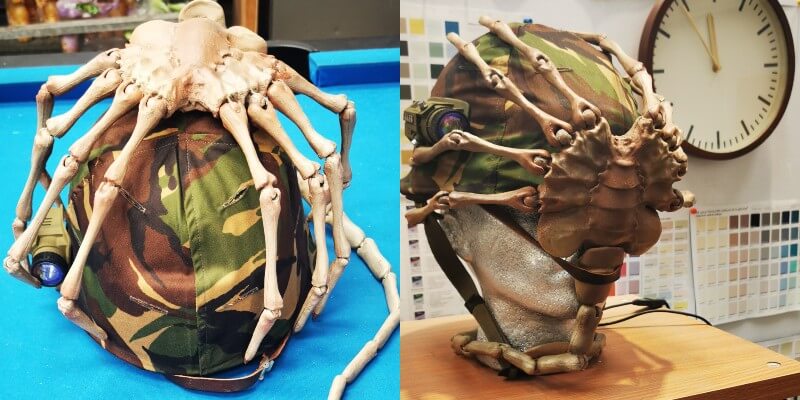
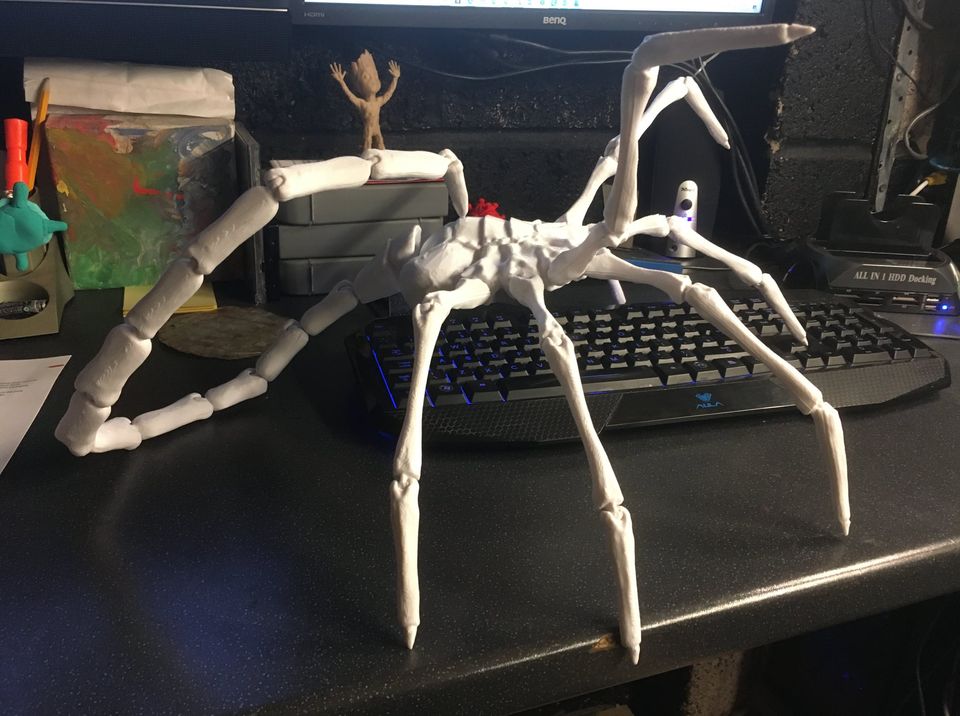
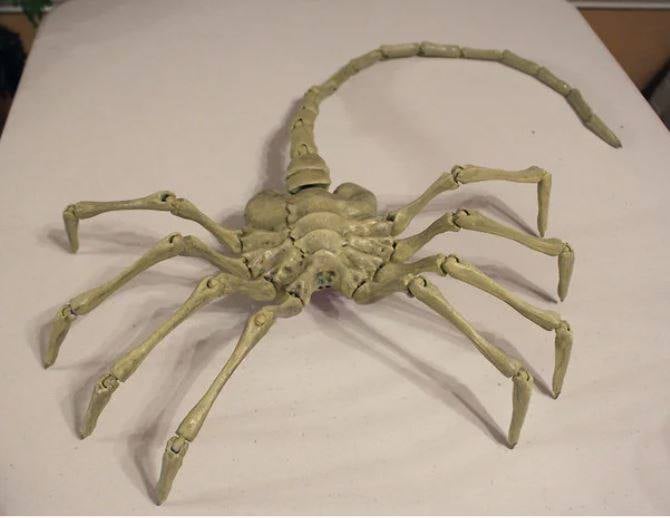
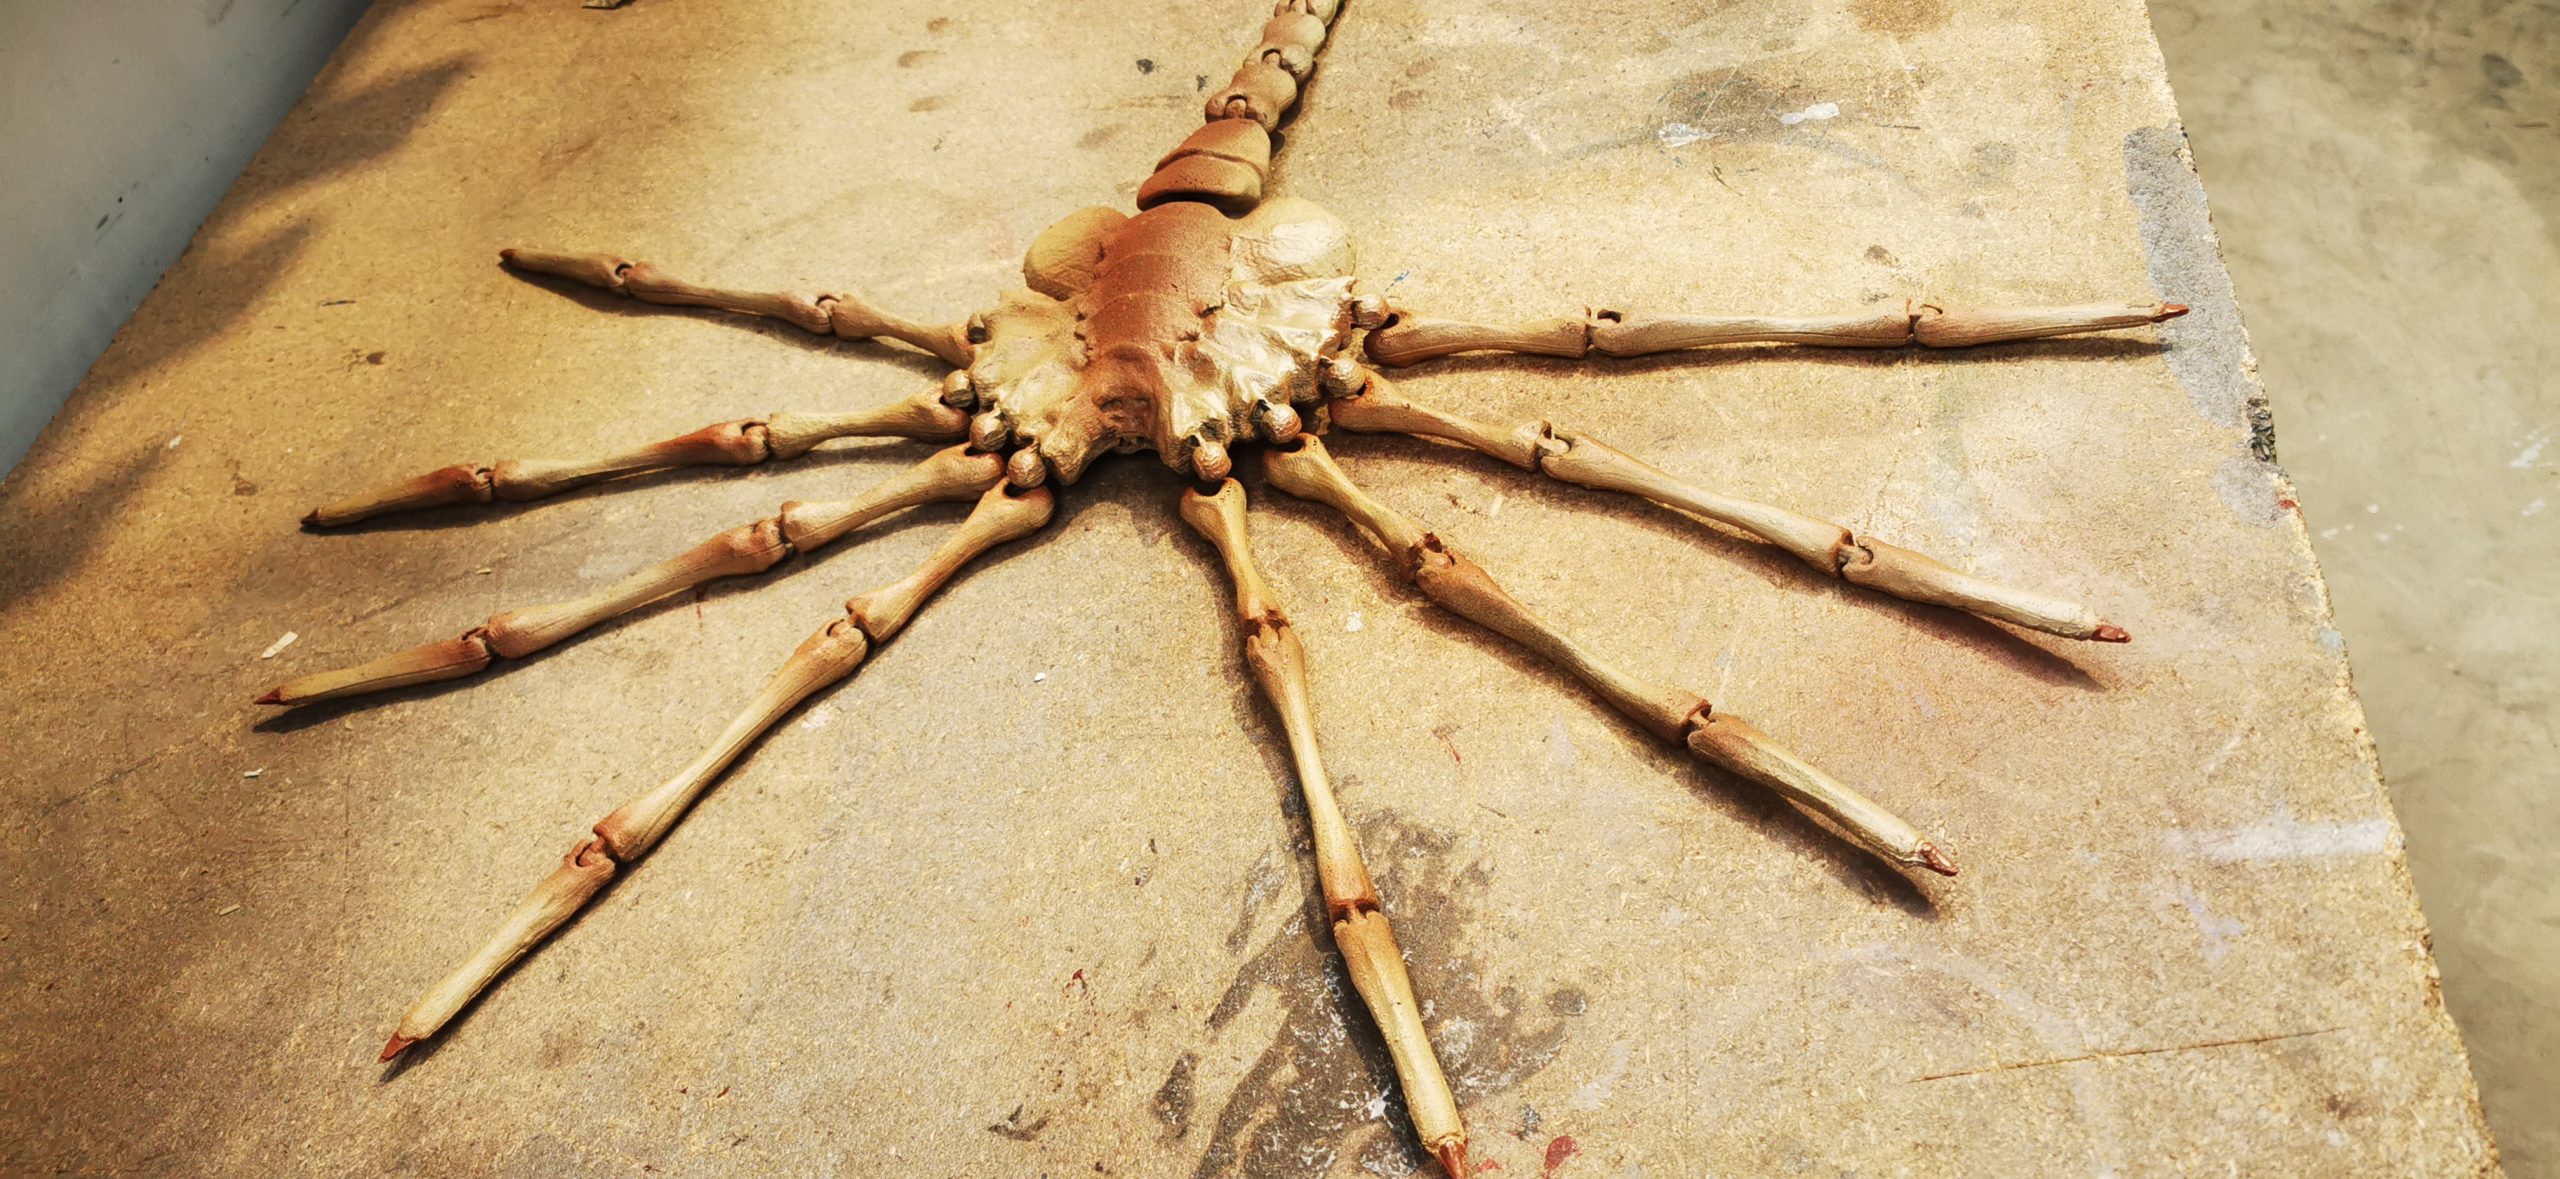
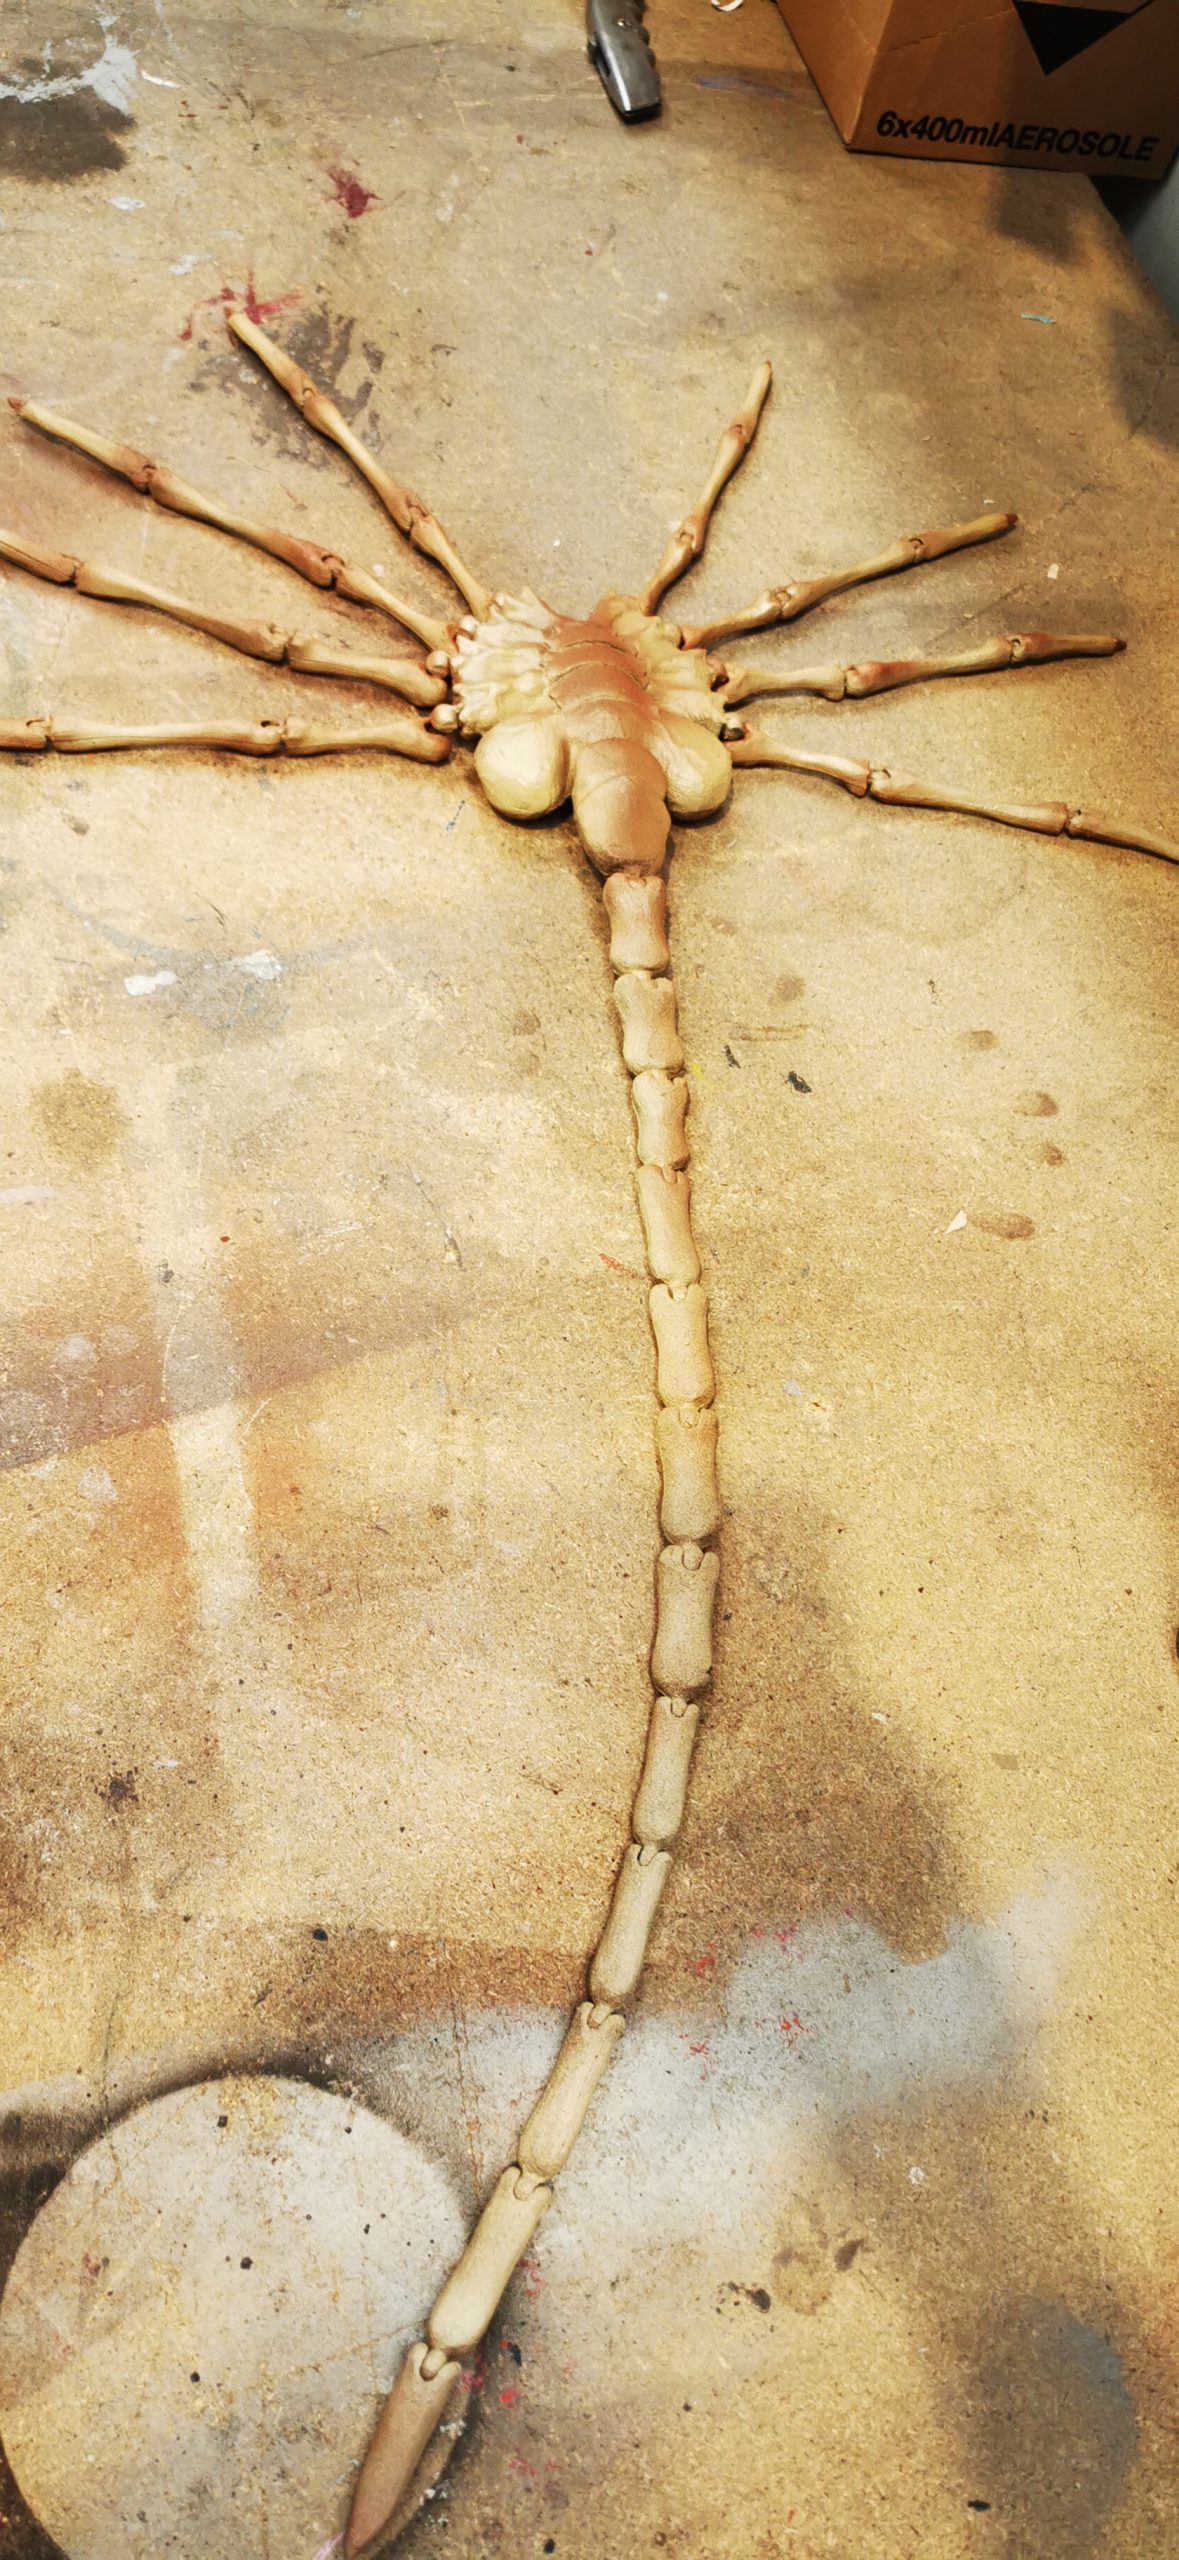
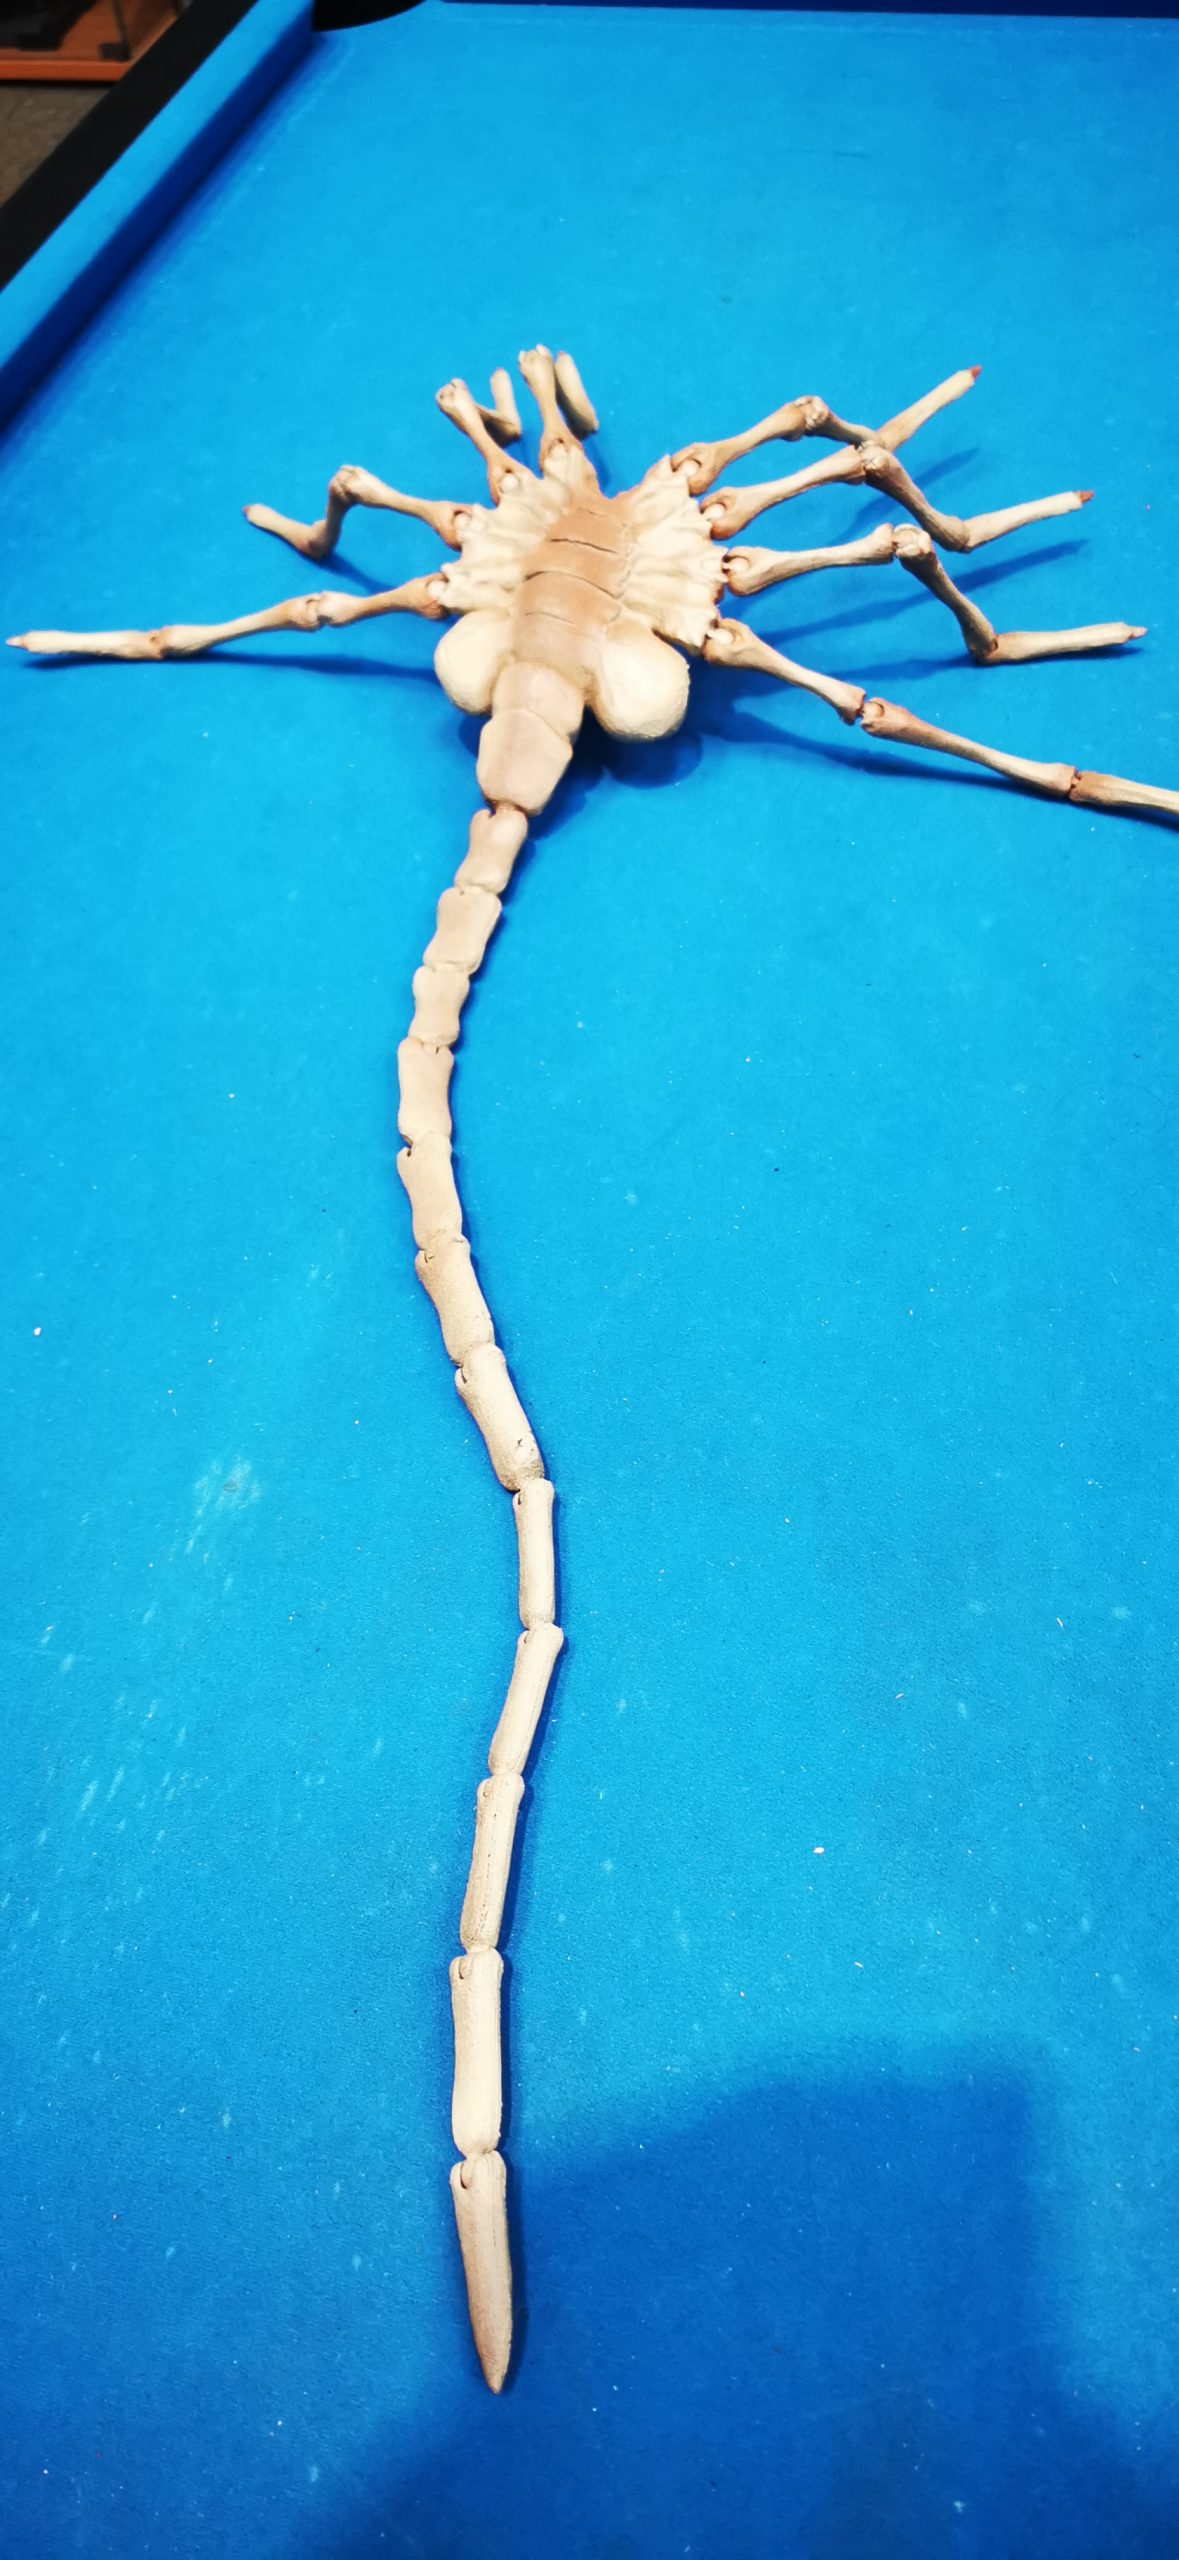
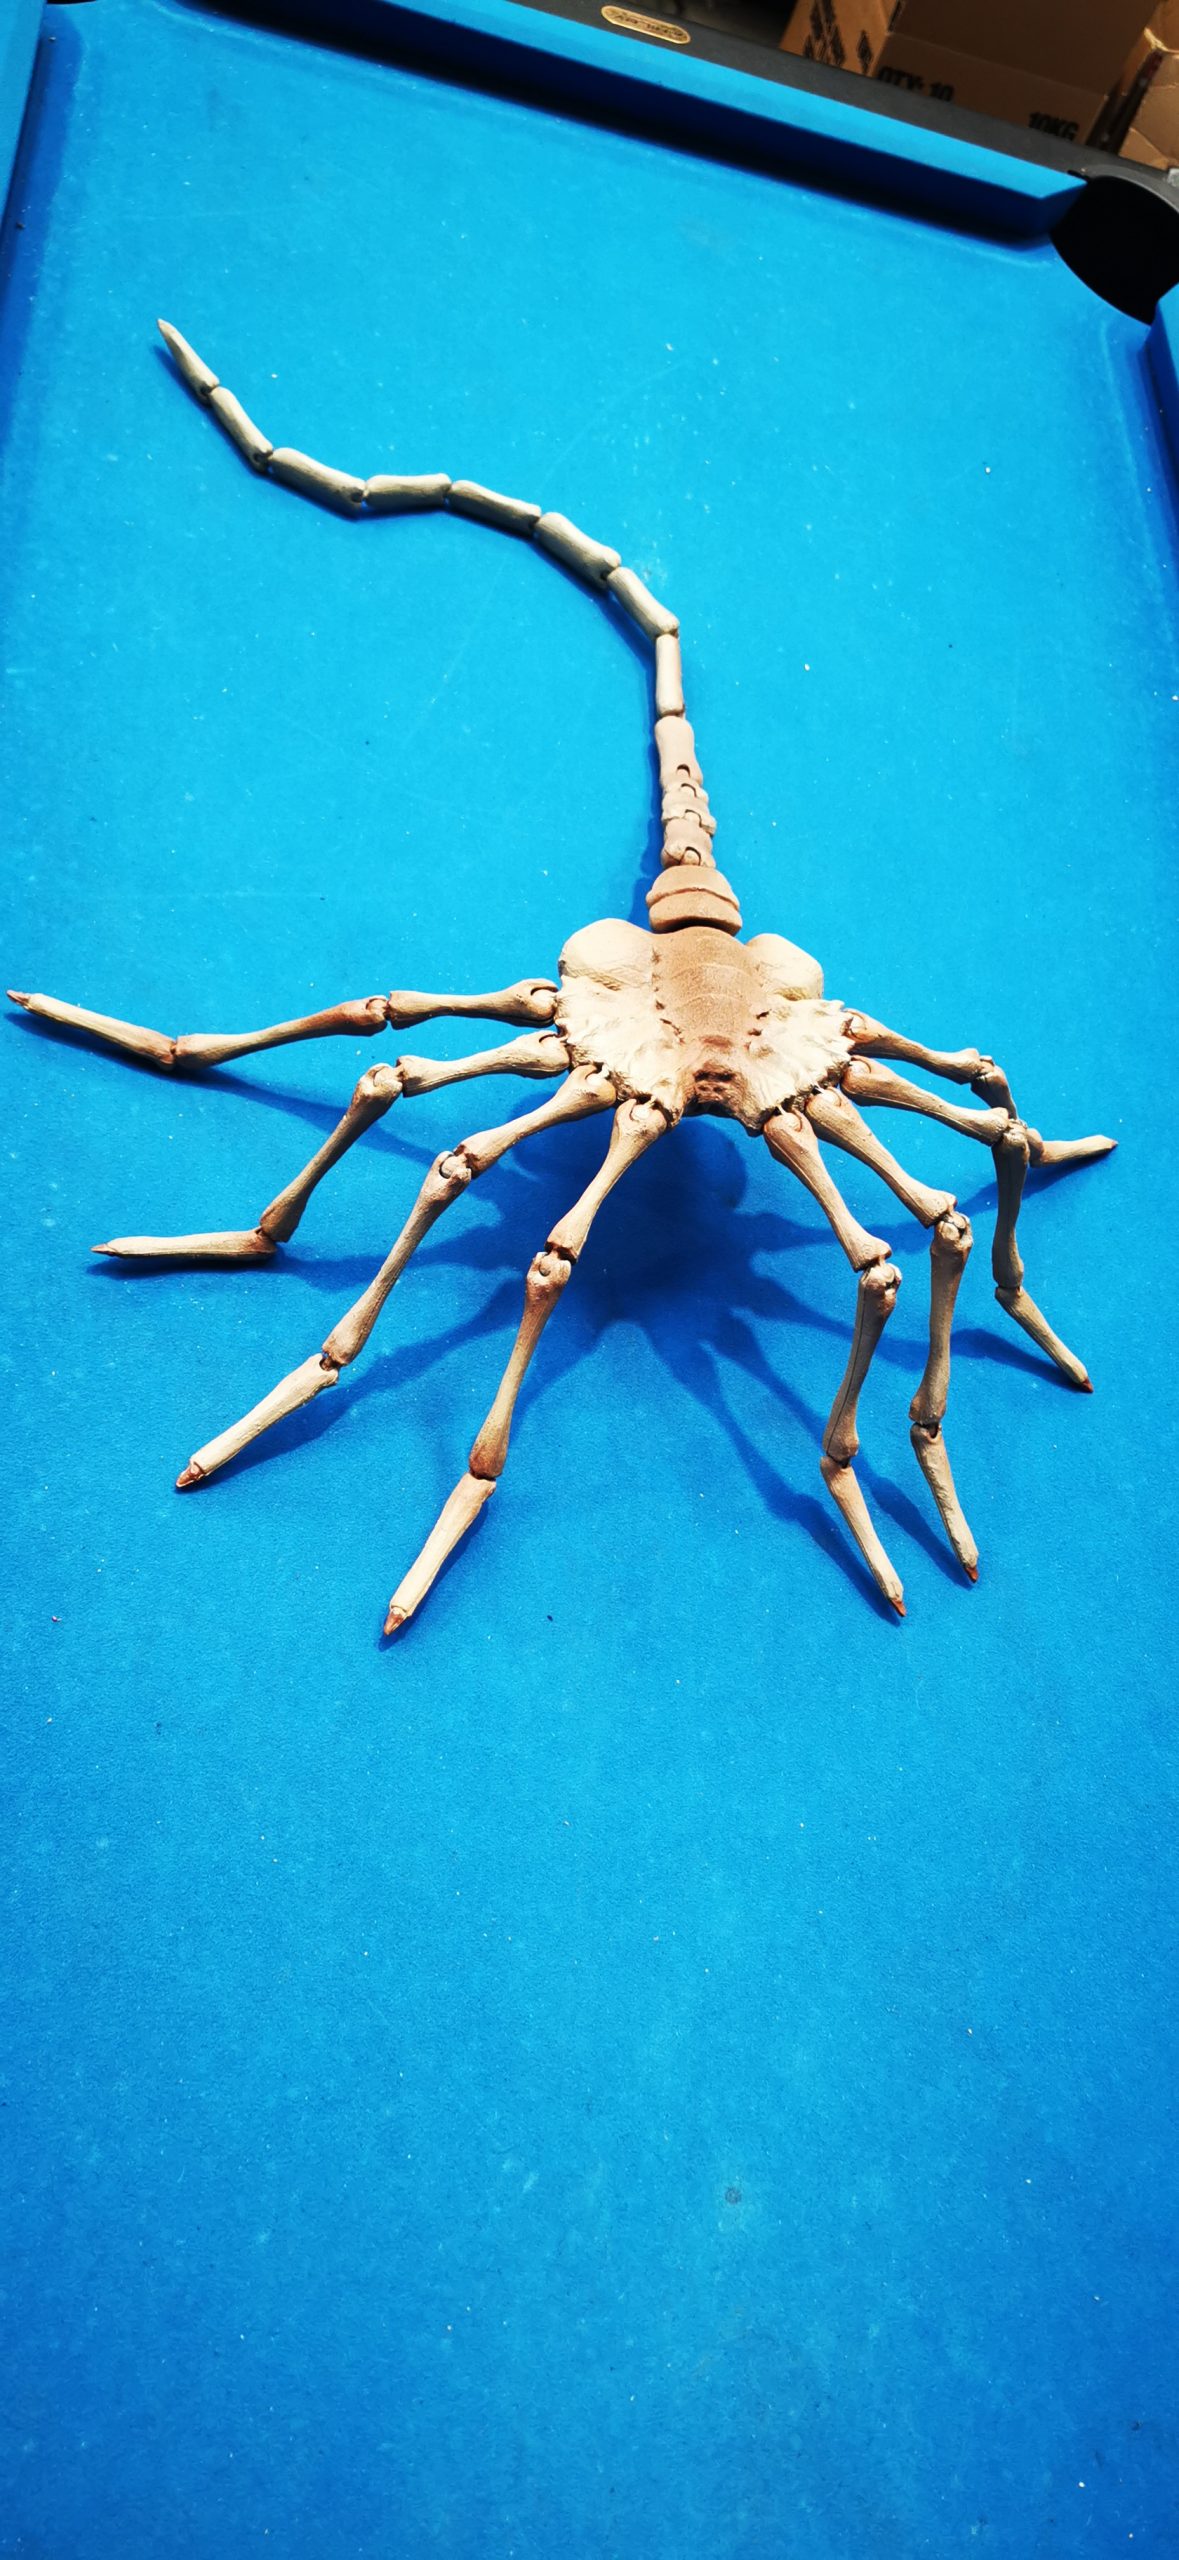
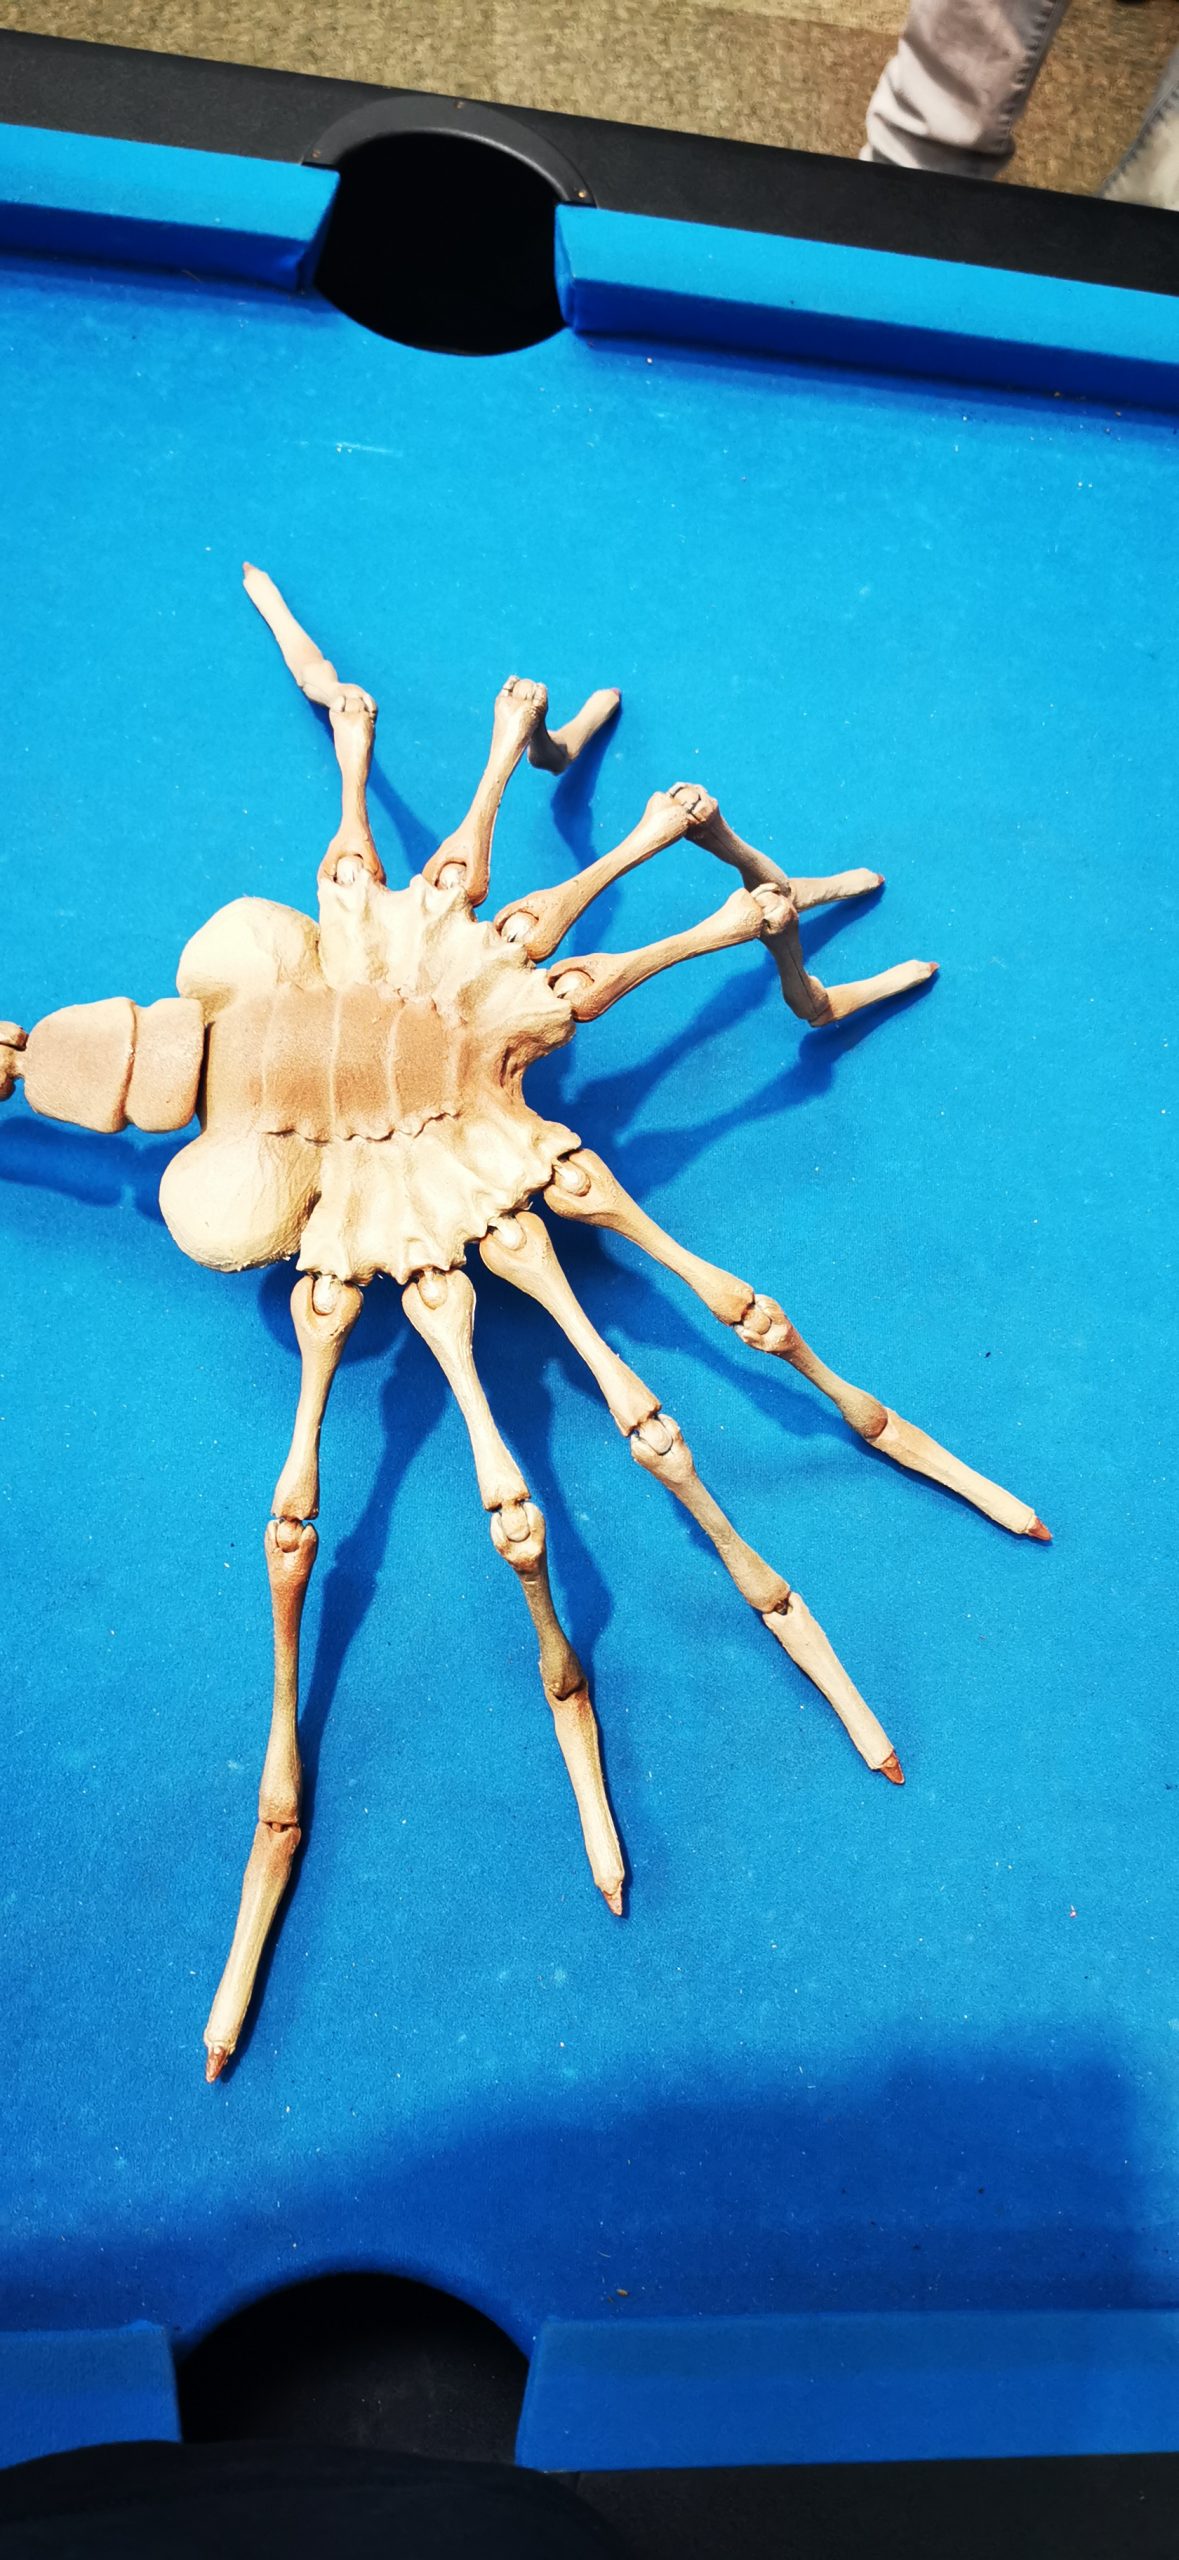
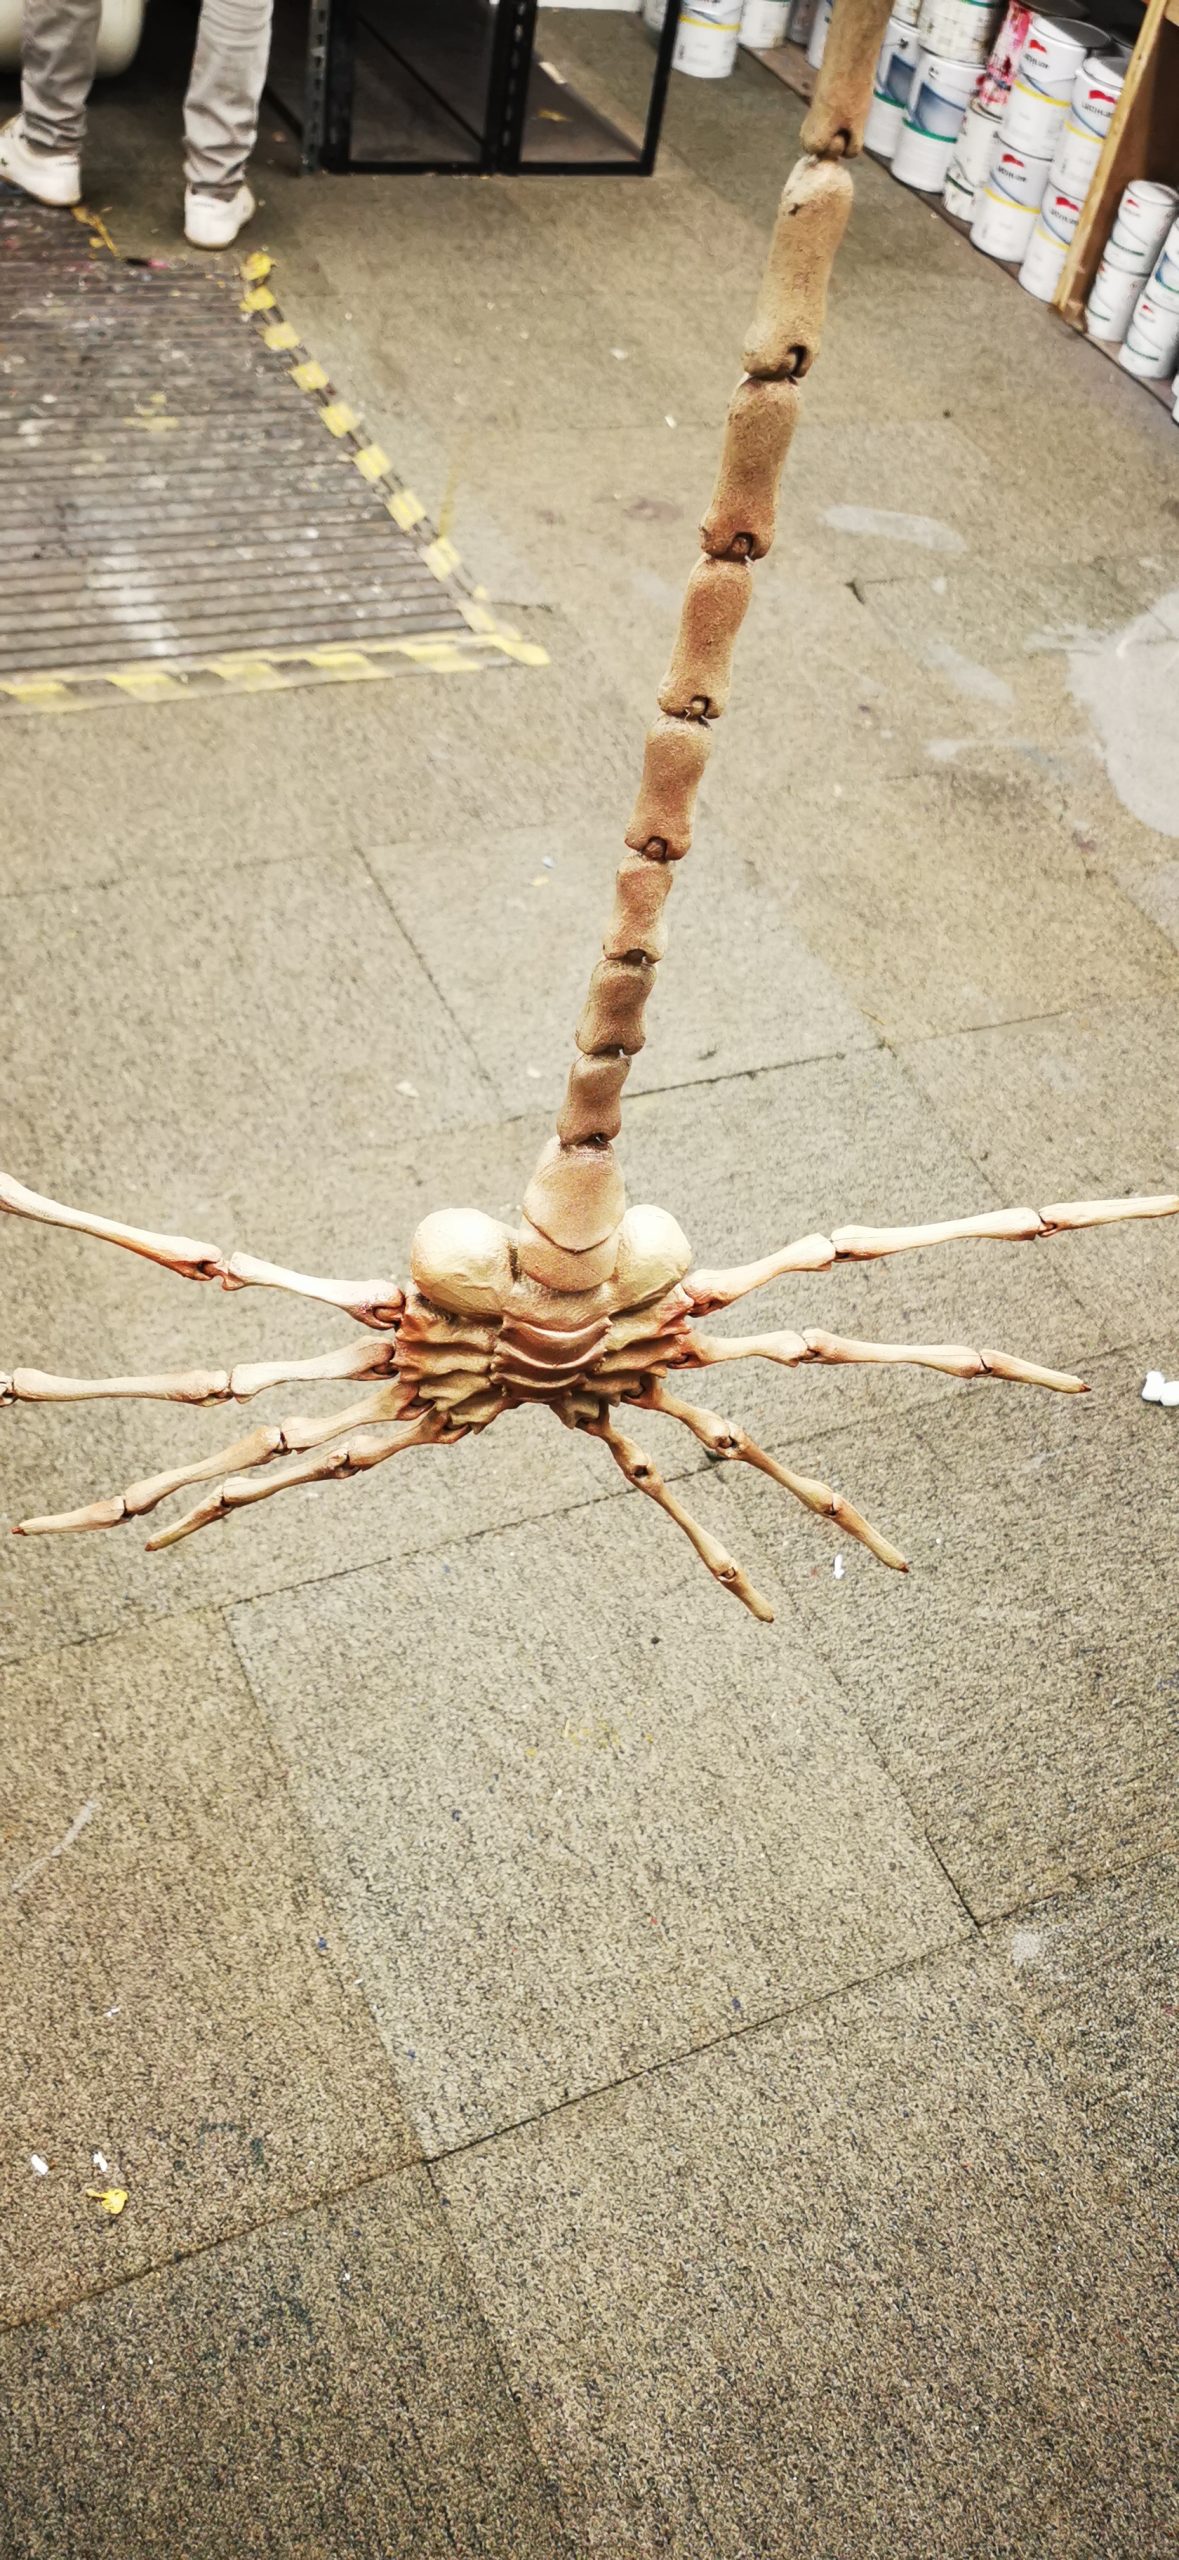
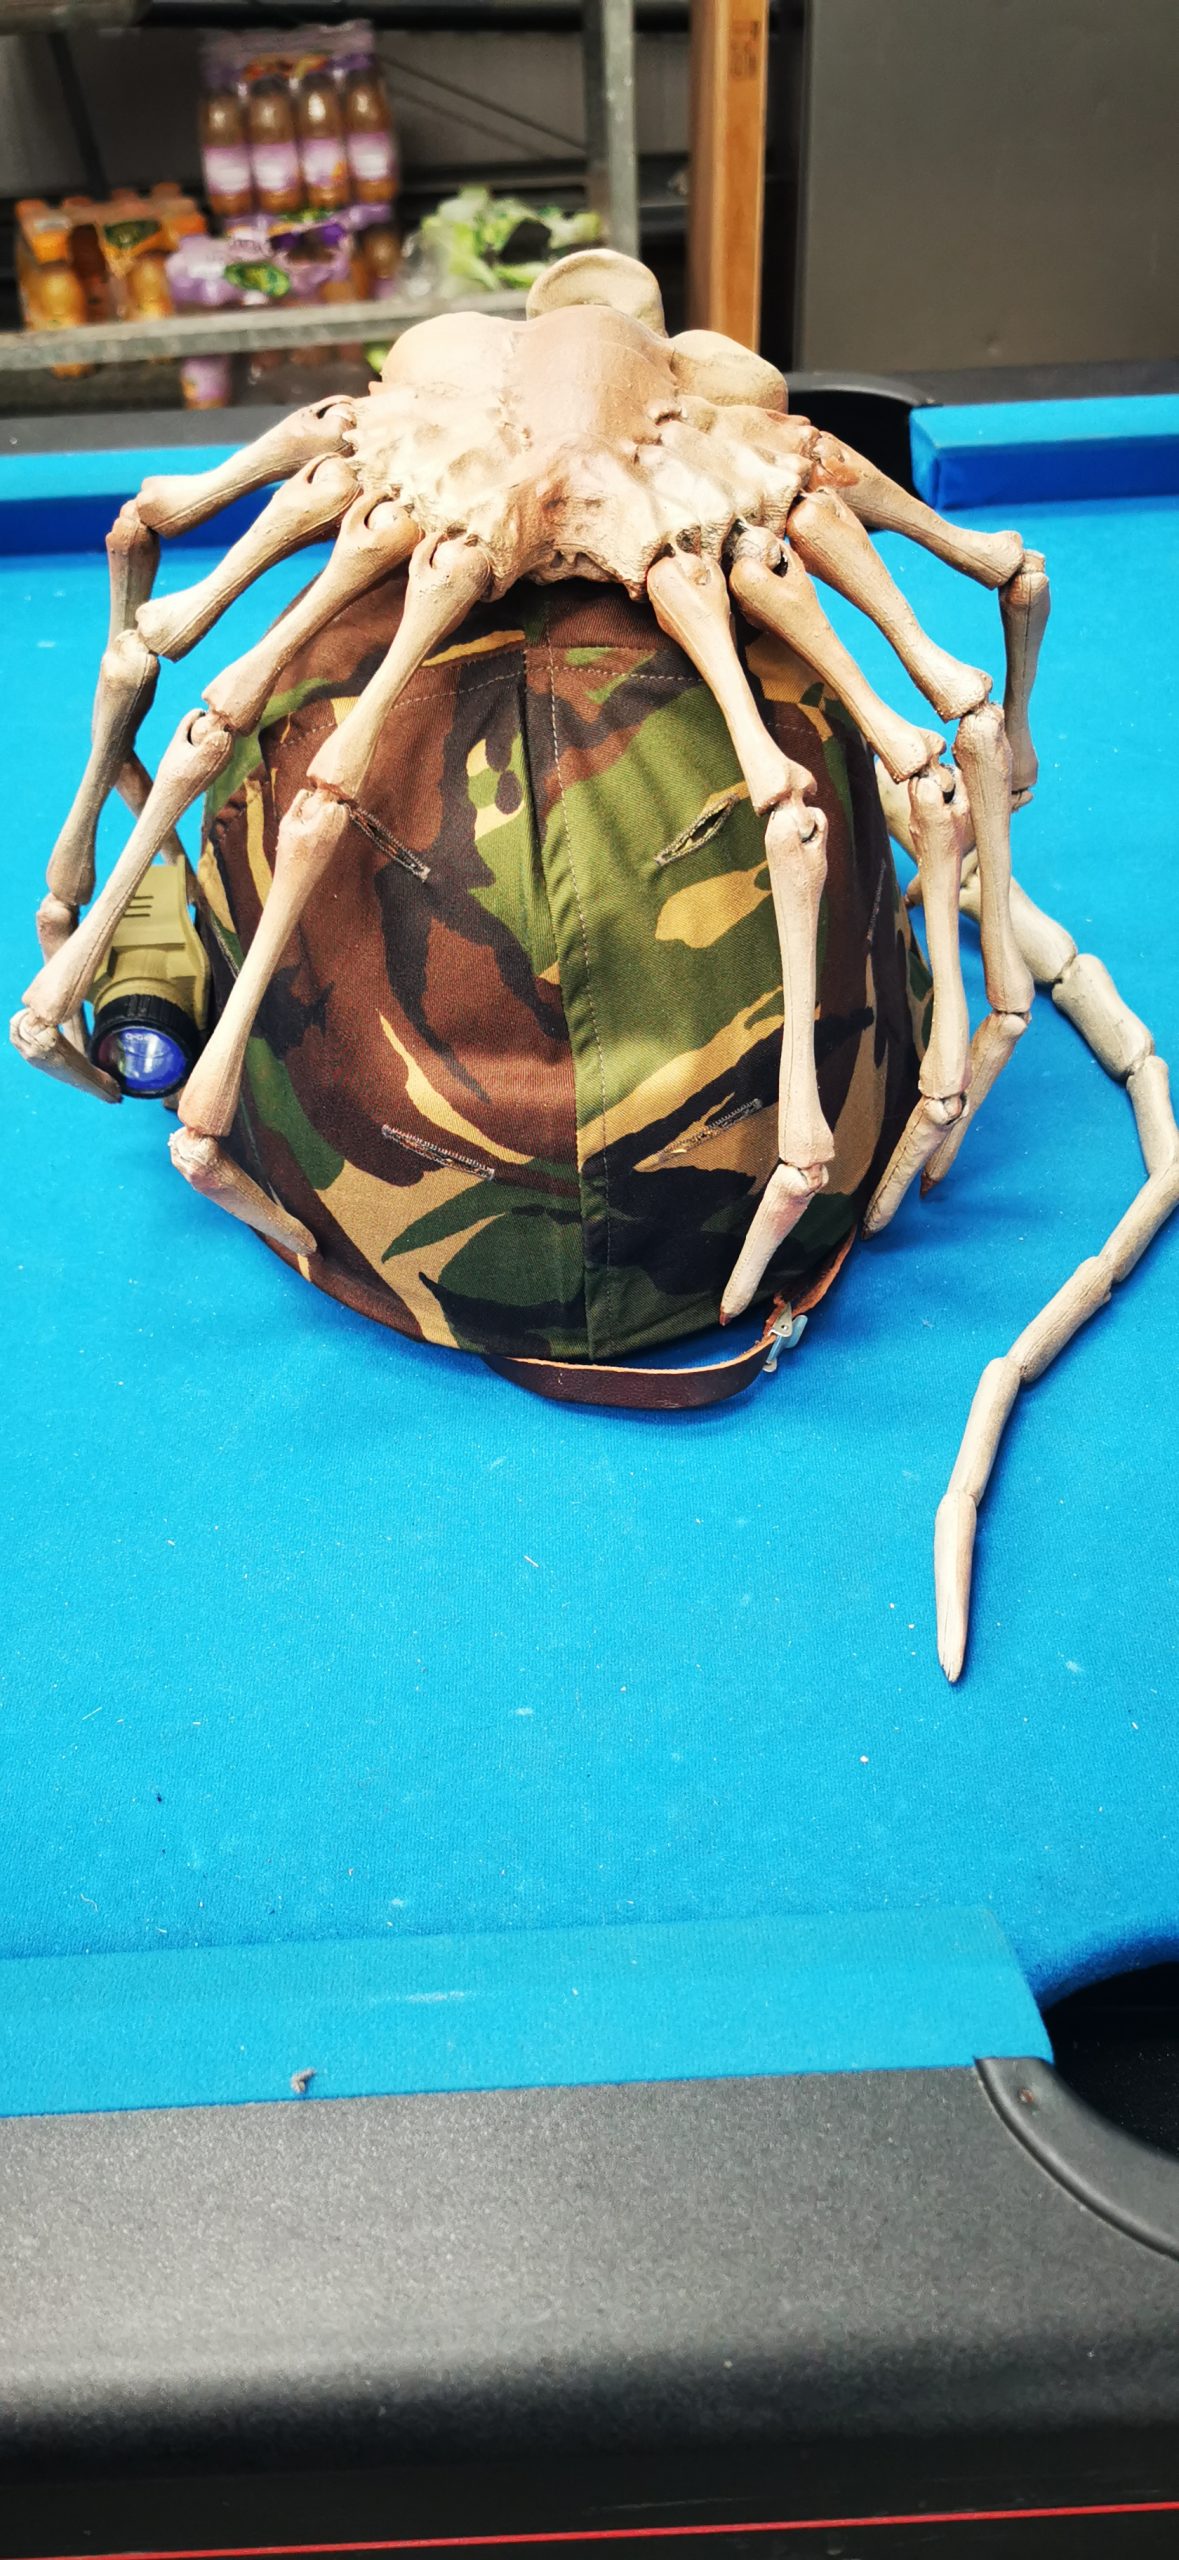
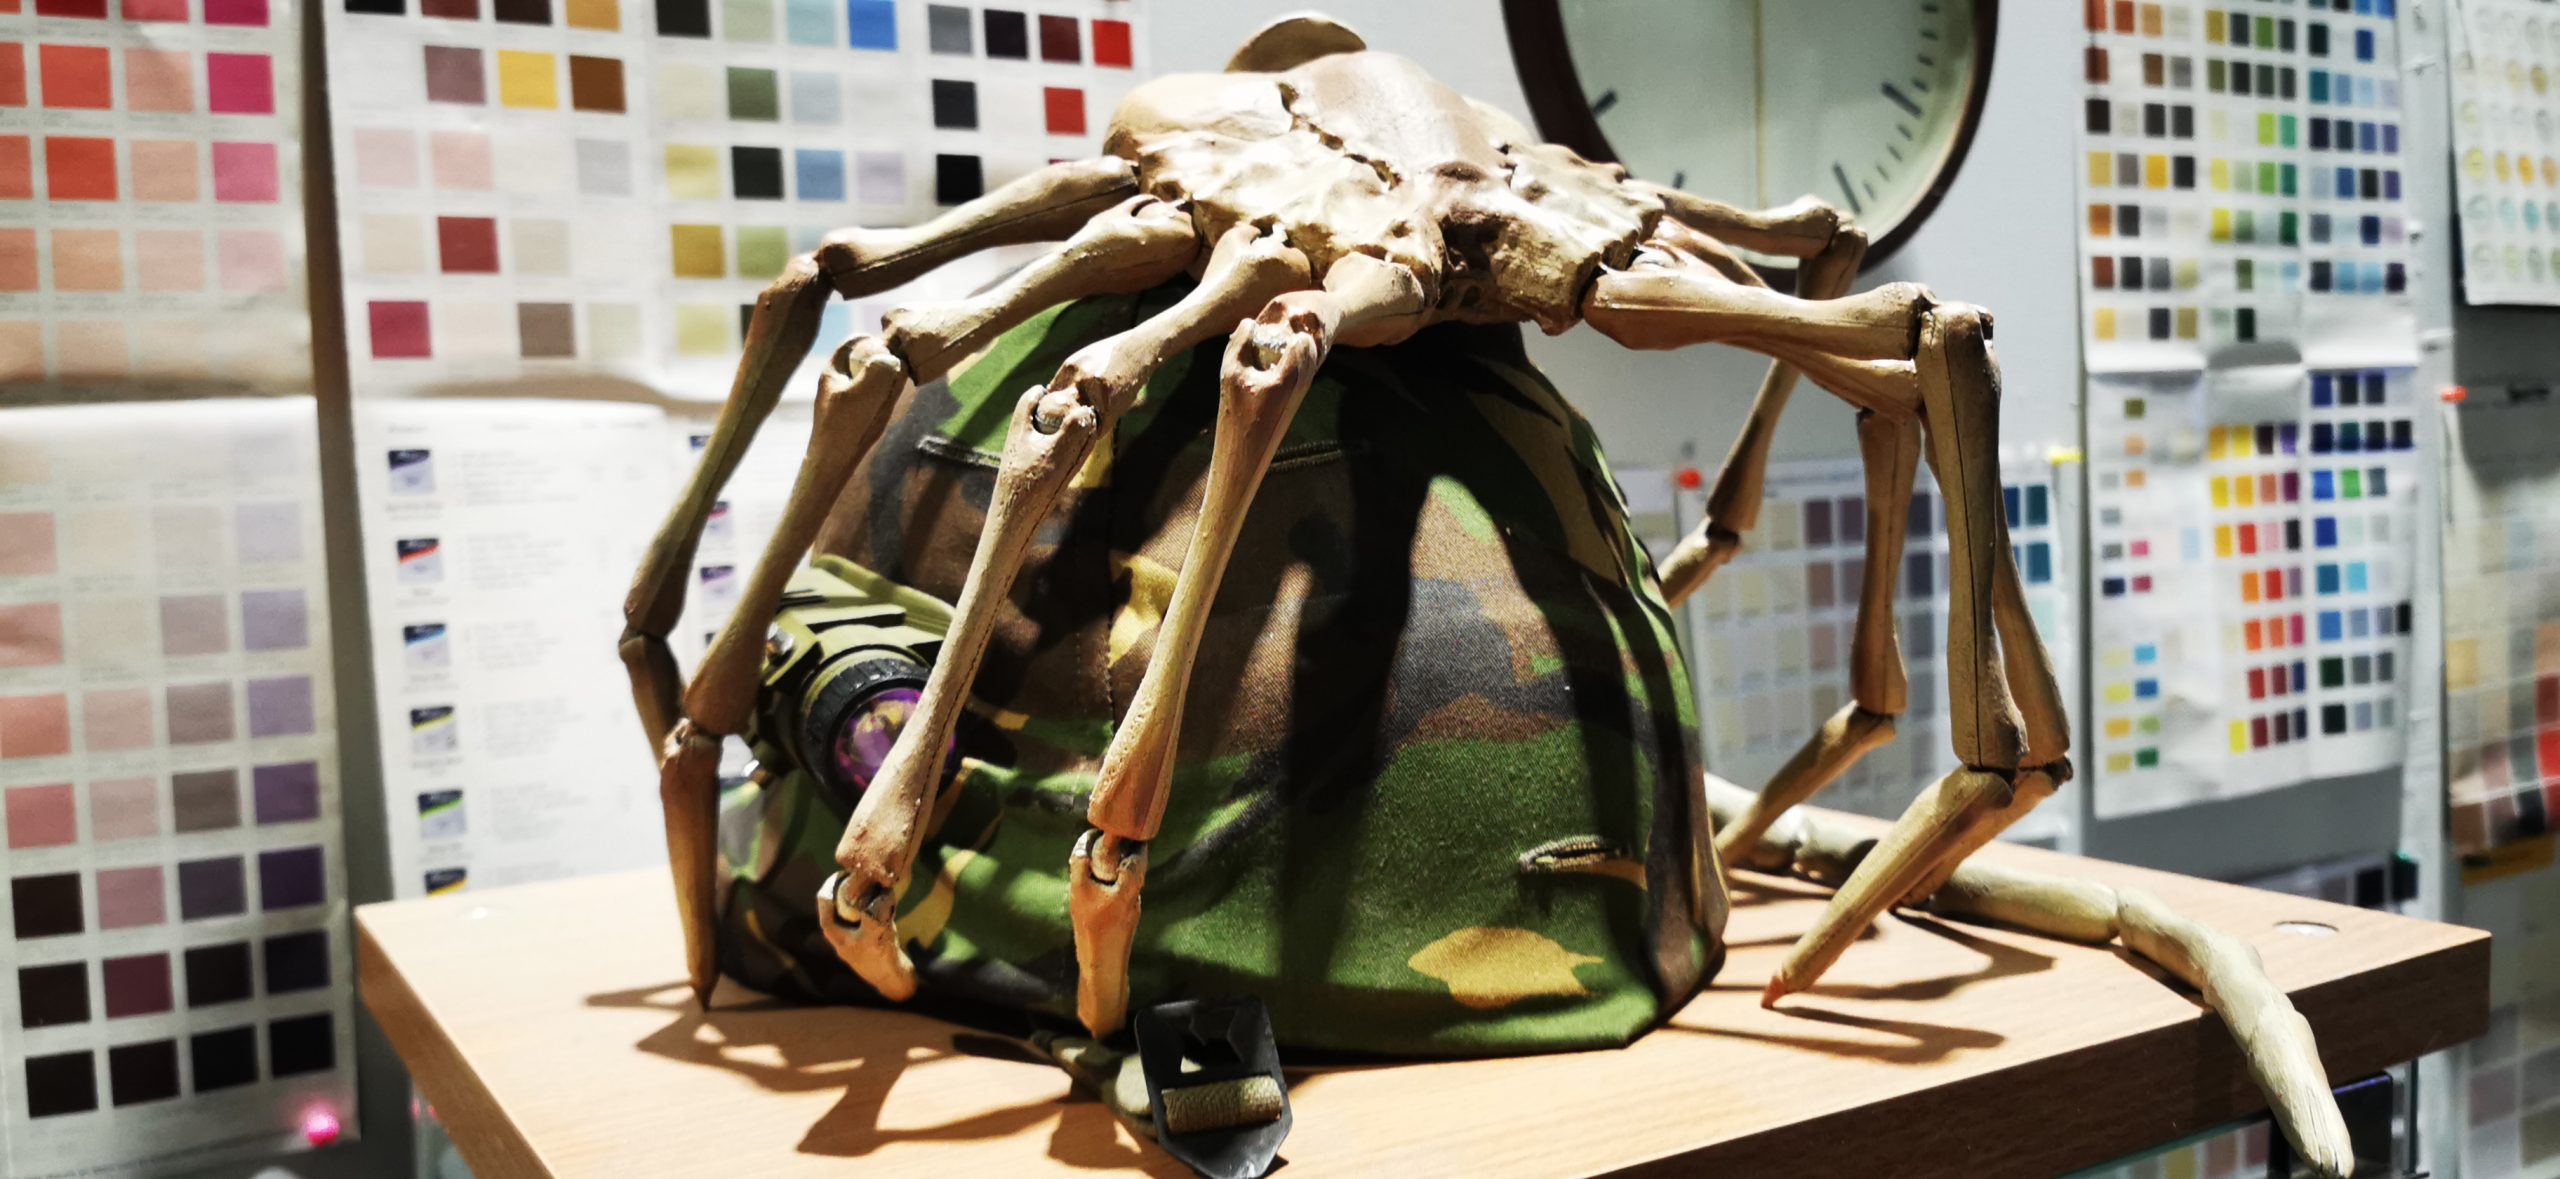
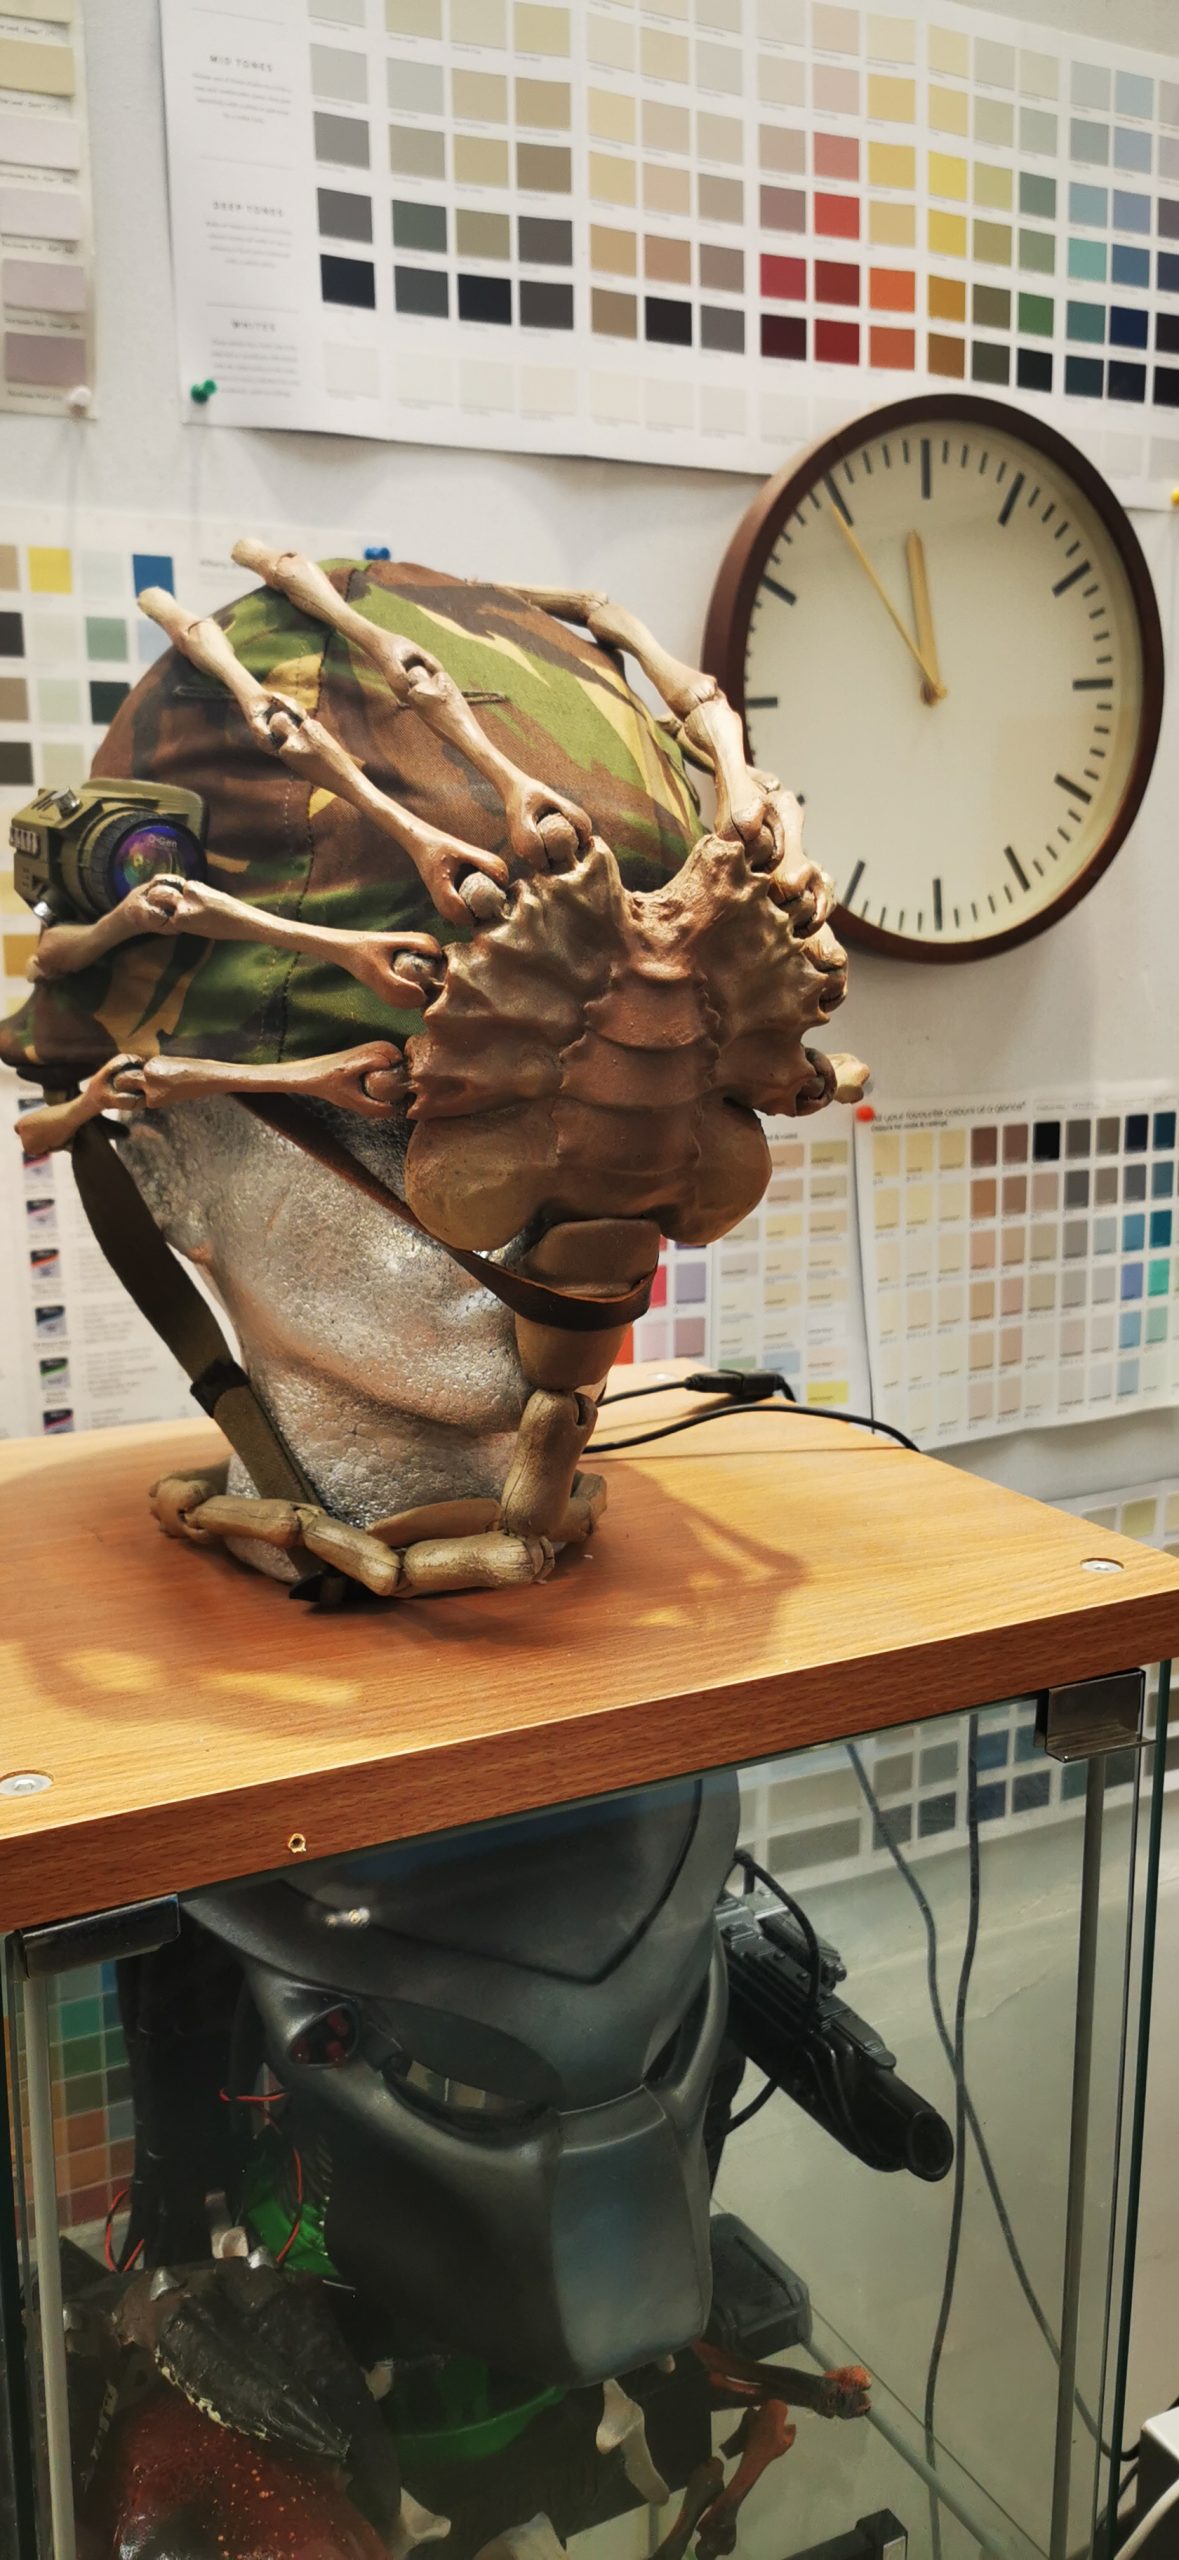
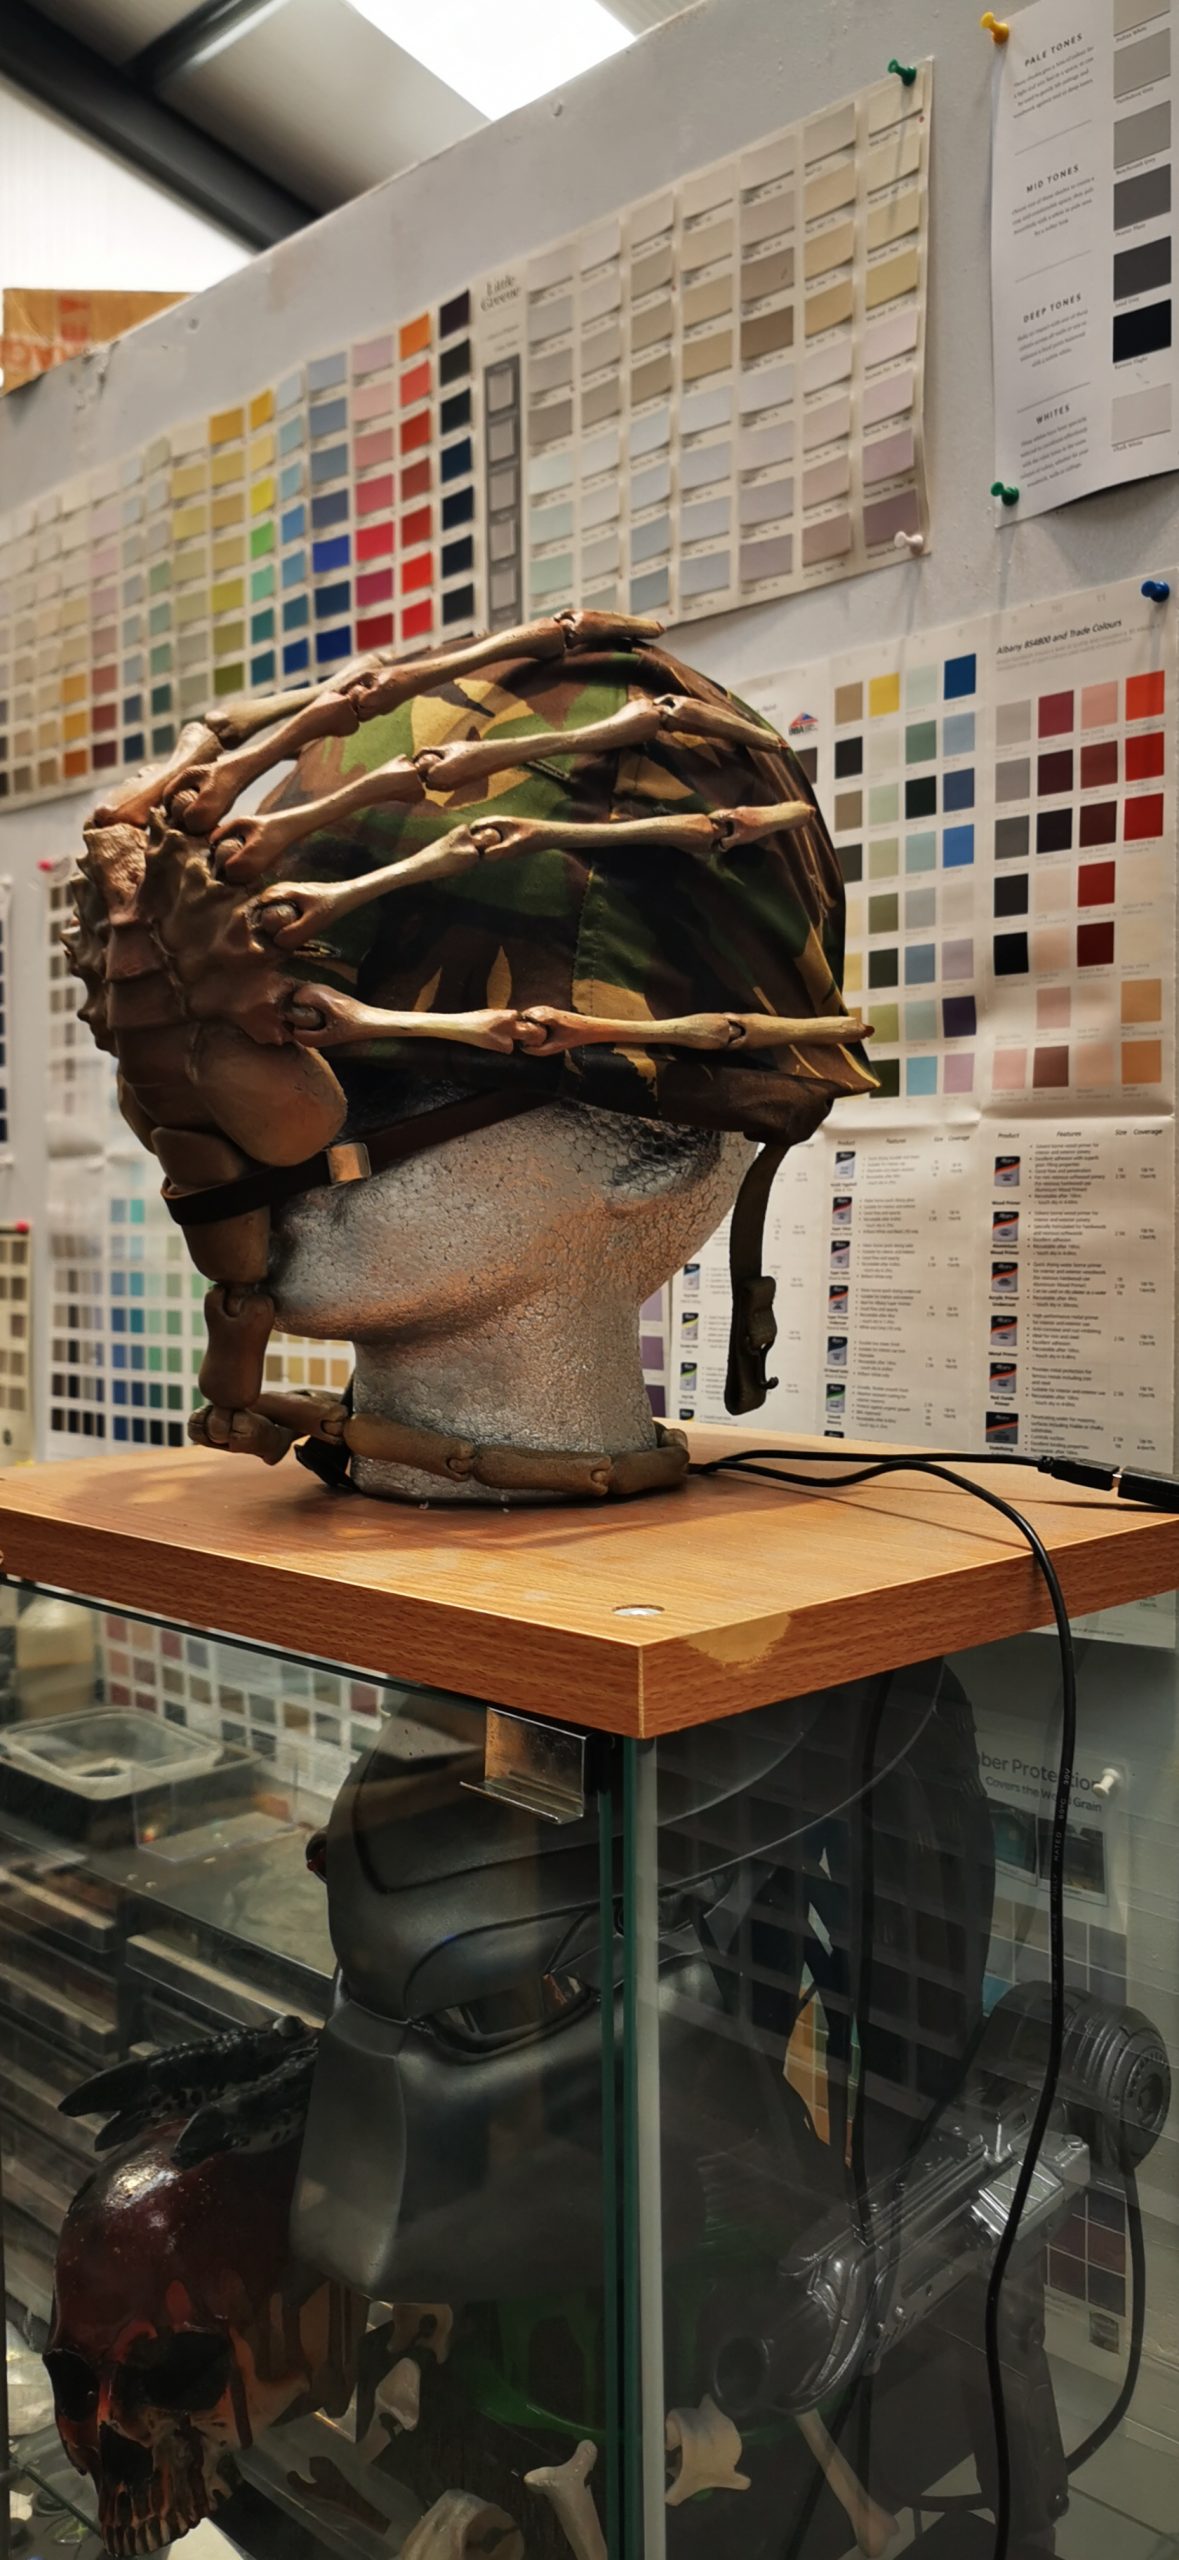
This exciting 3D project was purchased from Captain Creative on Facebook, and we’ve thoroughly enjoyed bringing their vision to life. Take a look at how we created this project below!
Tools List:
For the Alien Face Hugger:
- 80 grit sandpaper
- 2K black filler primer
- 3 different beige to brown colours in acrylic matt
- Red and pink full gloss acrylic
- 2K gloss soft cell lacquer
For the Colonial Marines Helmet:
Alien Face Hugger Method
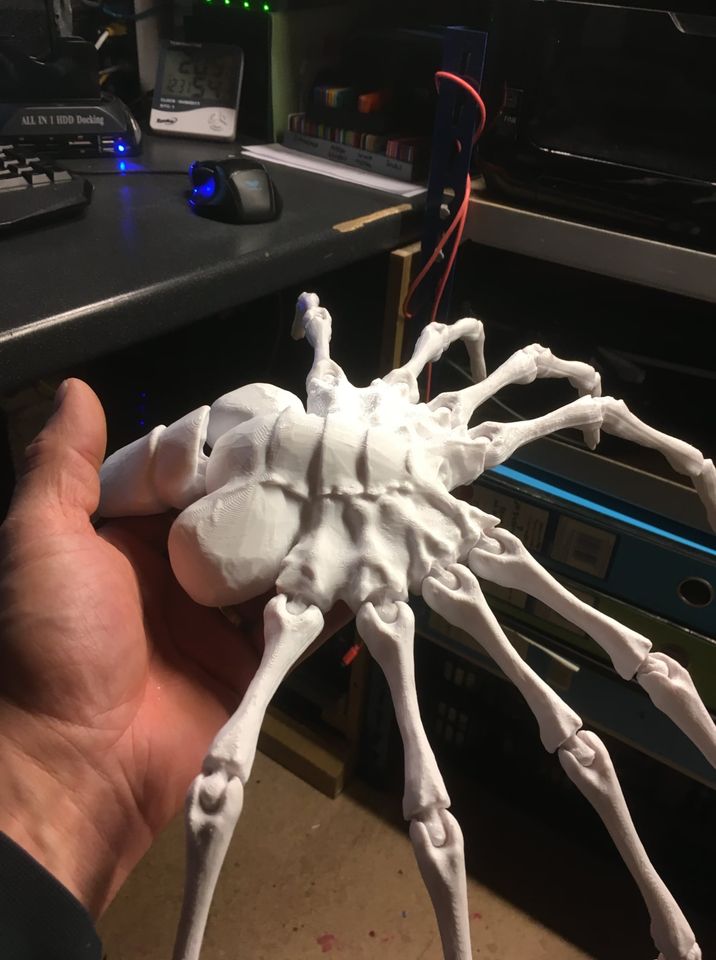
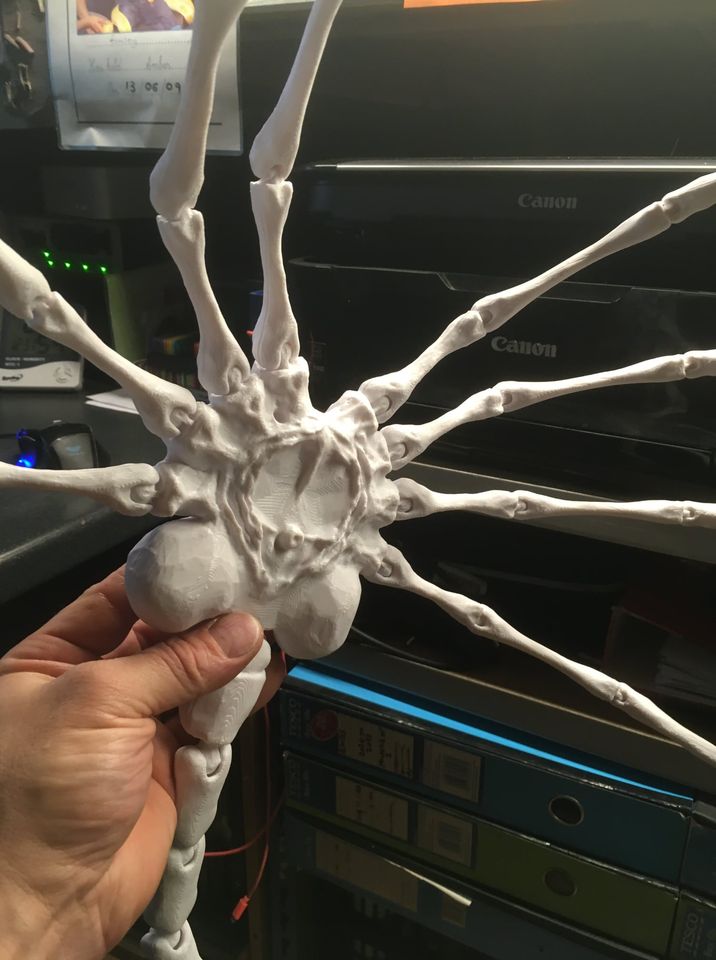
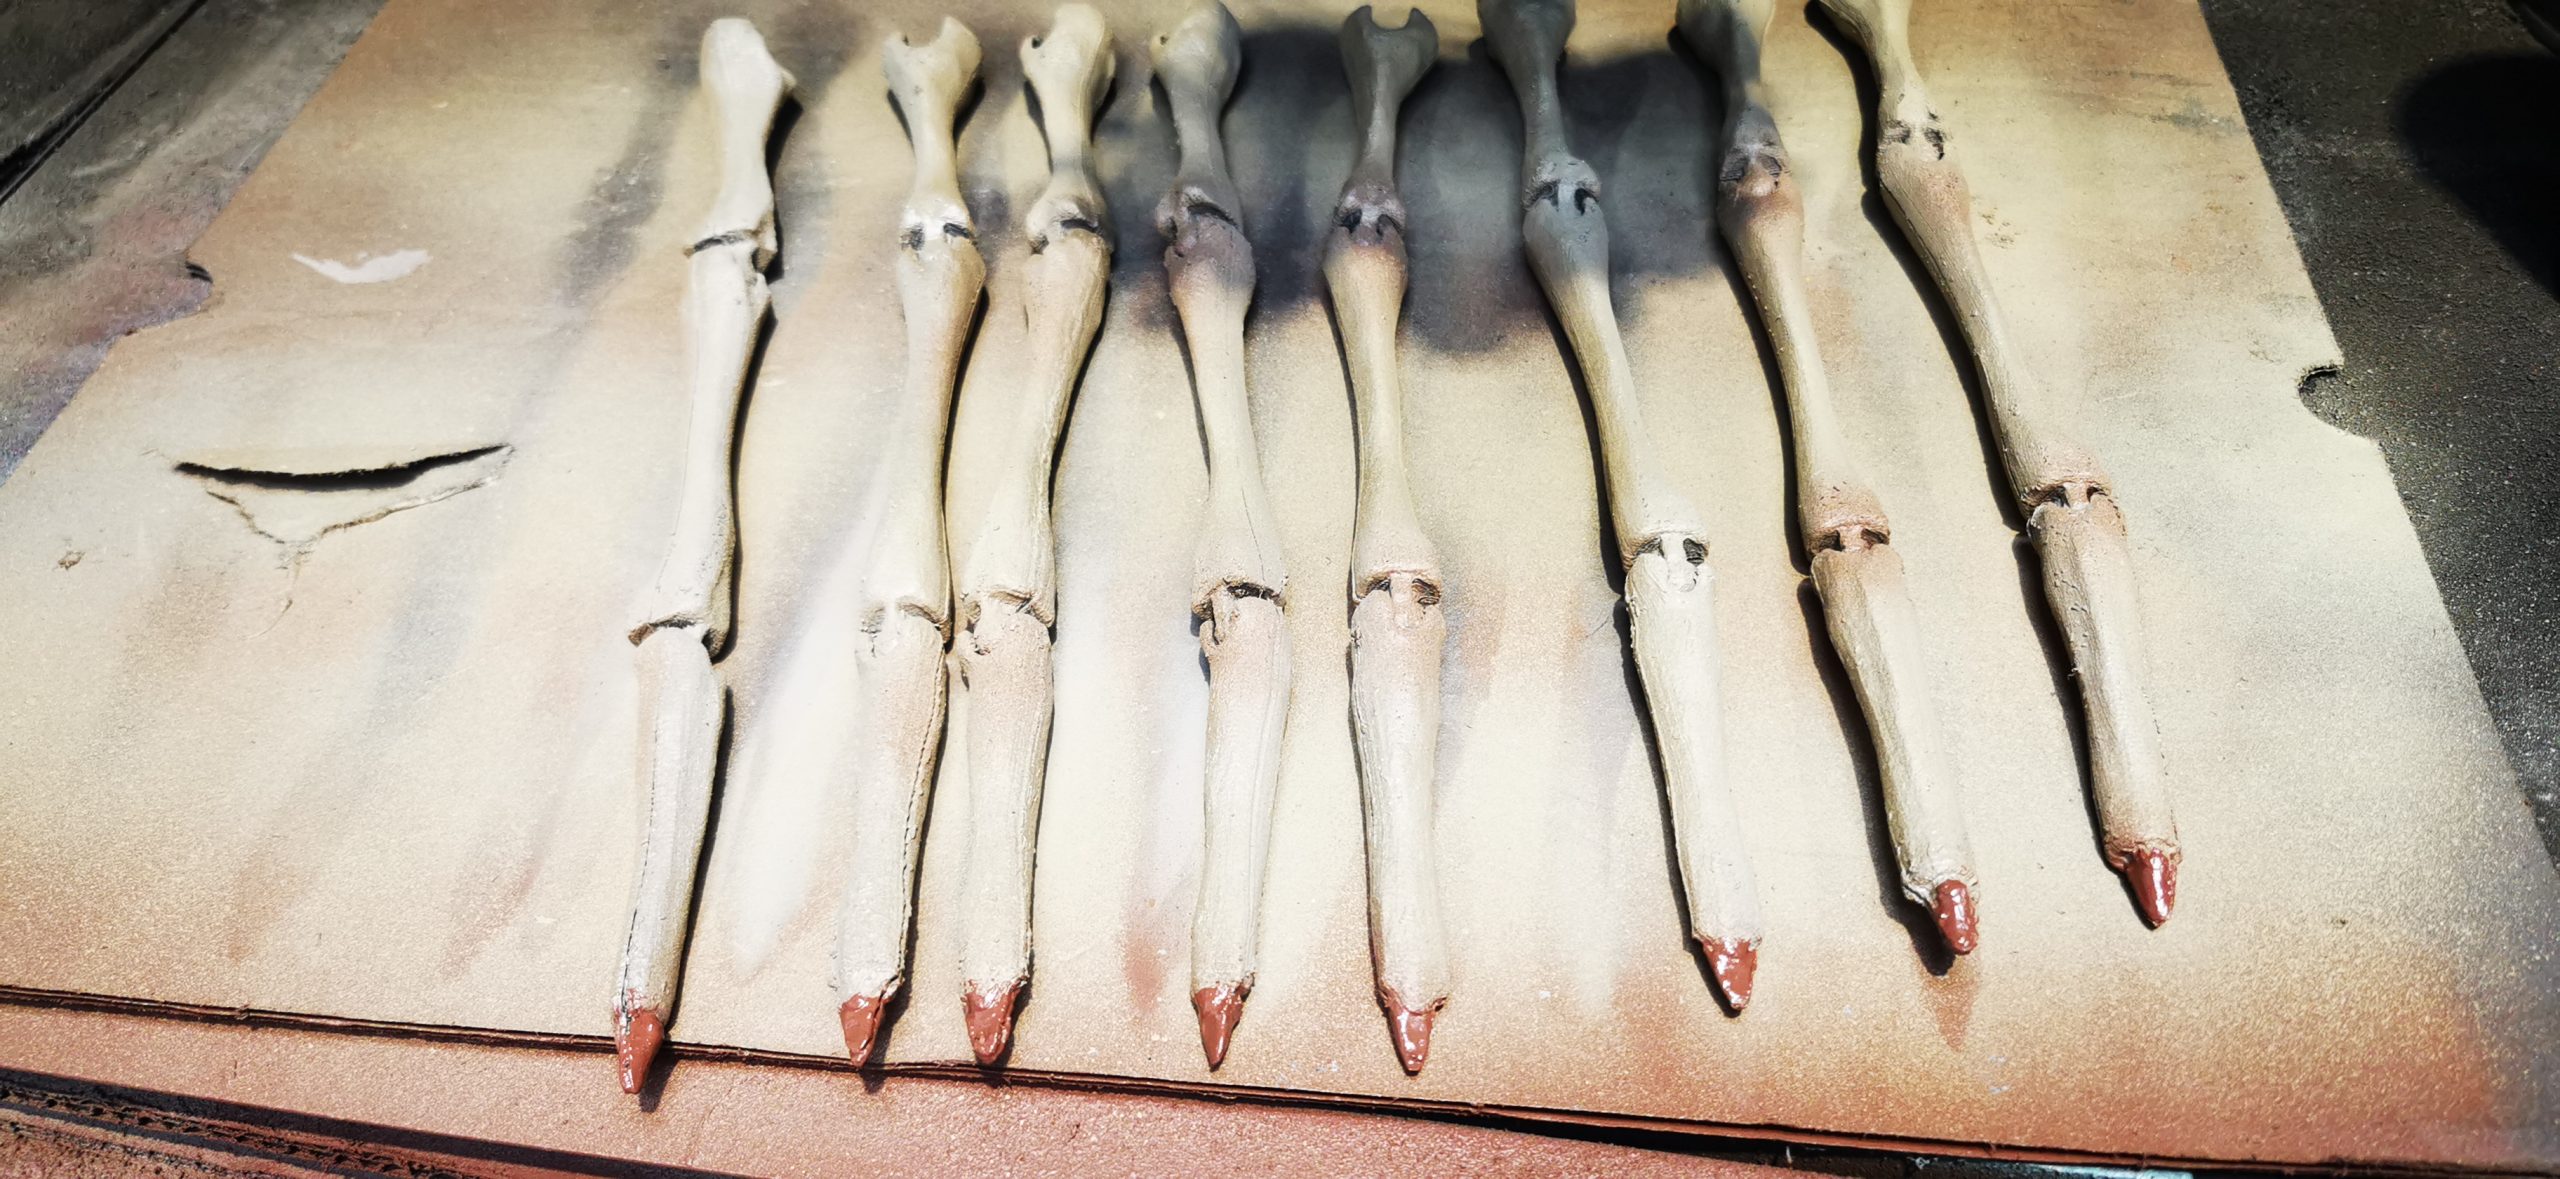
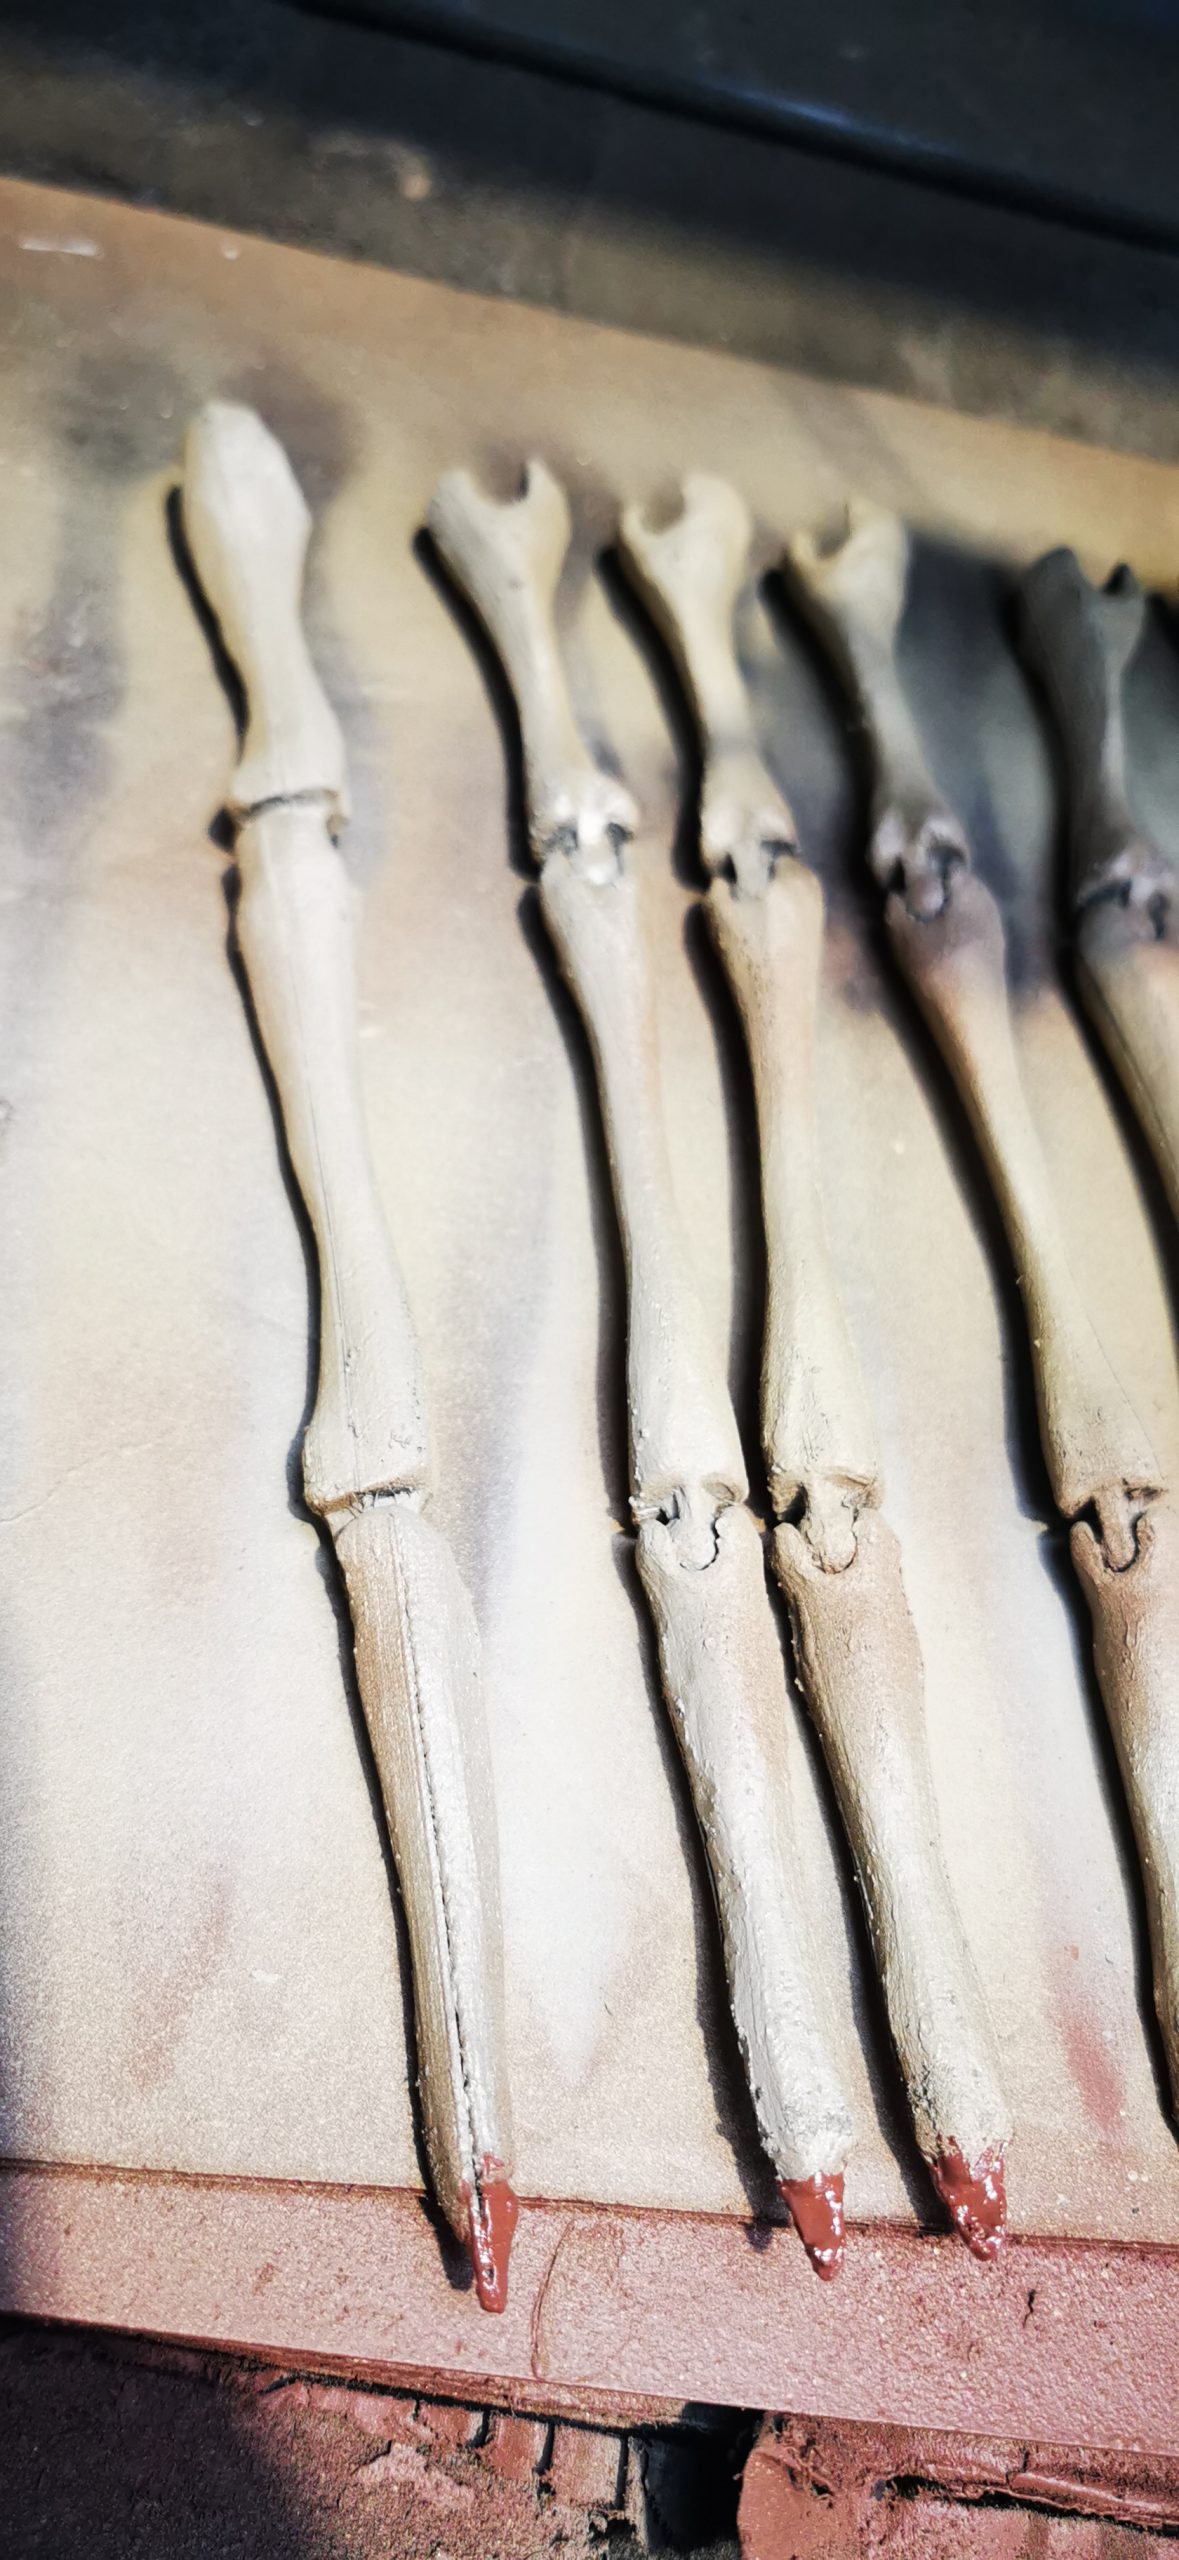
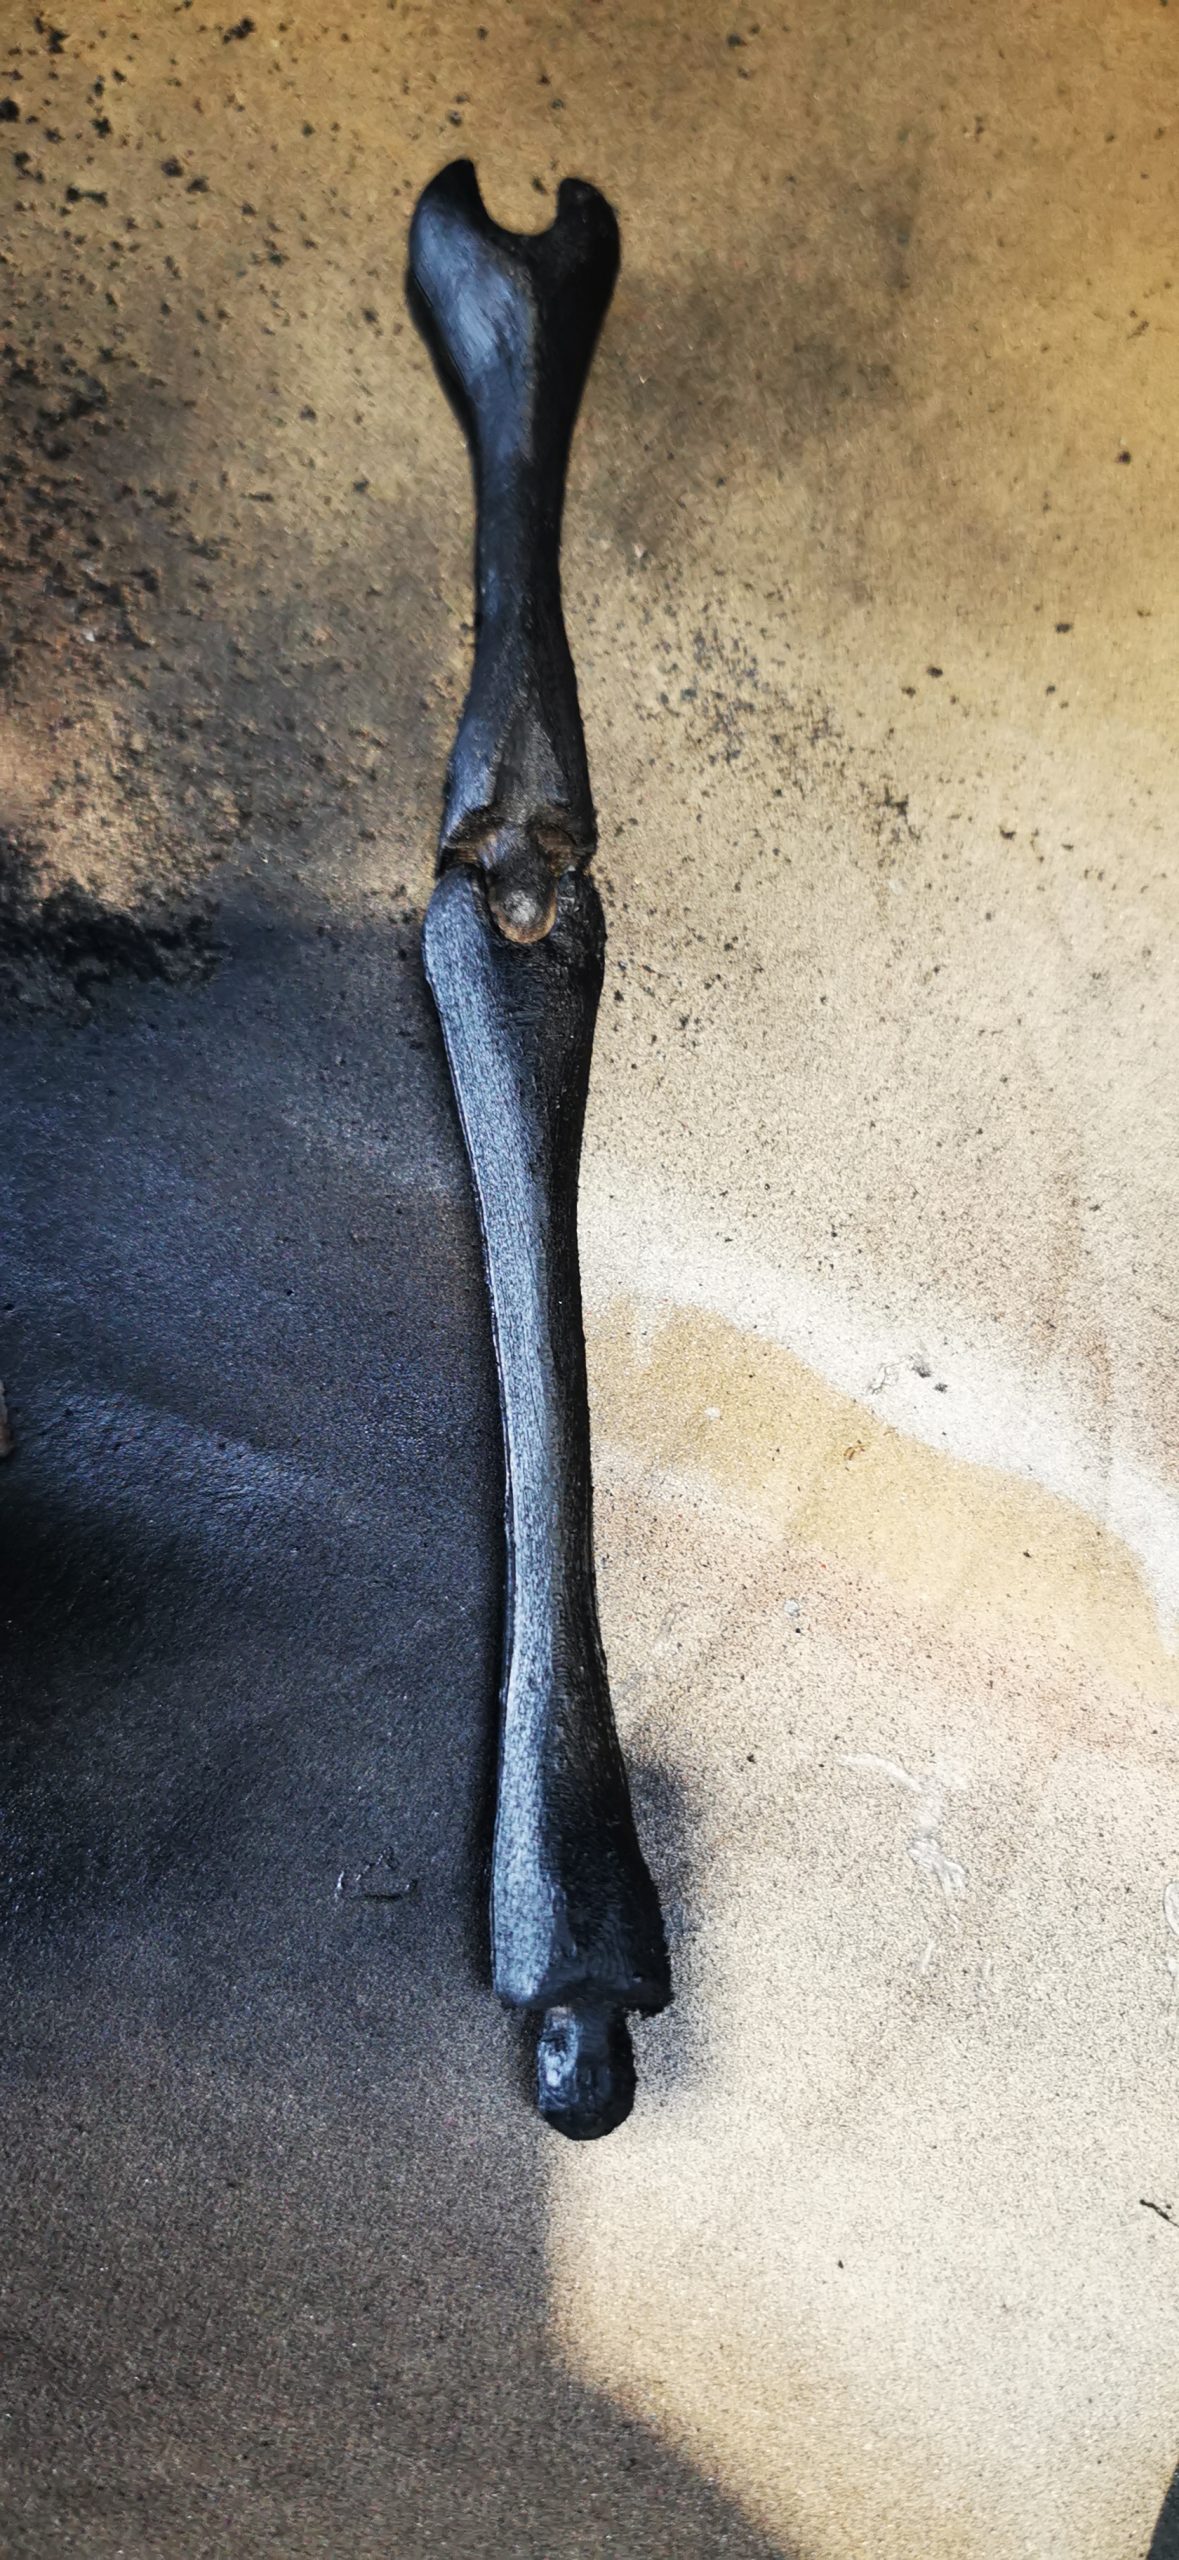
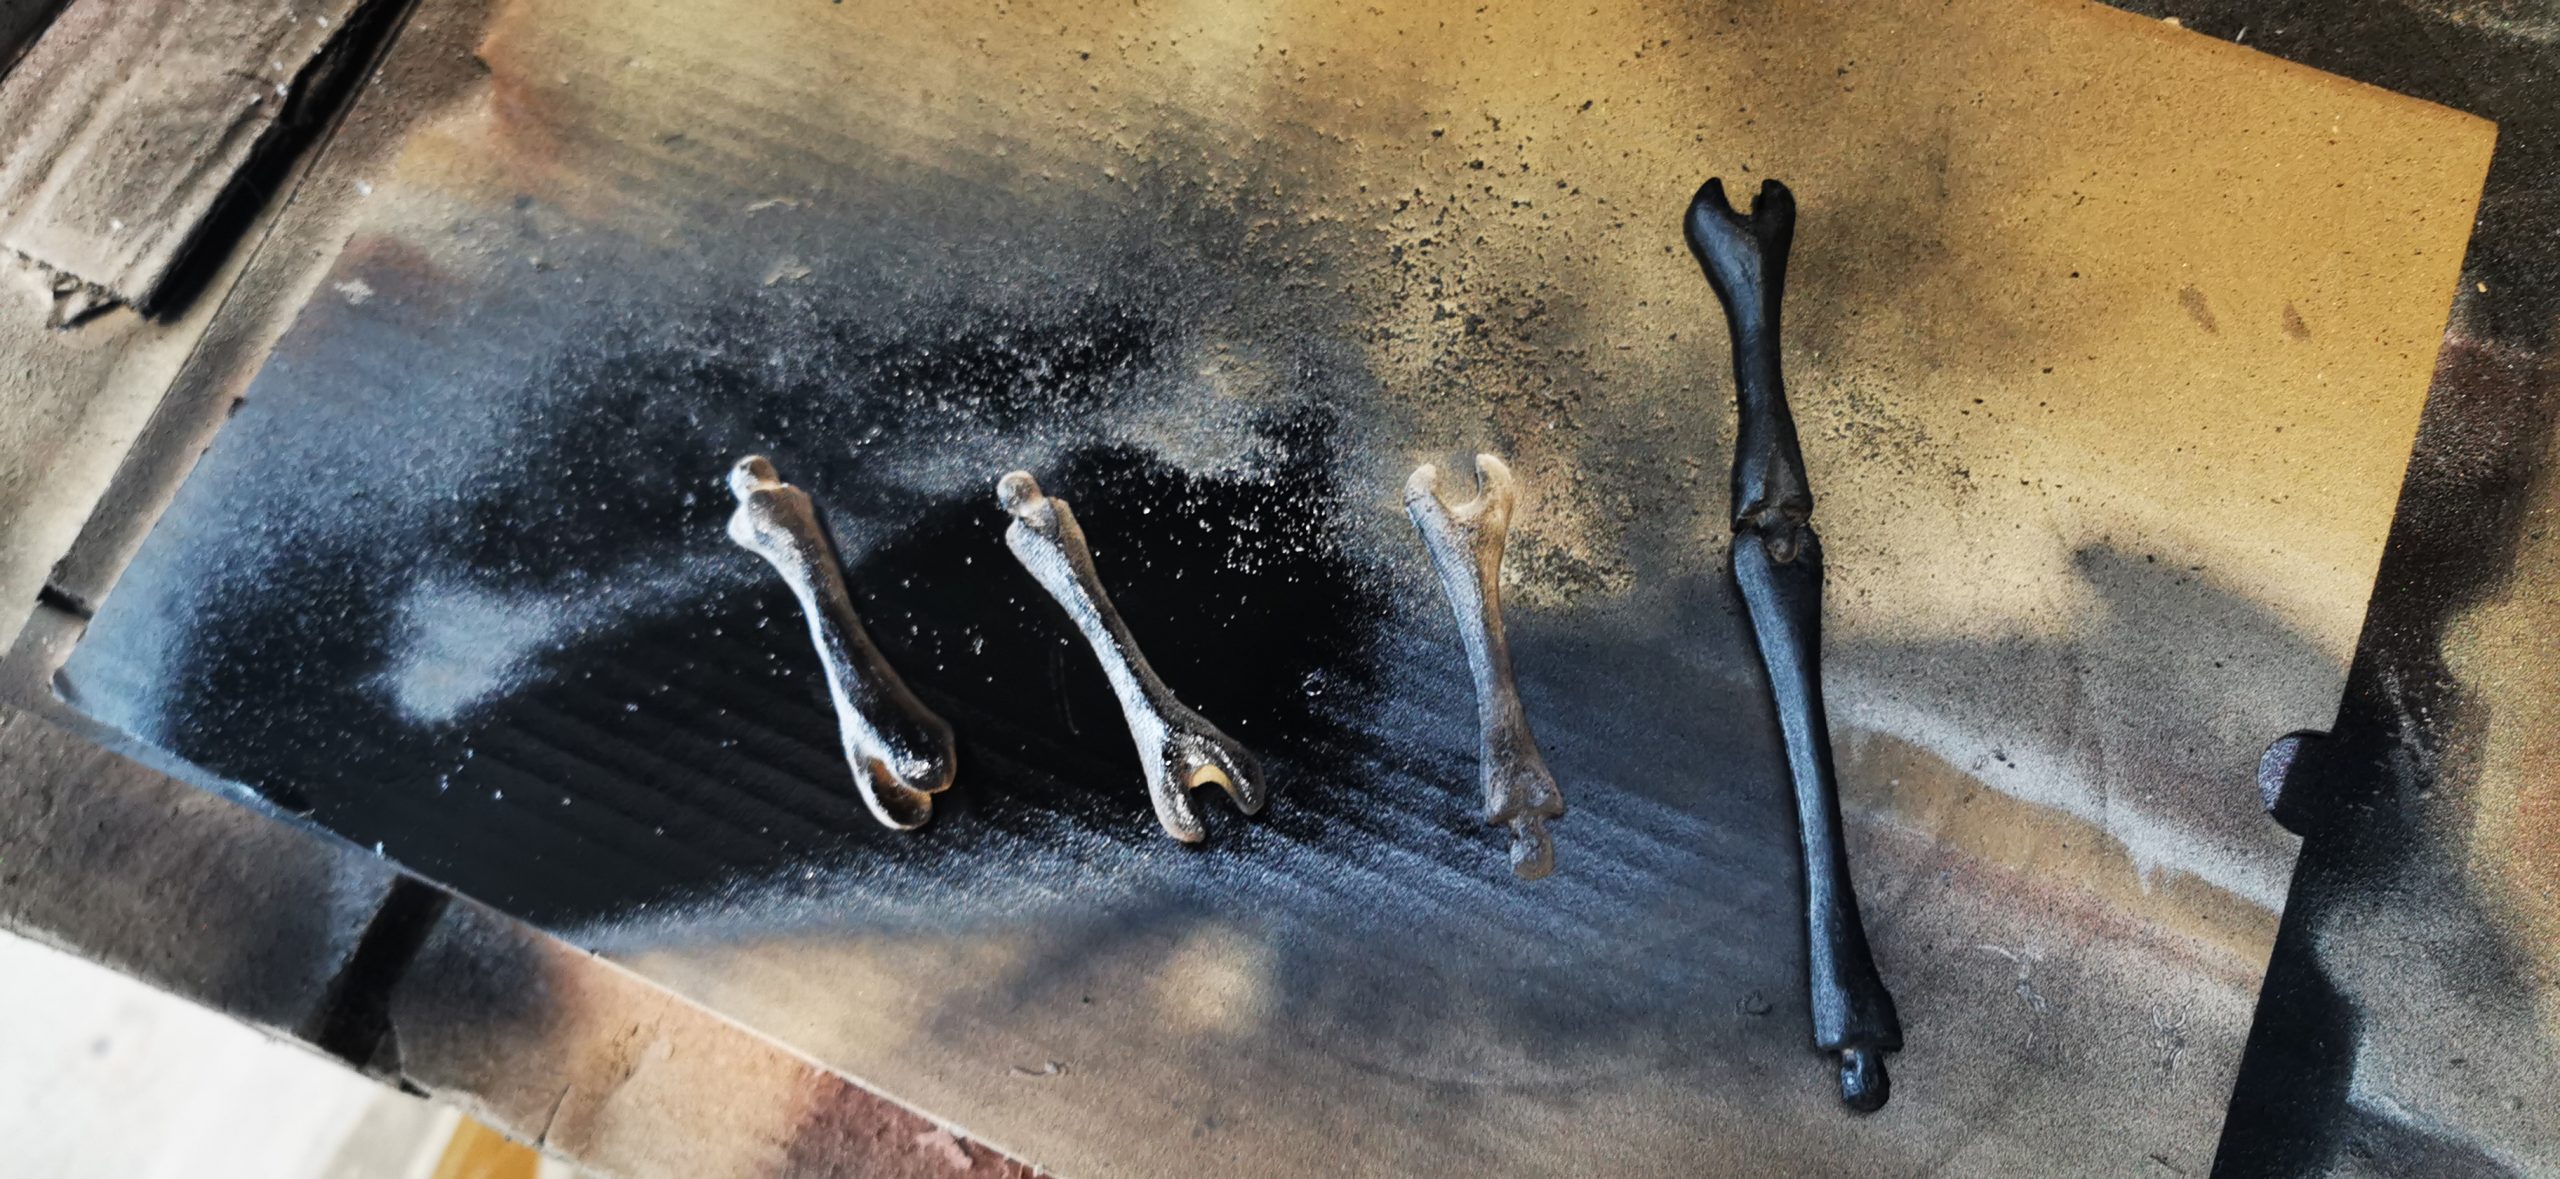
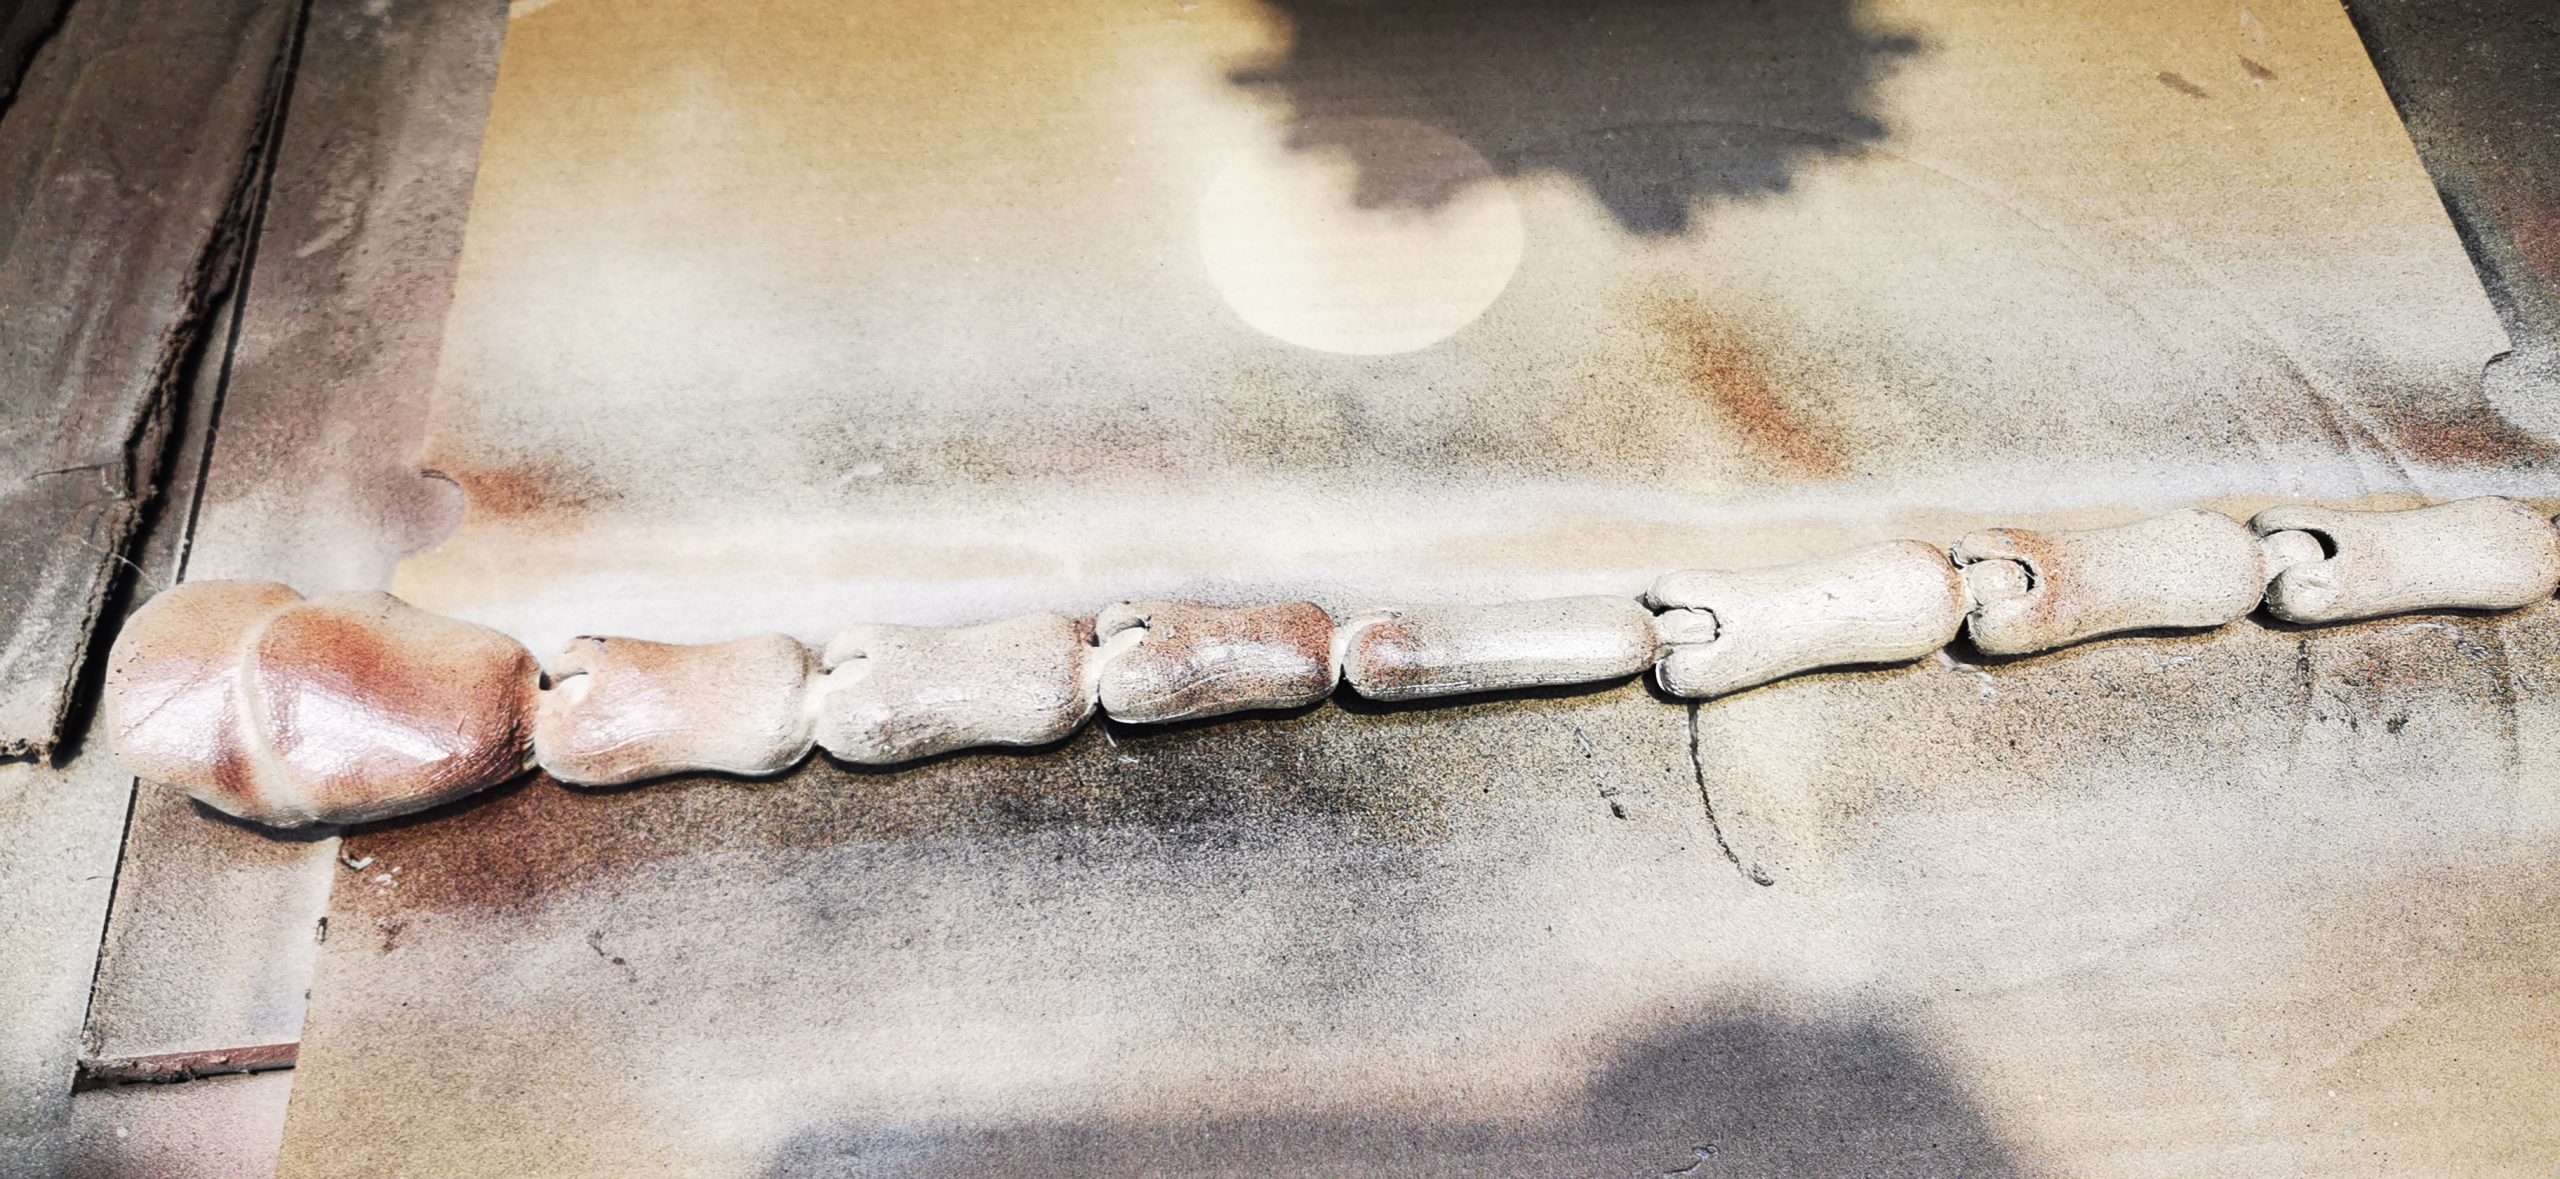
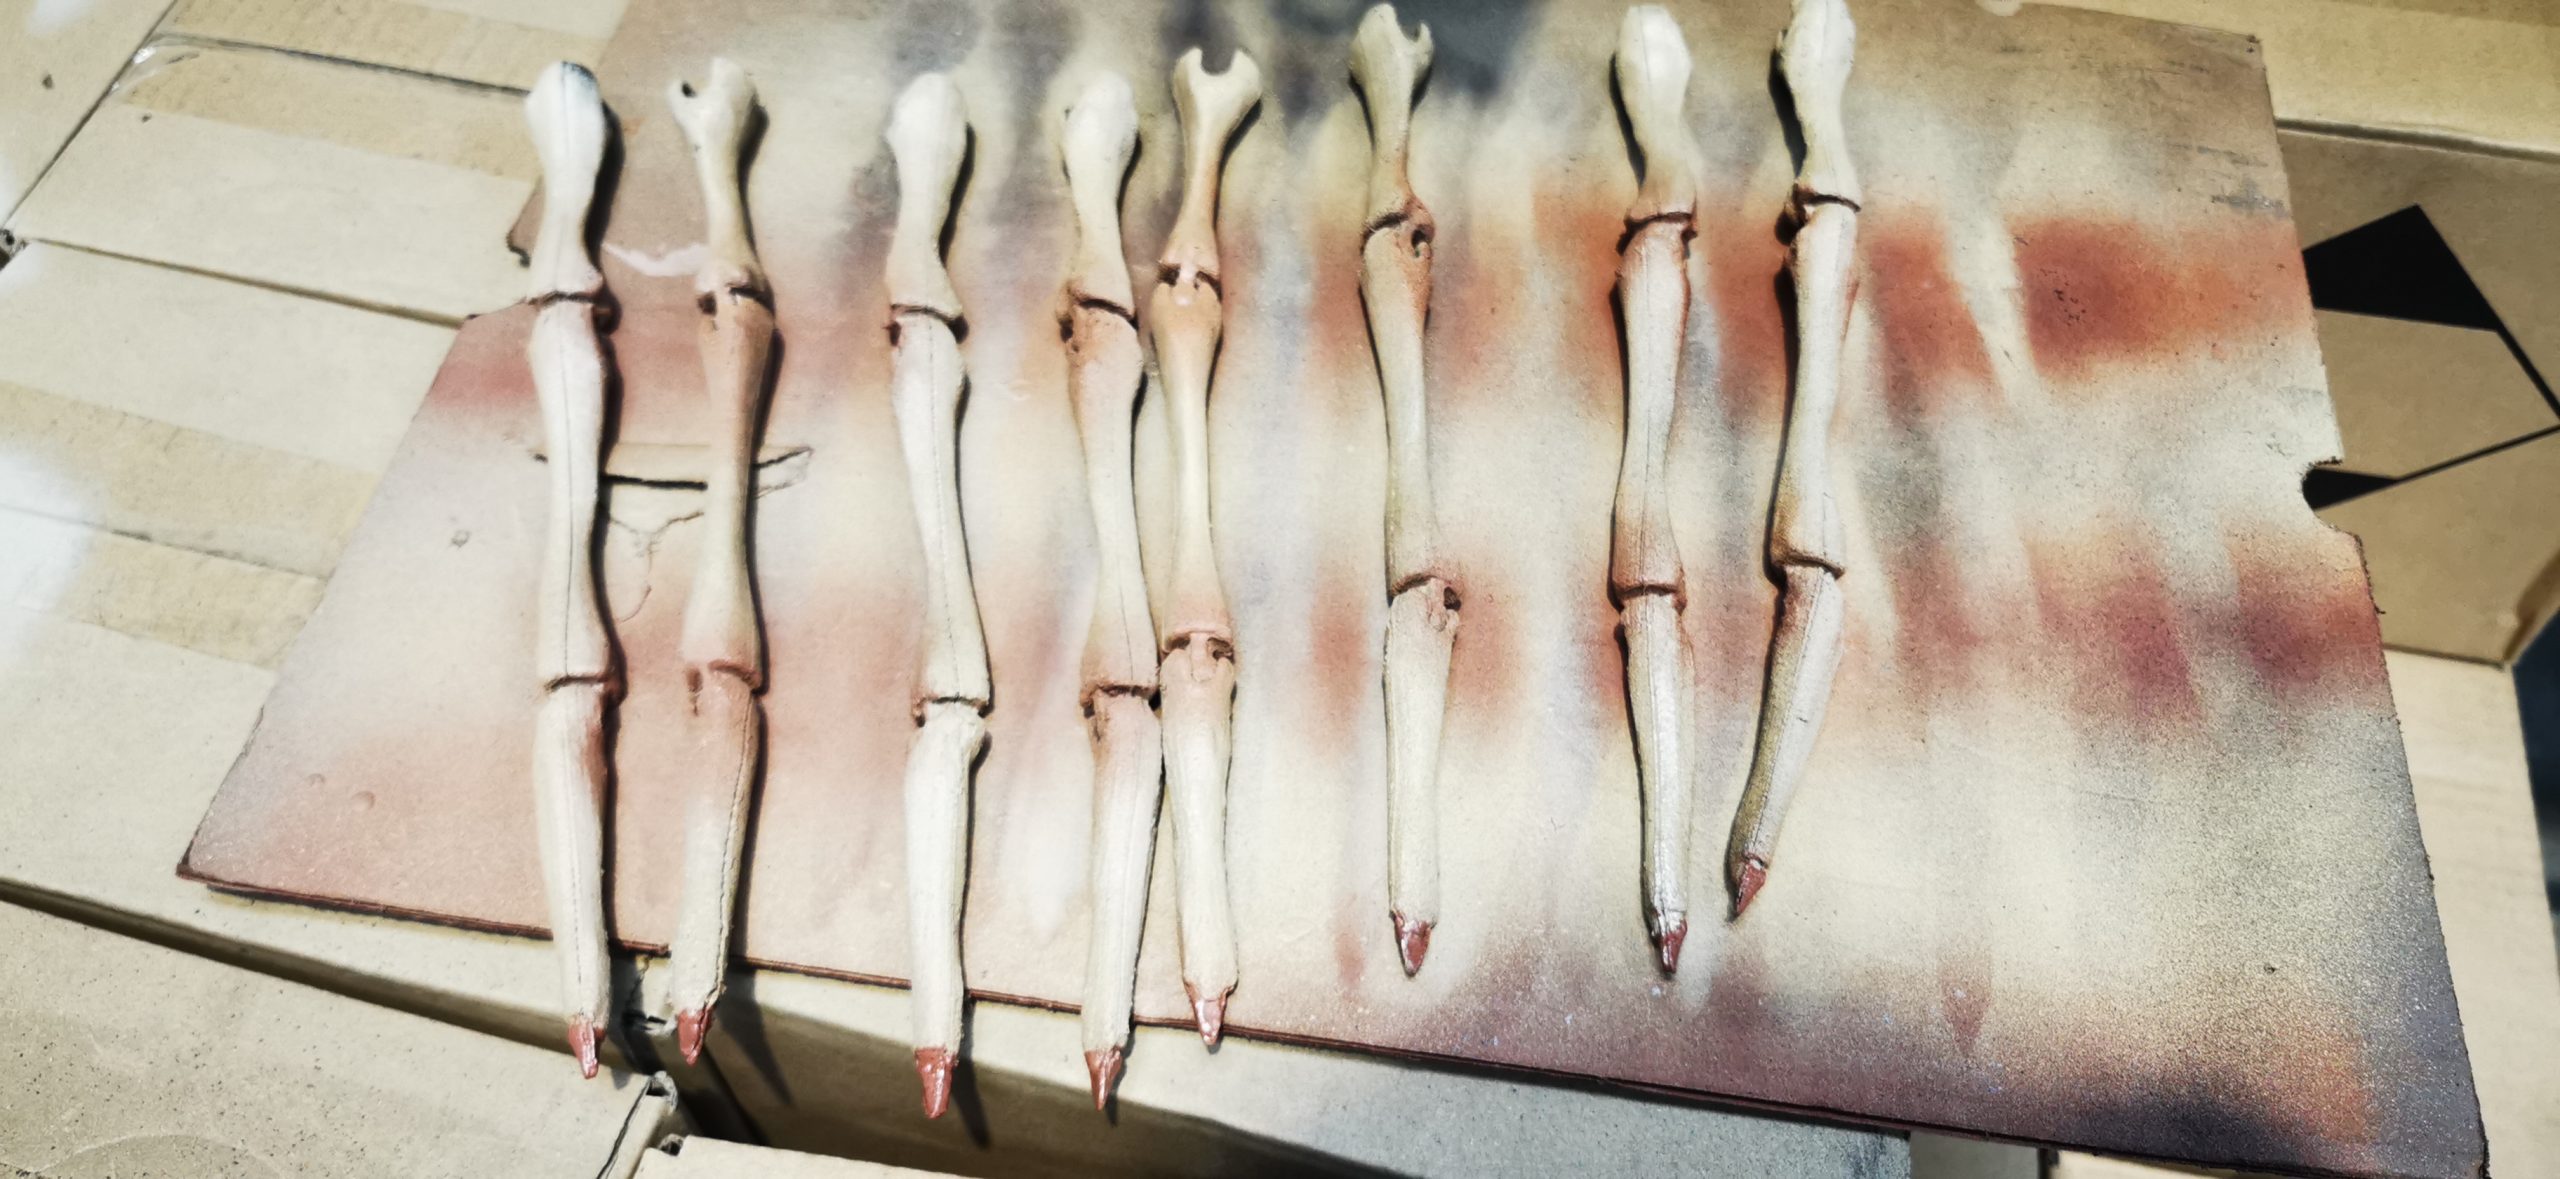
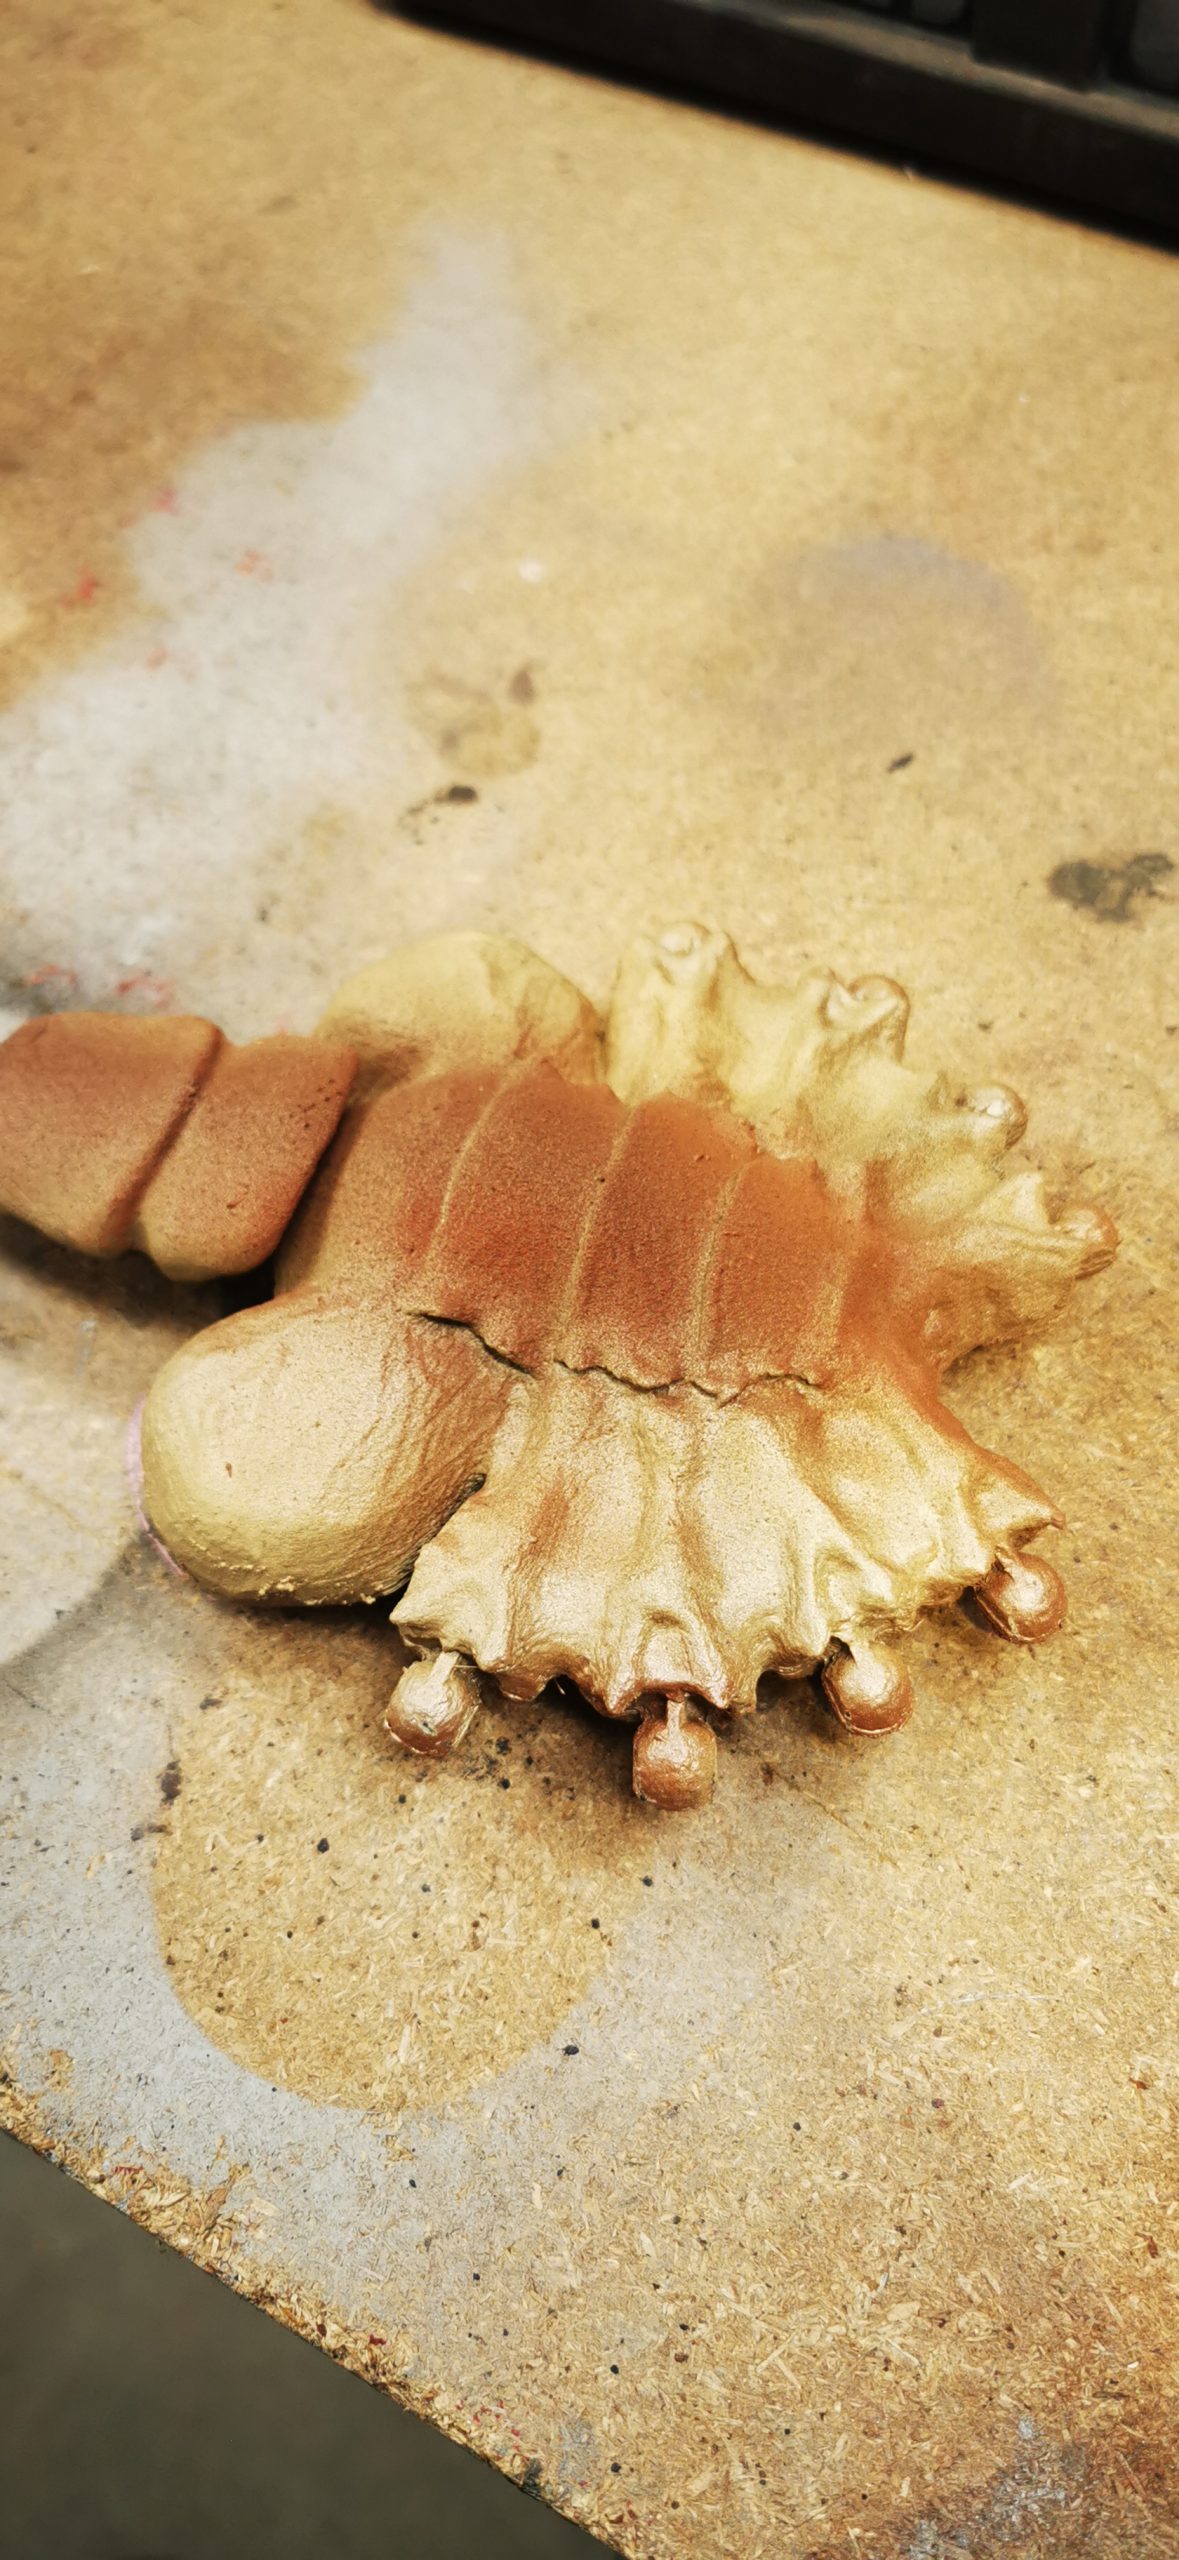
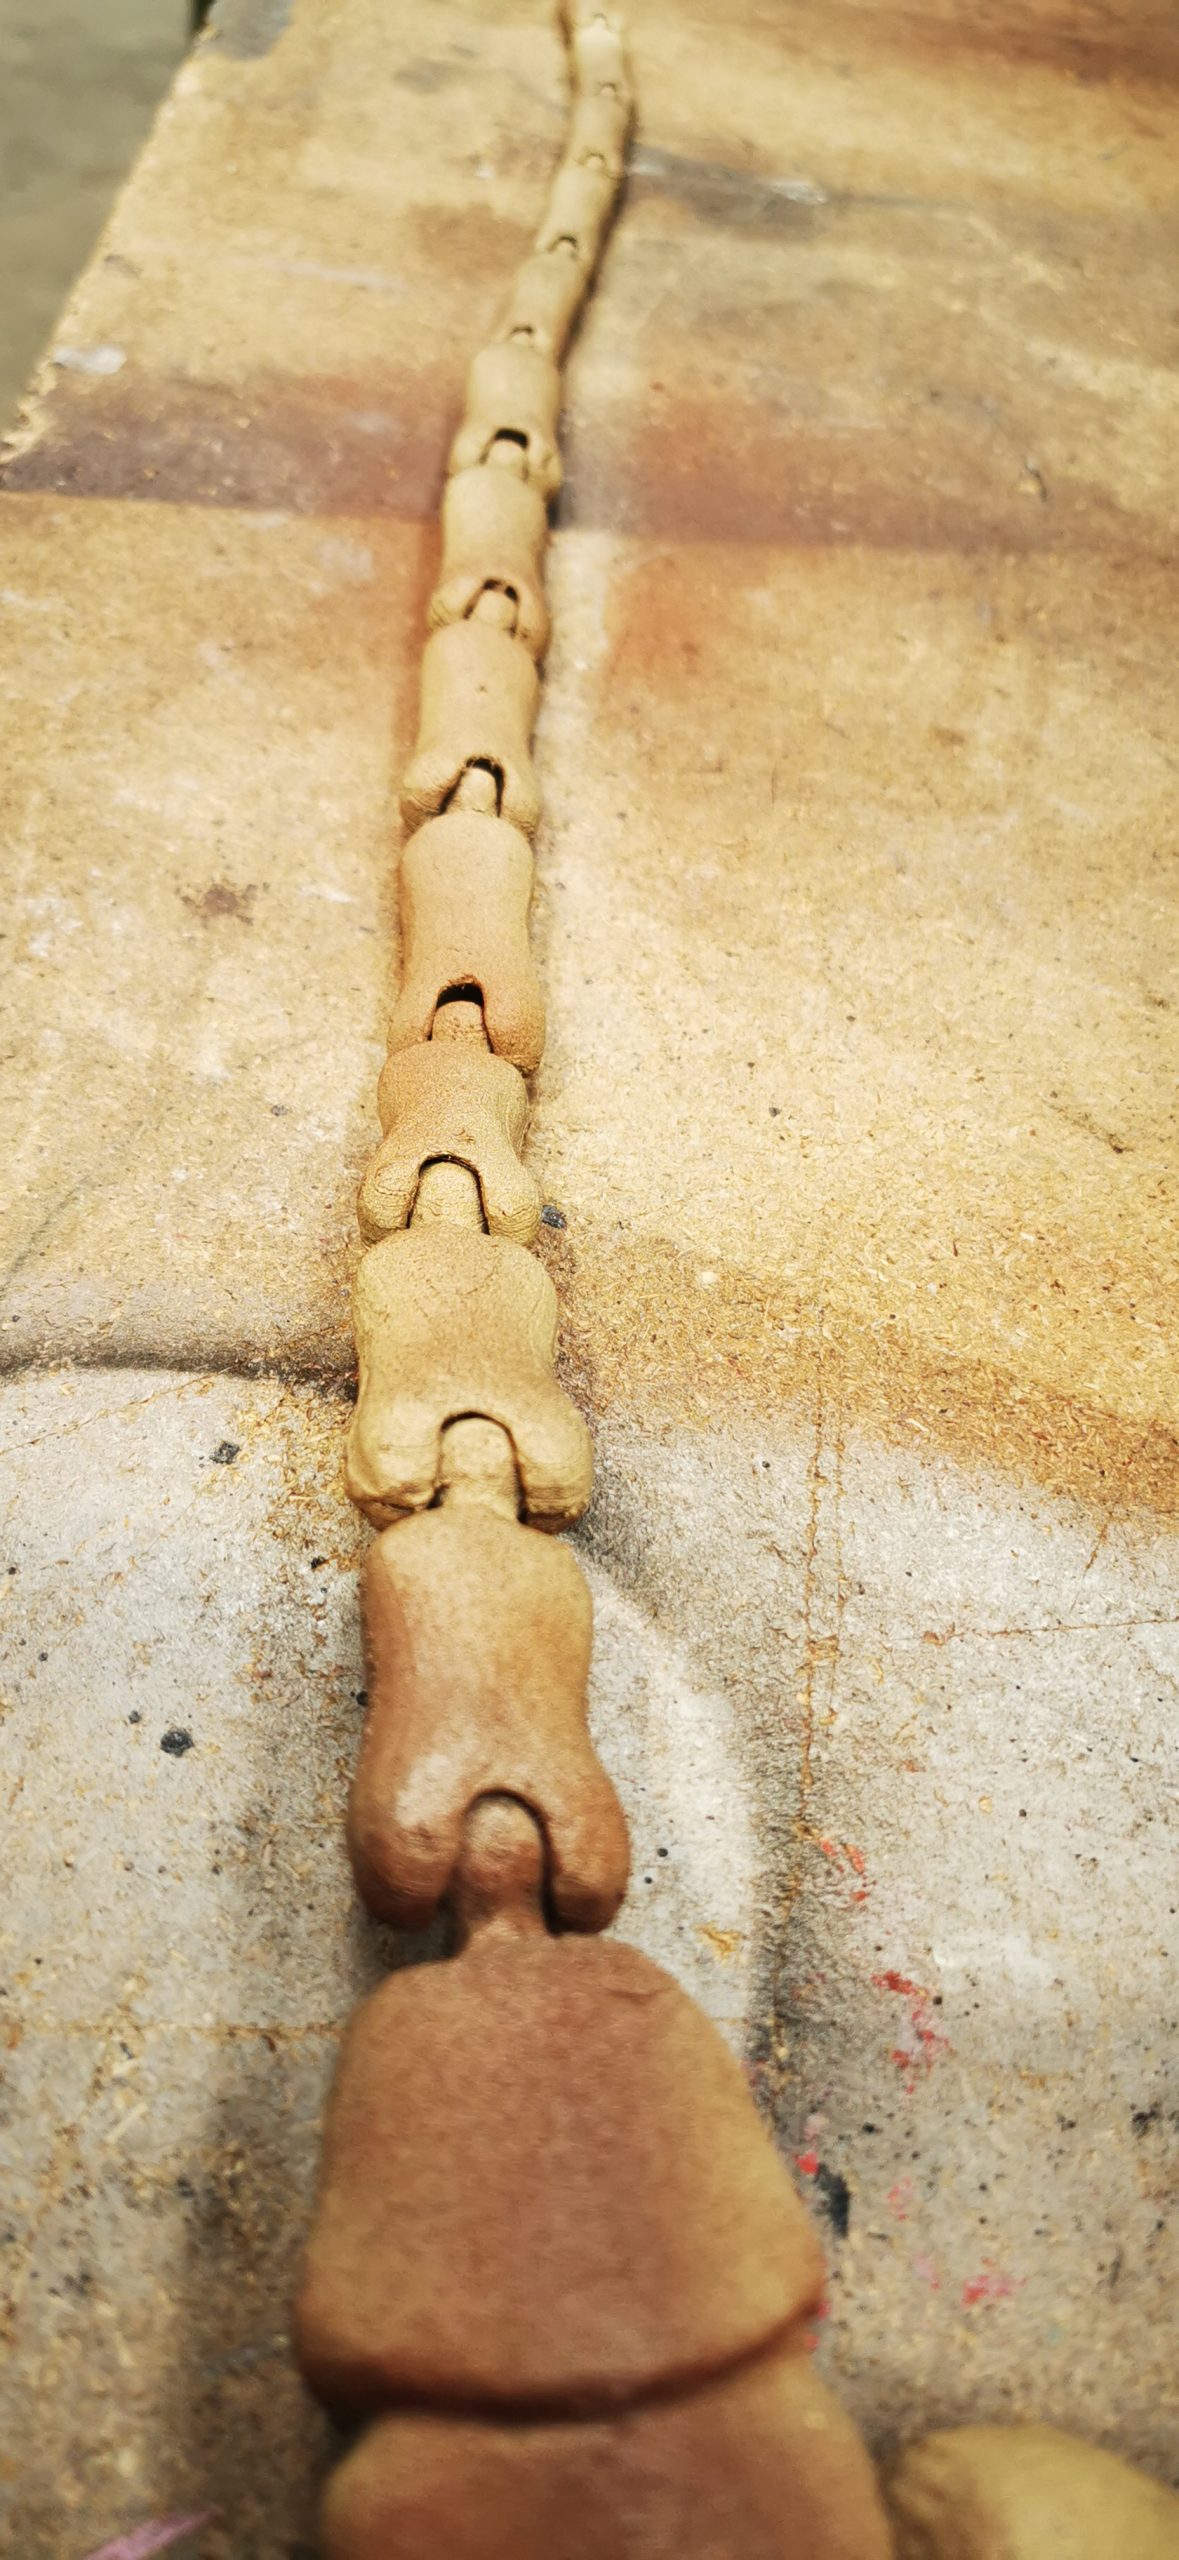
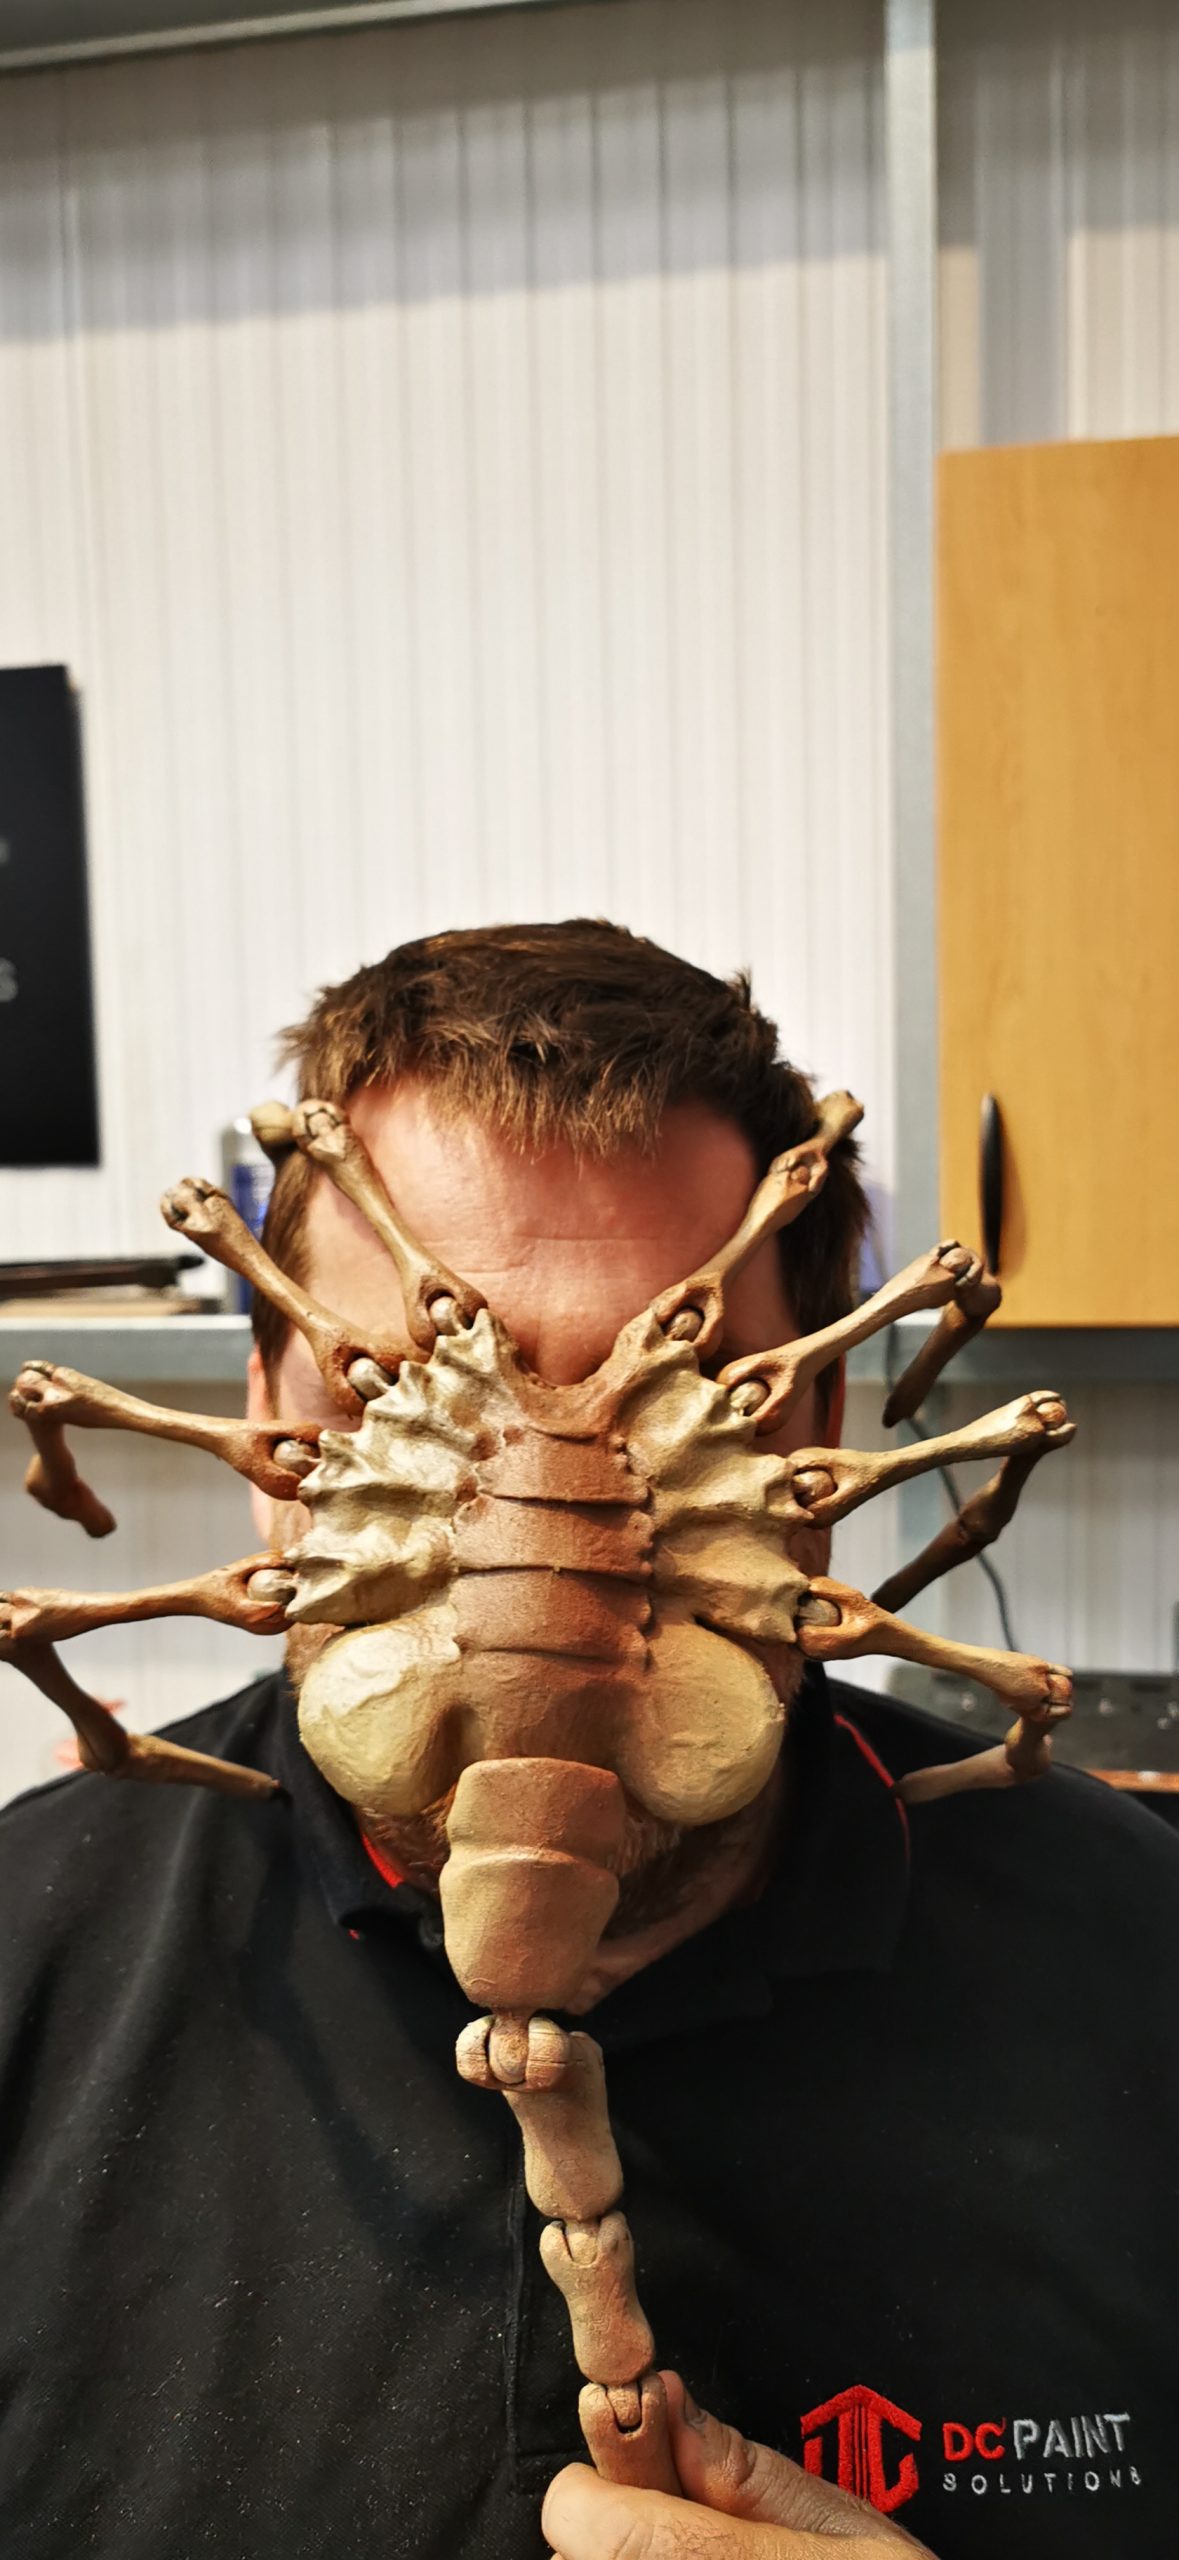
To get started, the raw plastic 3D printed body and legs were roughly sanded down, and all debris was cleaned off before moving onto the next stage. The whole project was then coated in 2K black filler primer. Along with priming the surface, this would also smooth out any small imperfections in the 3D print. After a second application, we allowed the filler to cure.
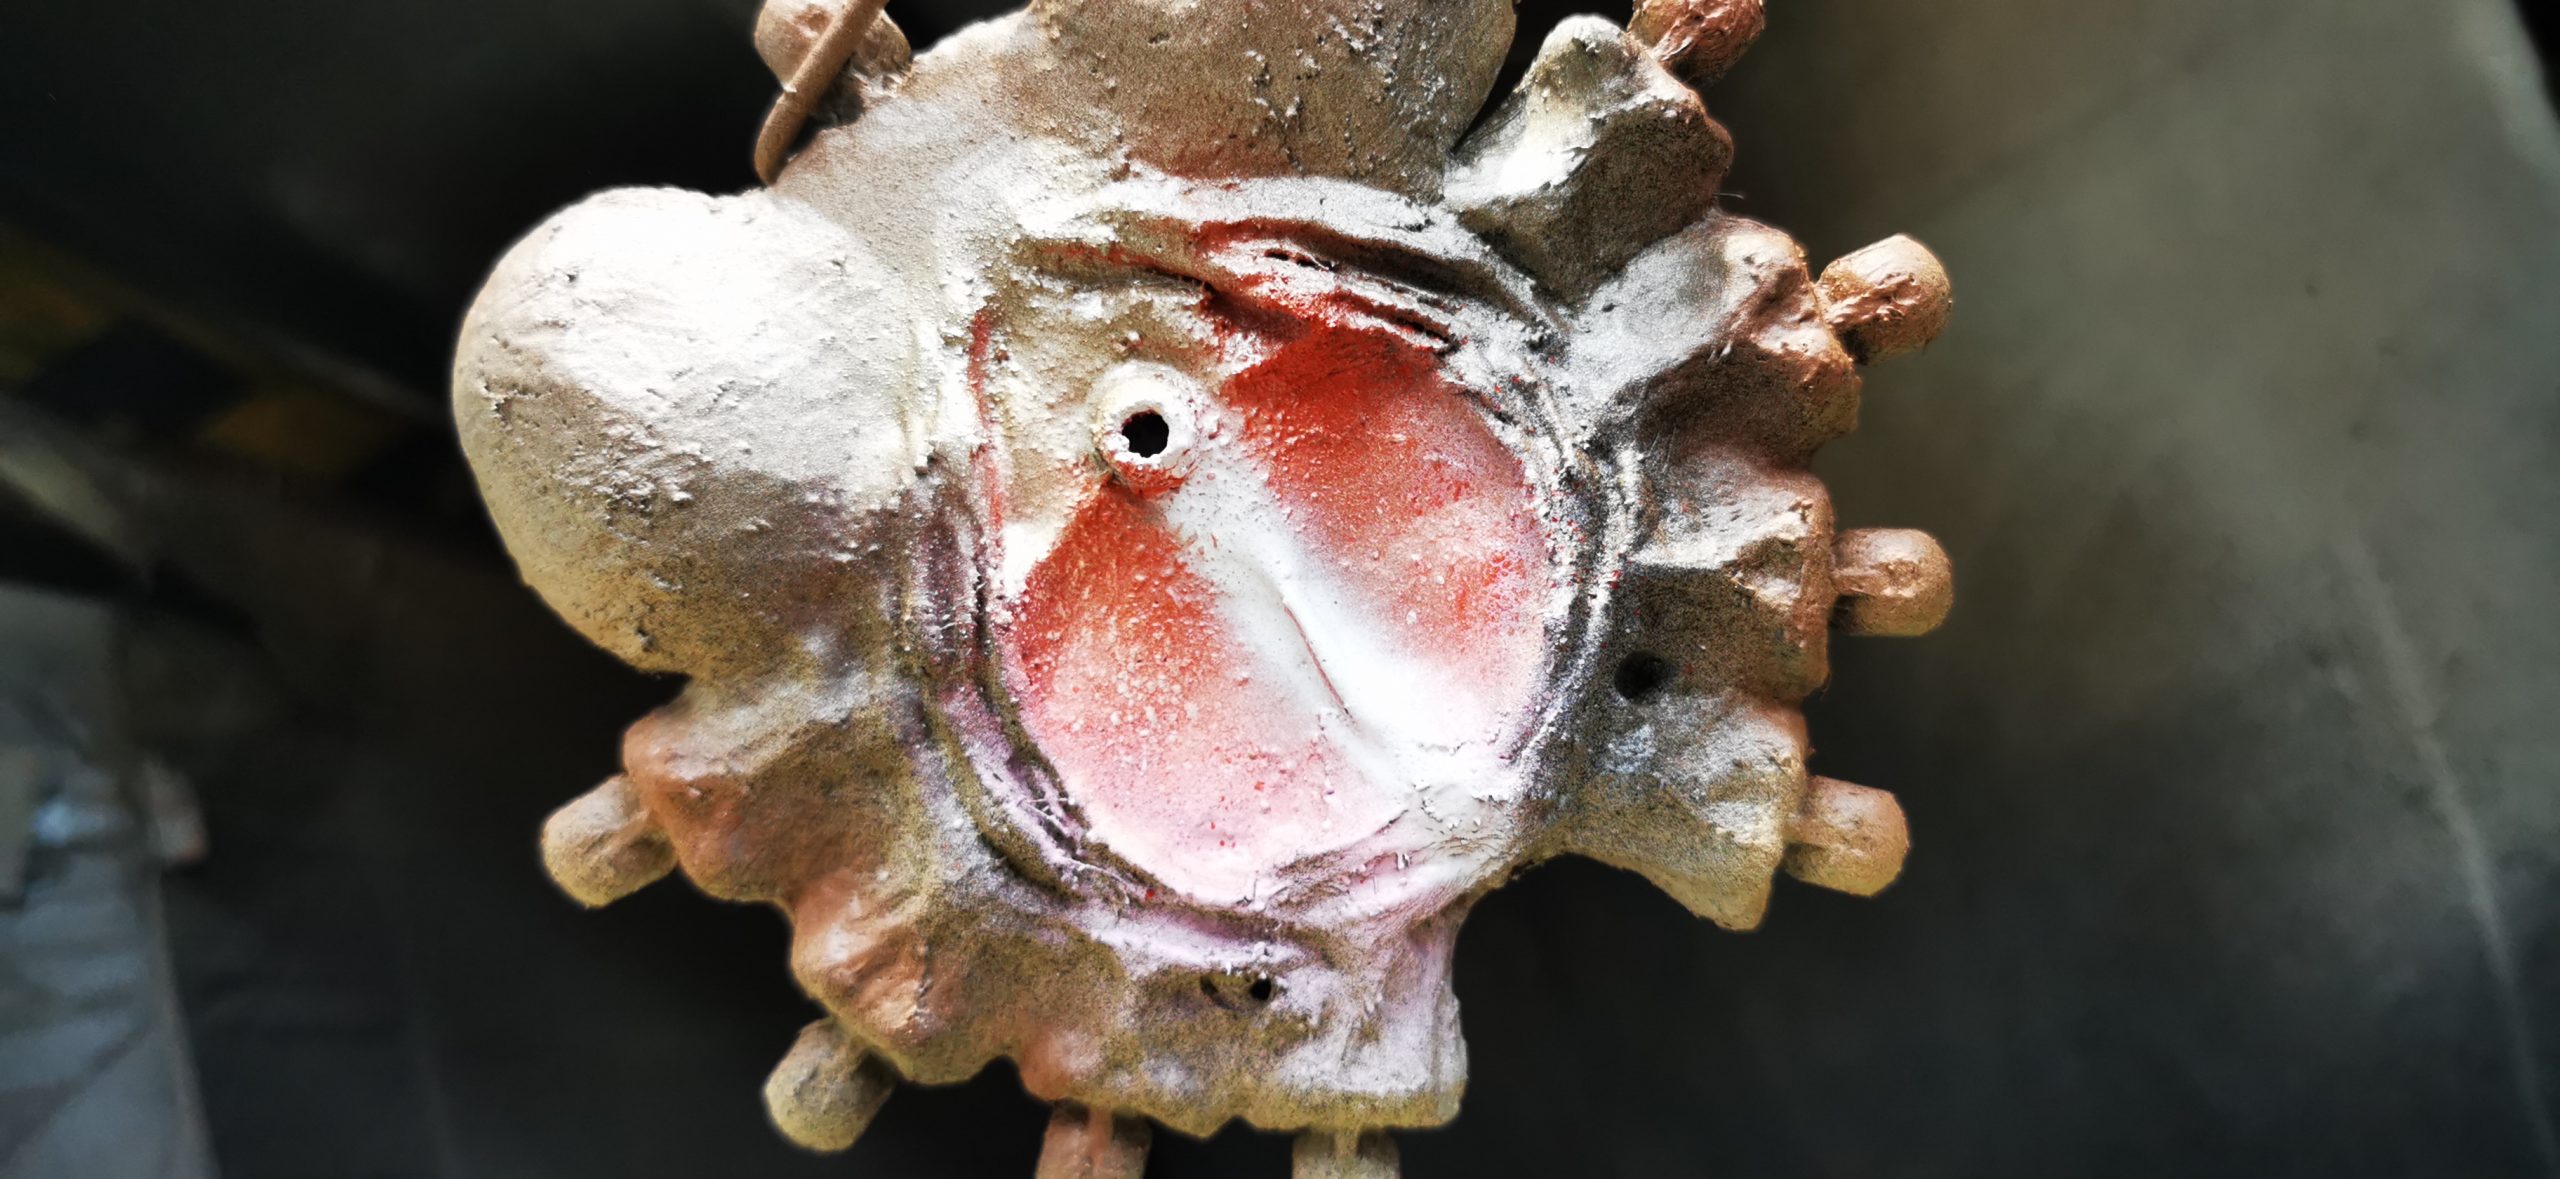
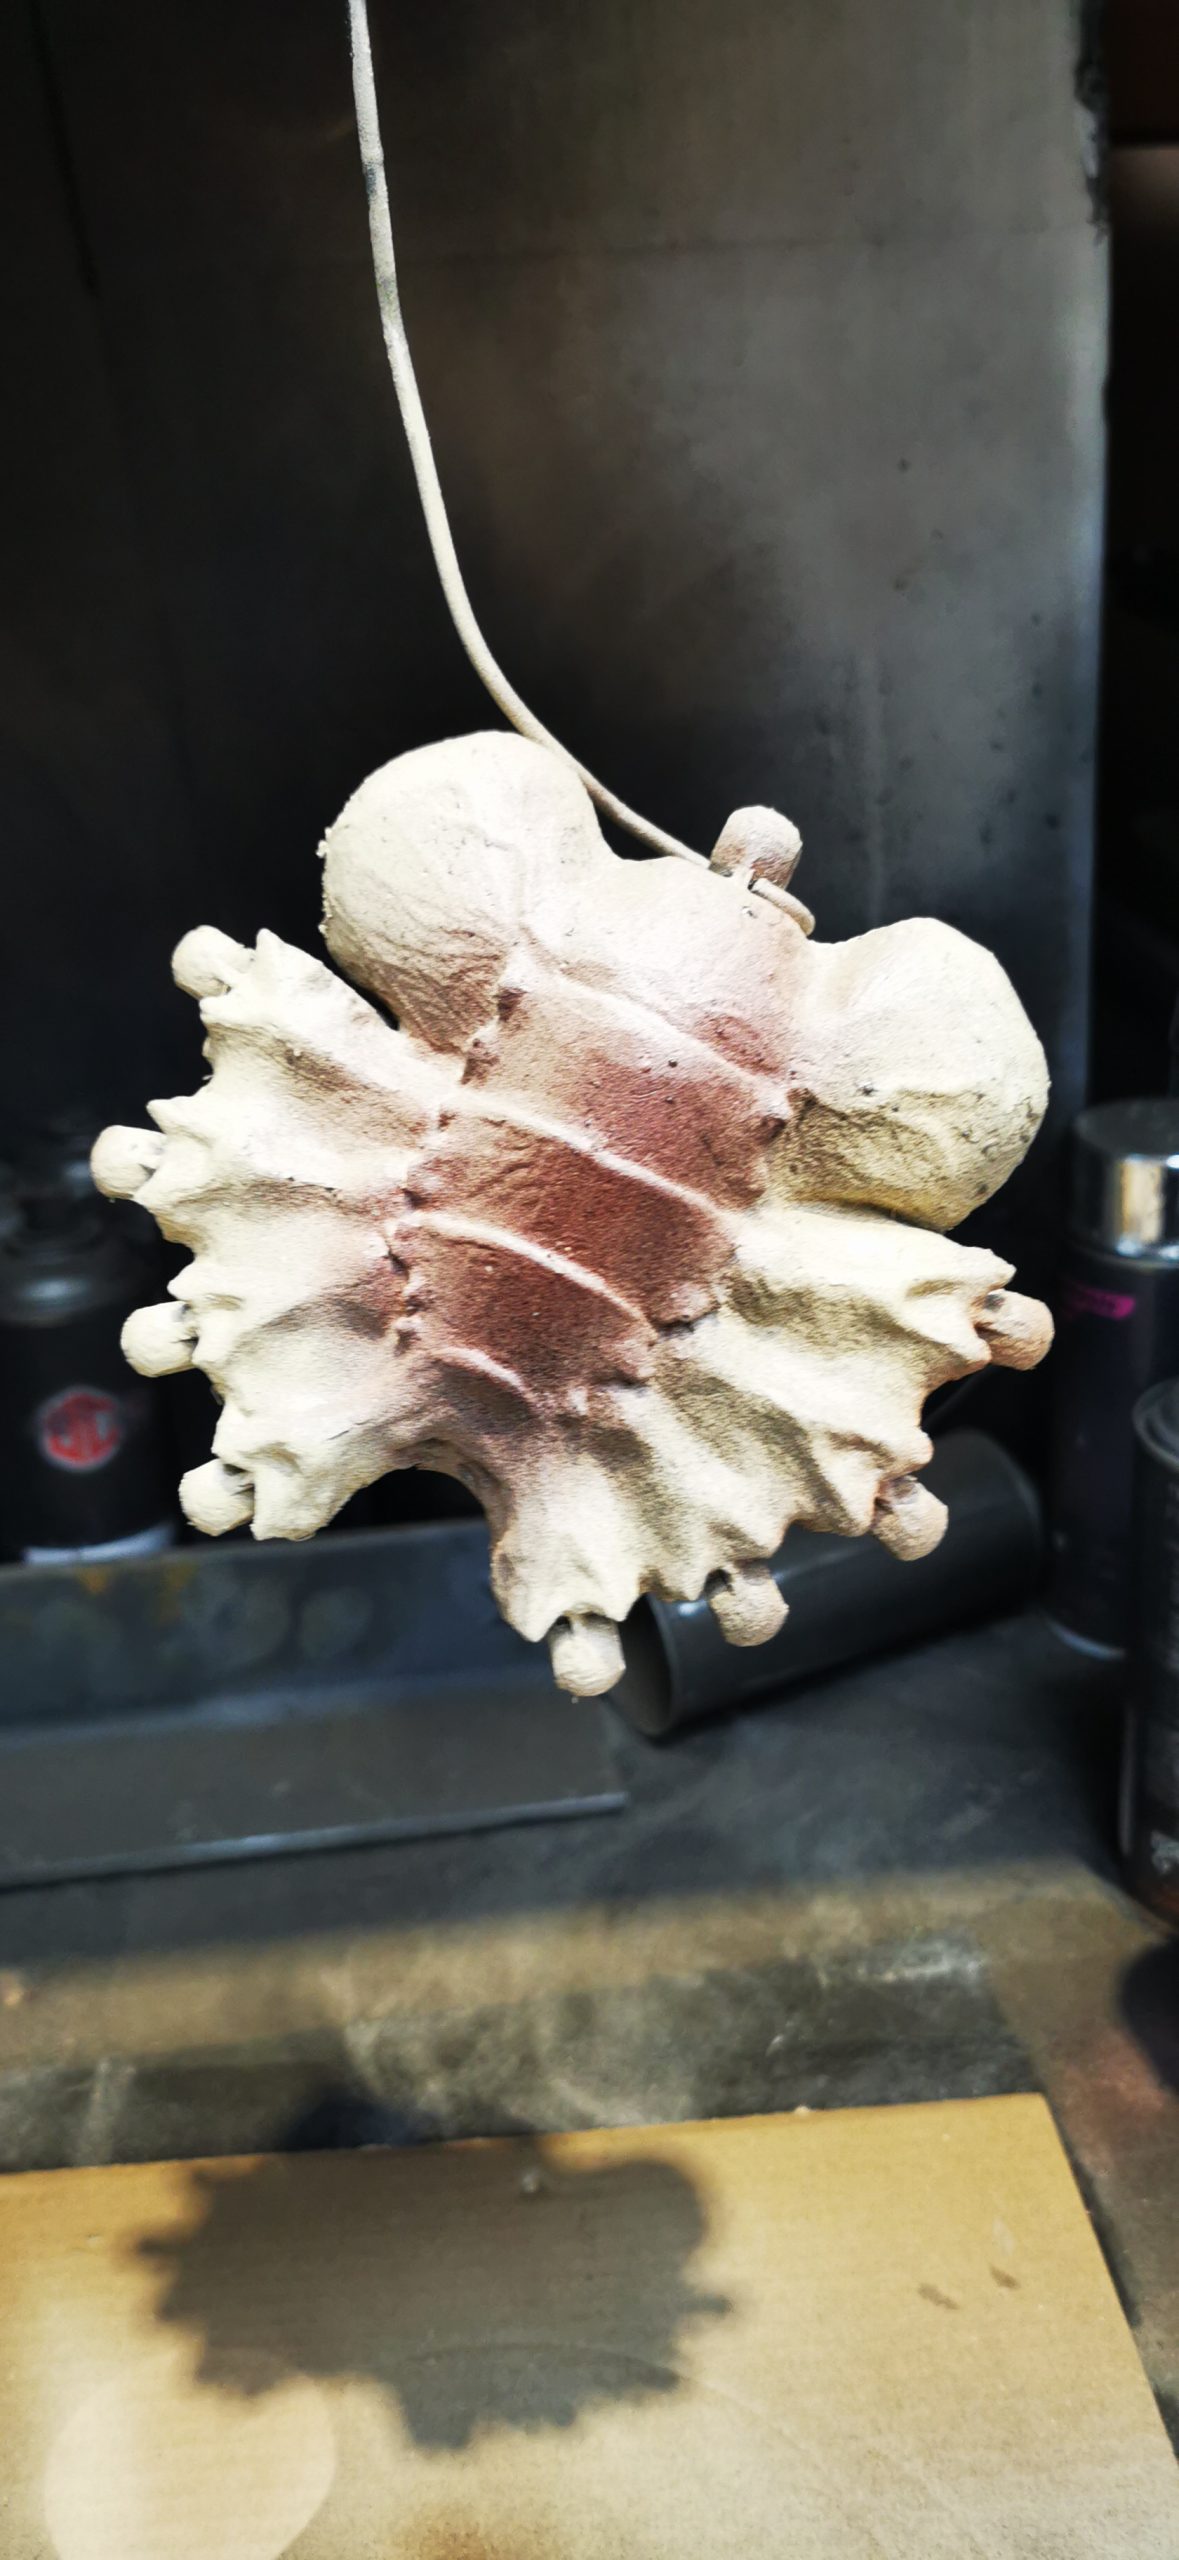
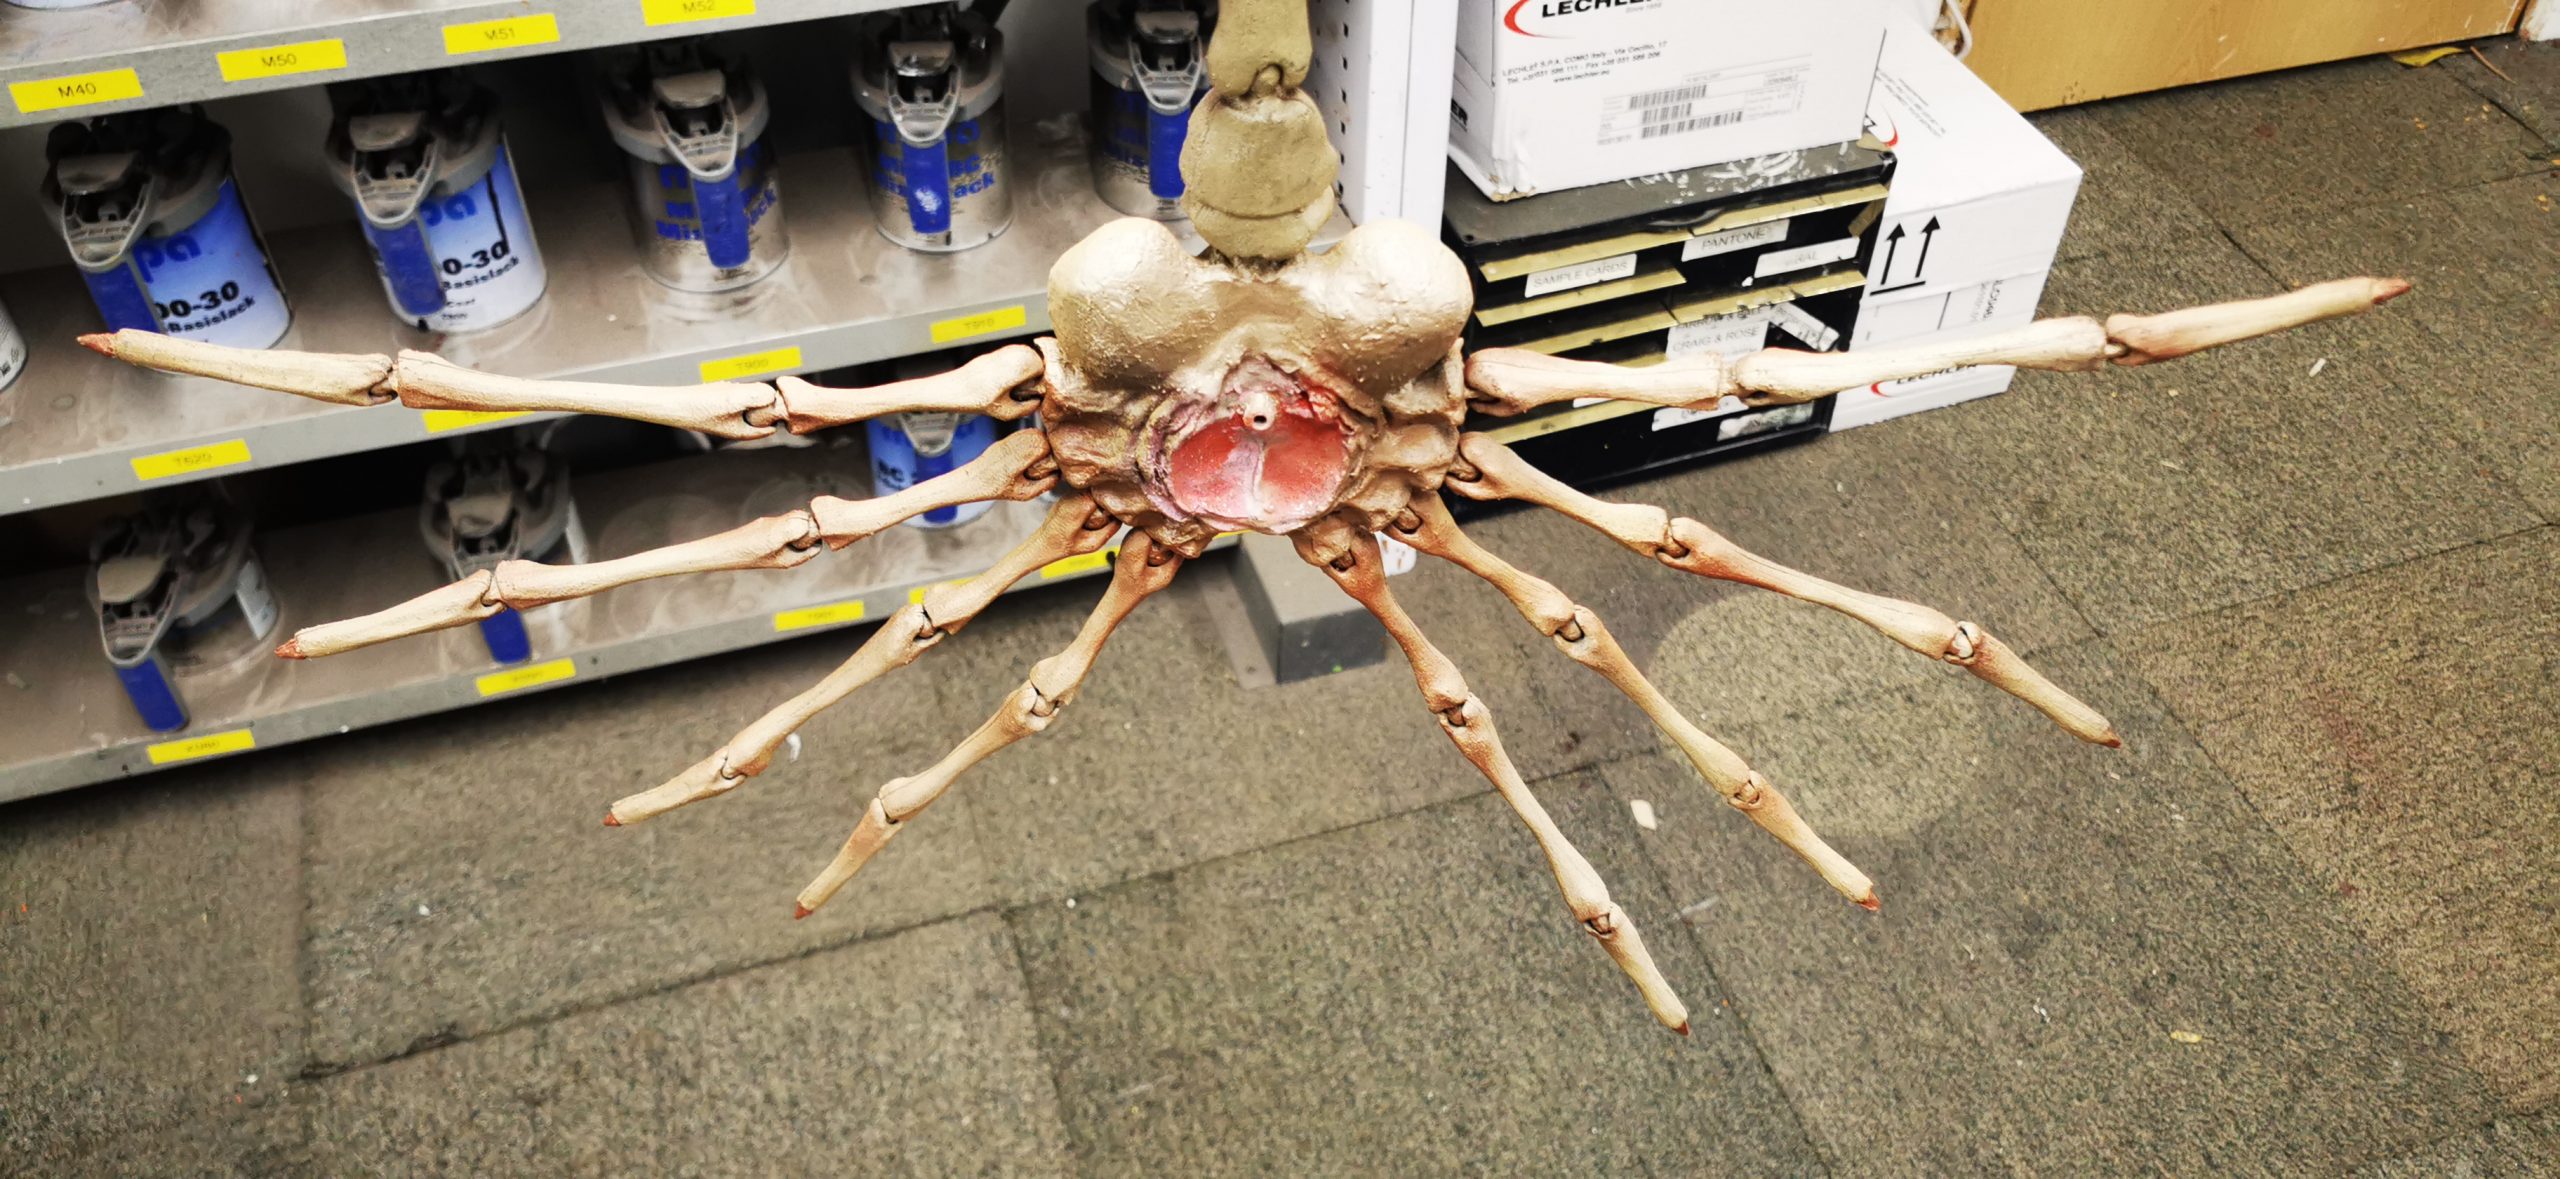
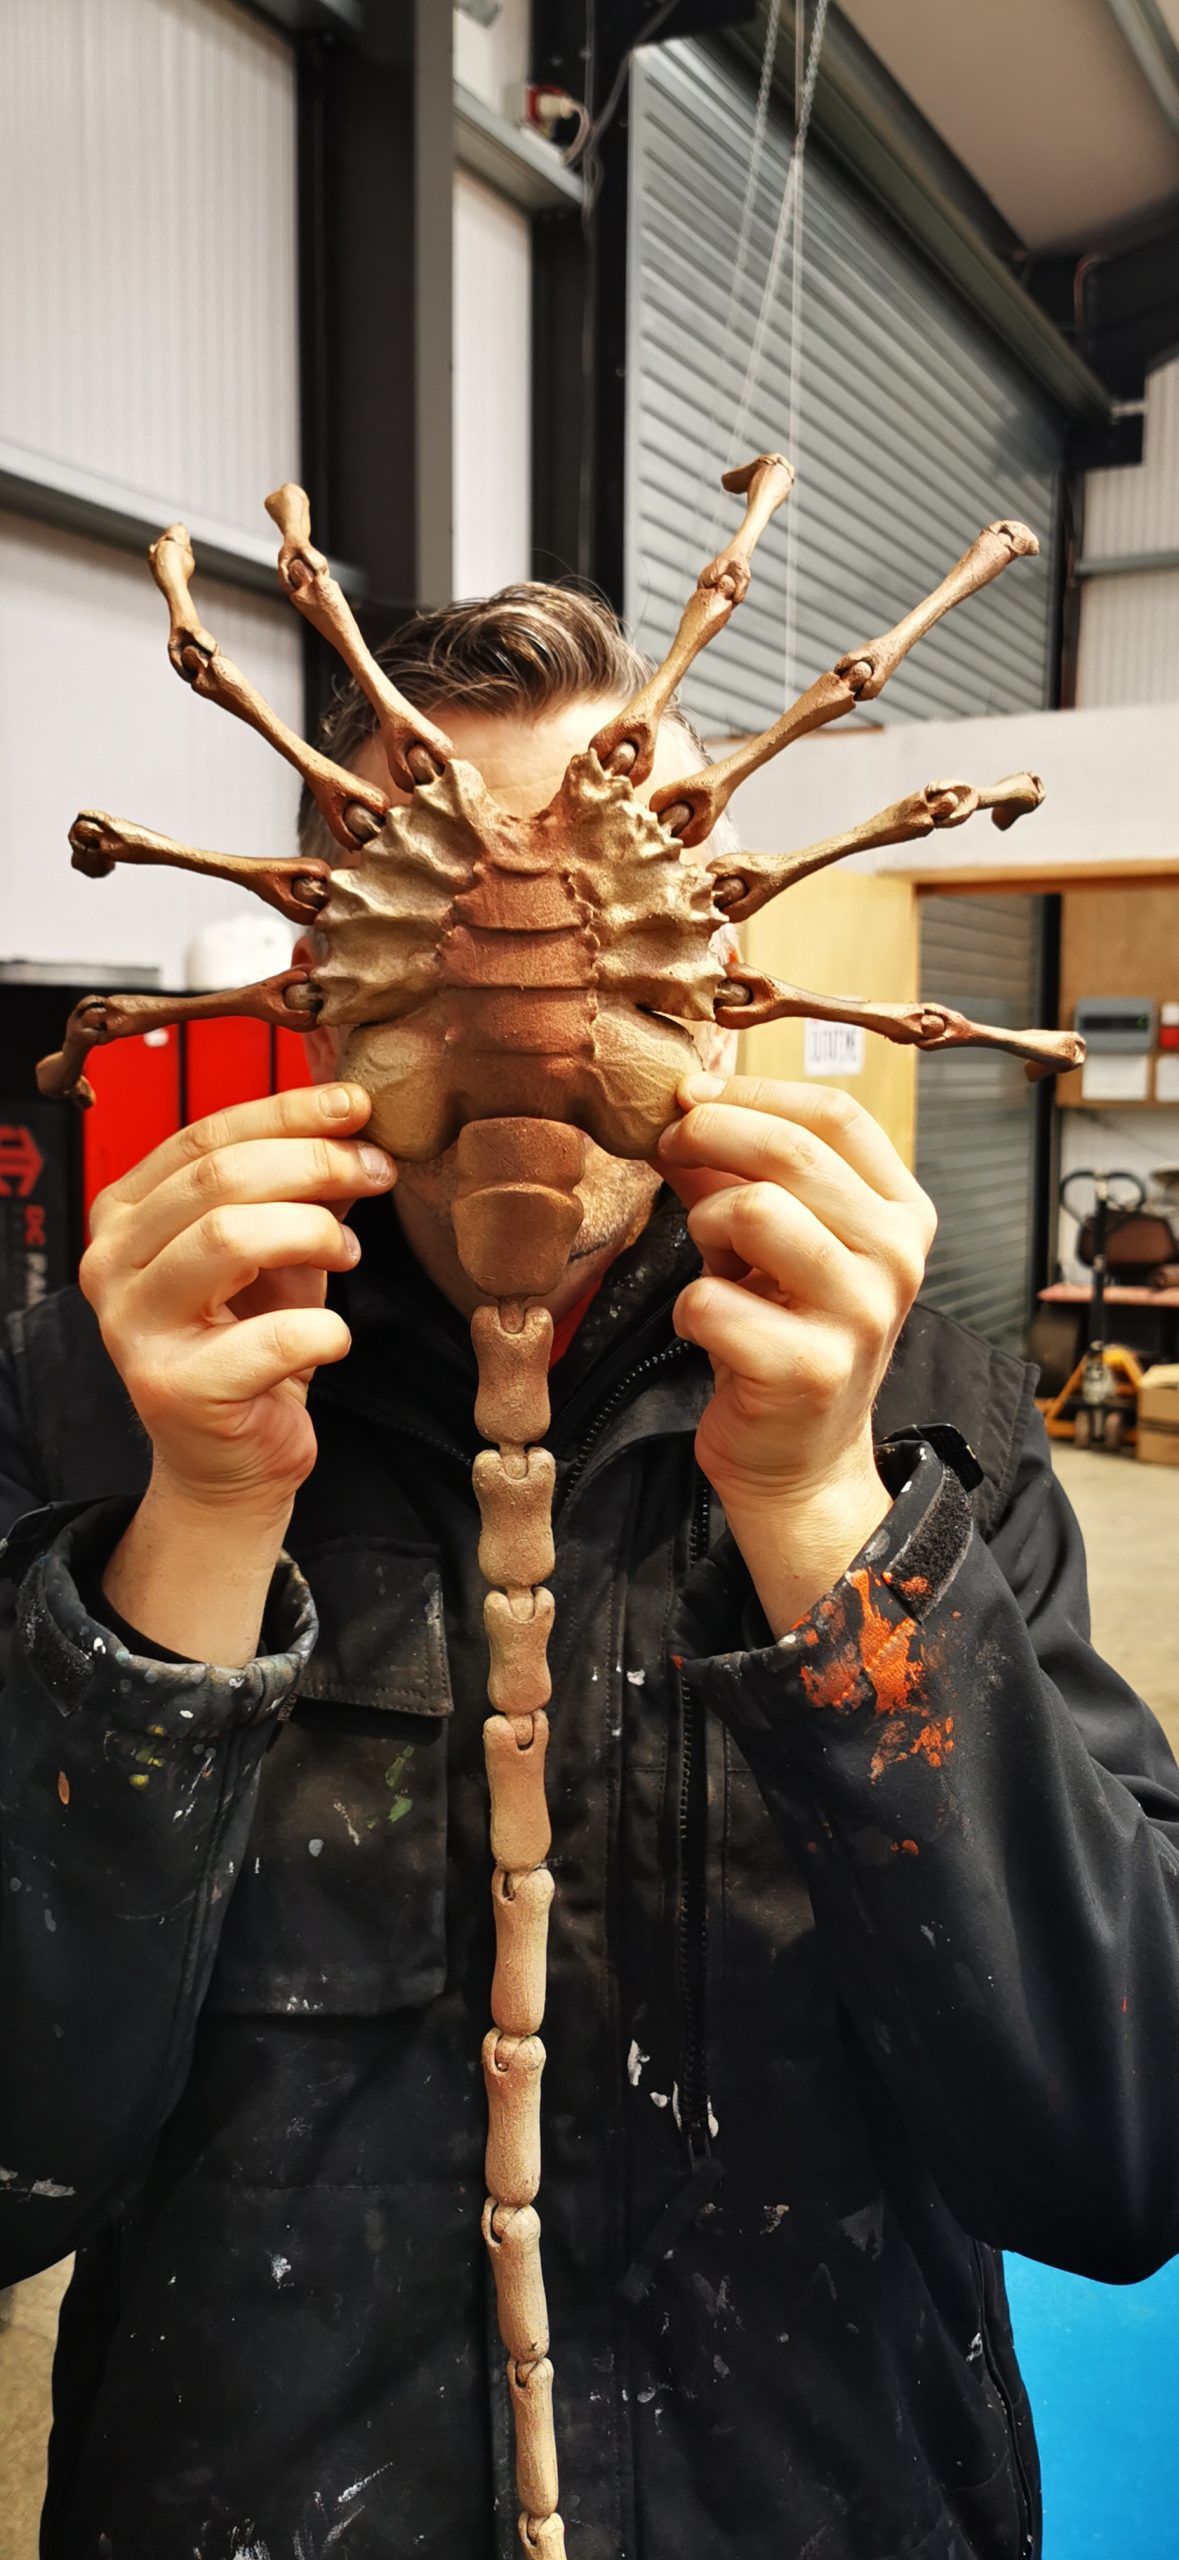
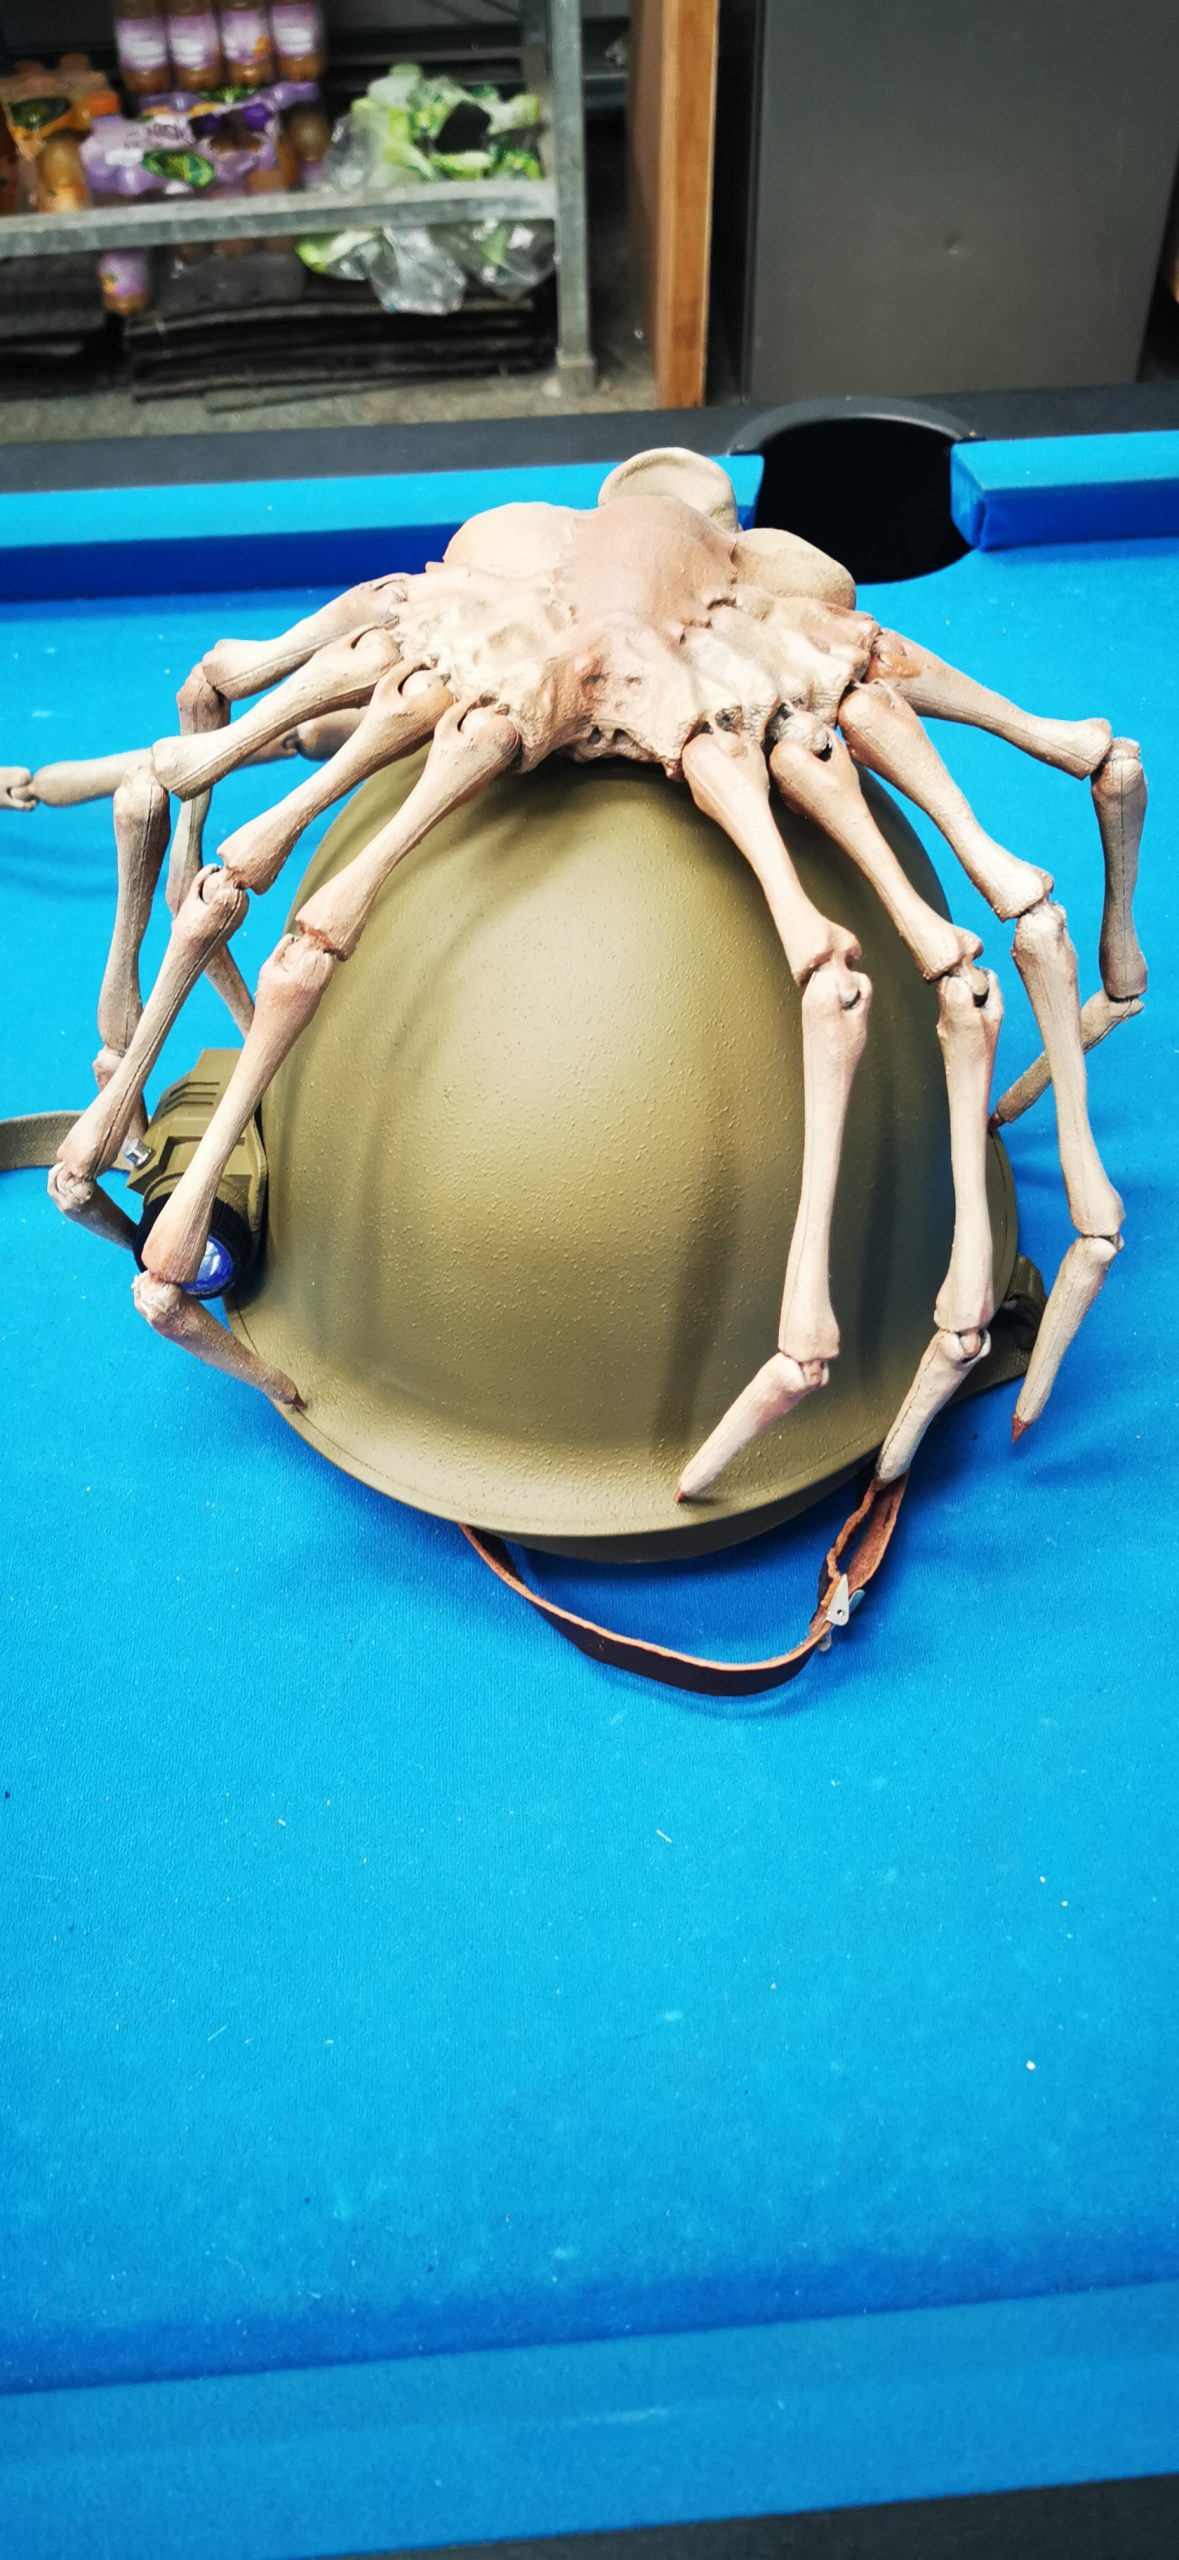
Next, we got started on the colouring. We took references from films and opted for a more leathery look rather than a pale colour. A light coat was first applied to the whole project, followed by a medium beige and darker brown. We coloured the surface, blended in the shades and then let it cure, before some reds and pinks were applied to the mouth area underneath.
Finally, a 2K soft cell paint was added across the project. When fully cured, this 2K product leaves a semi-opaque look but is soft to the touch like skin. We fully assembled the project and applied two deep coats of the soft cell lacquer, then left to cure fully overnight.
Colonial Marines Helmet Method
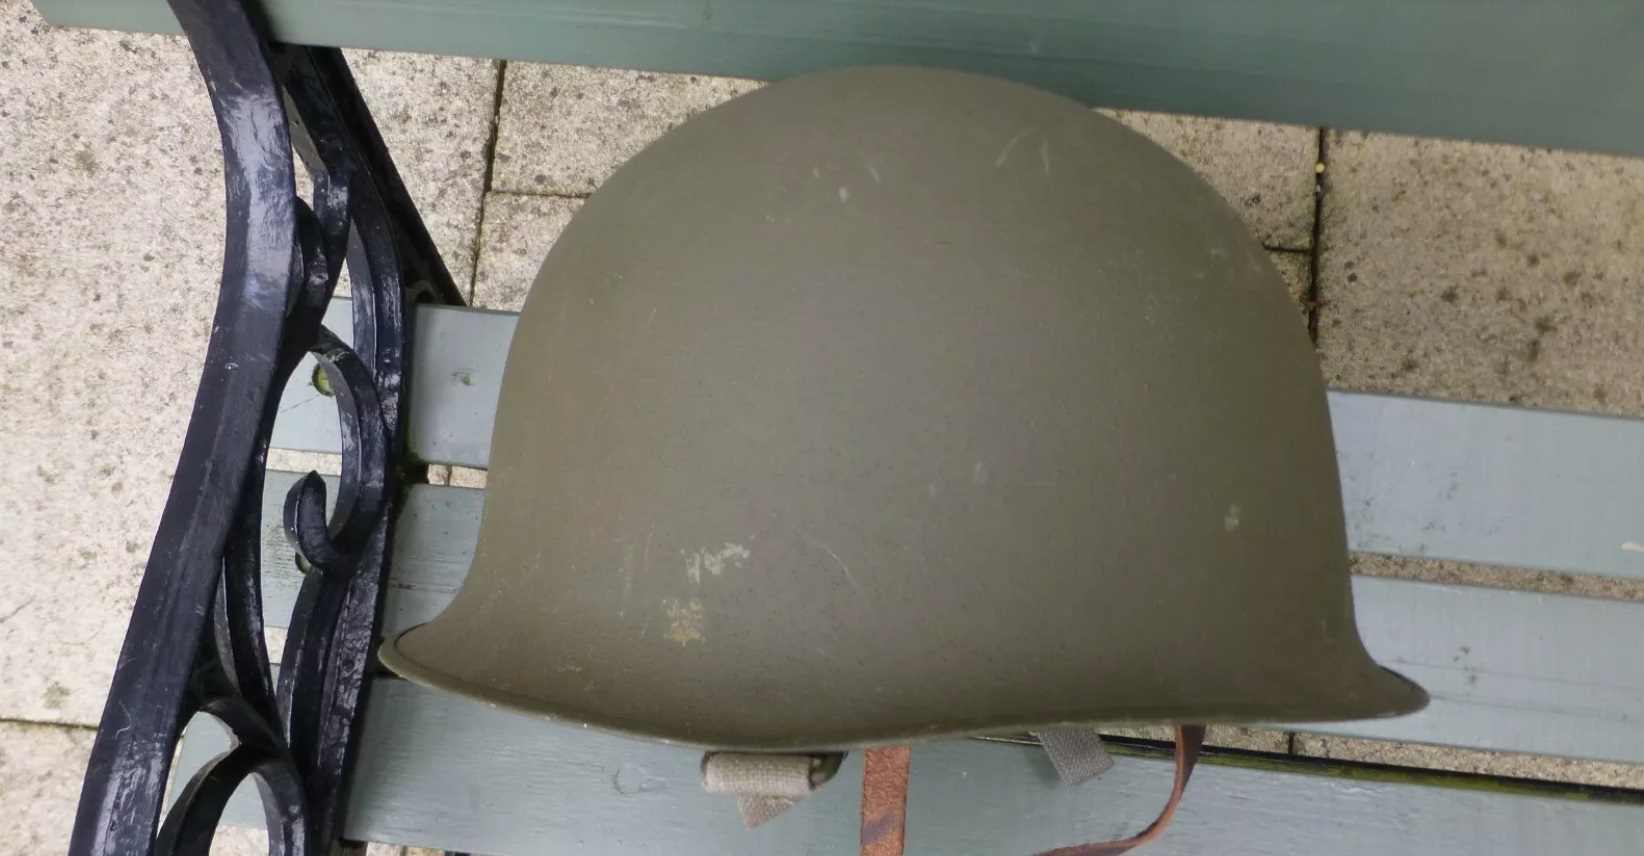
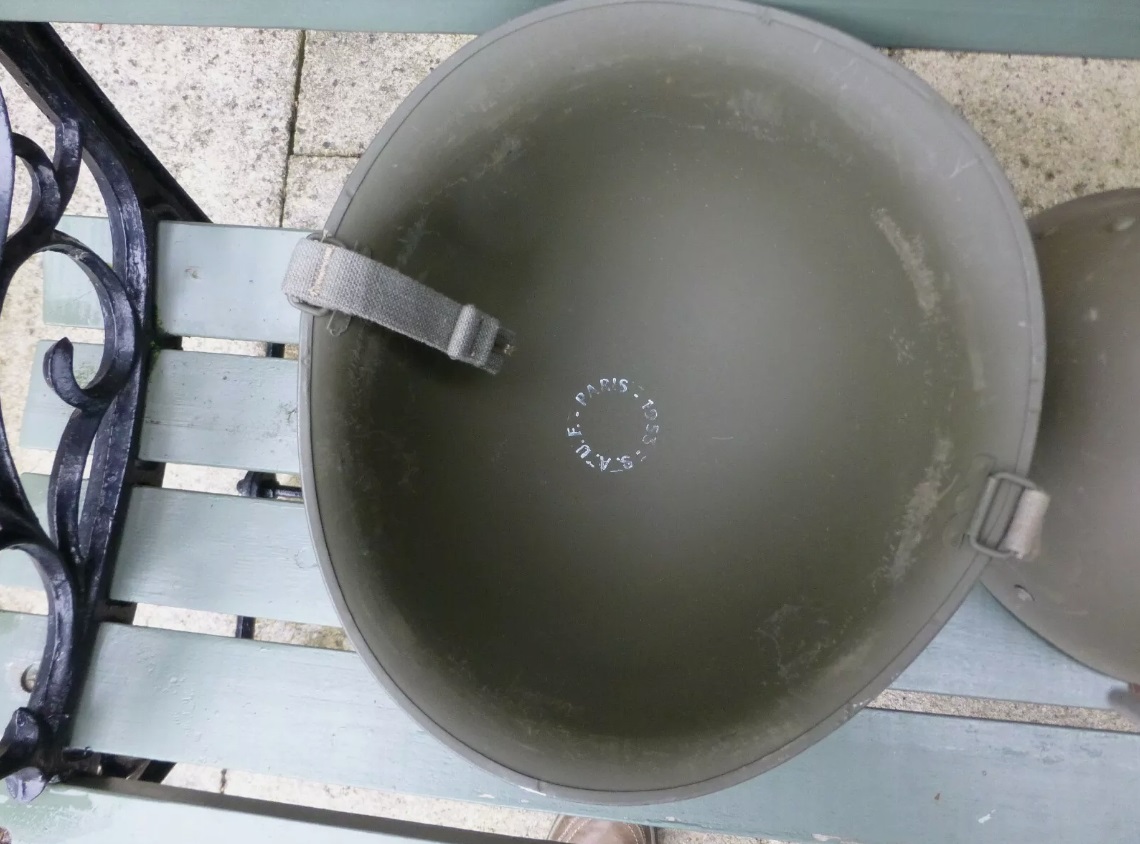
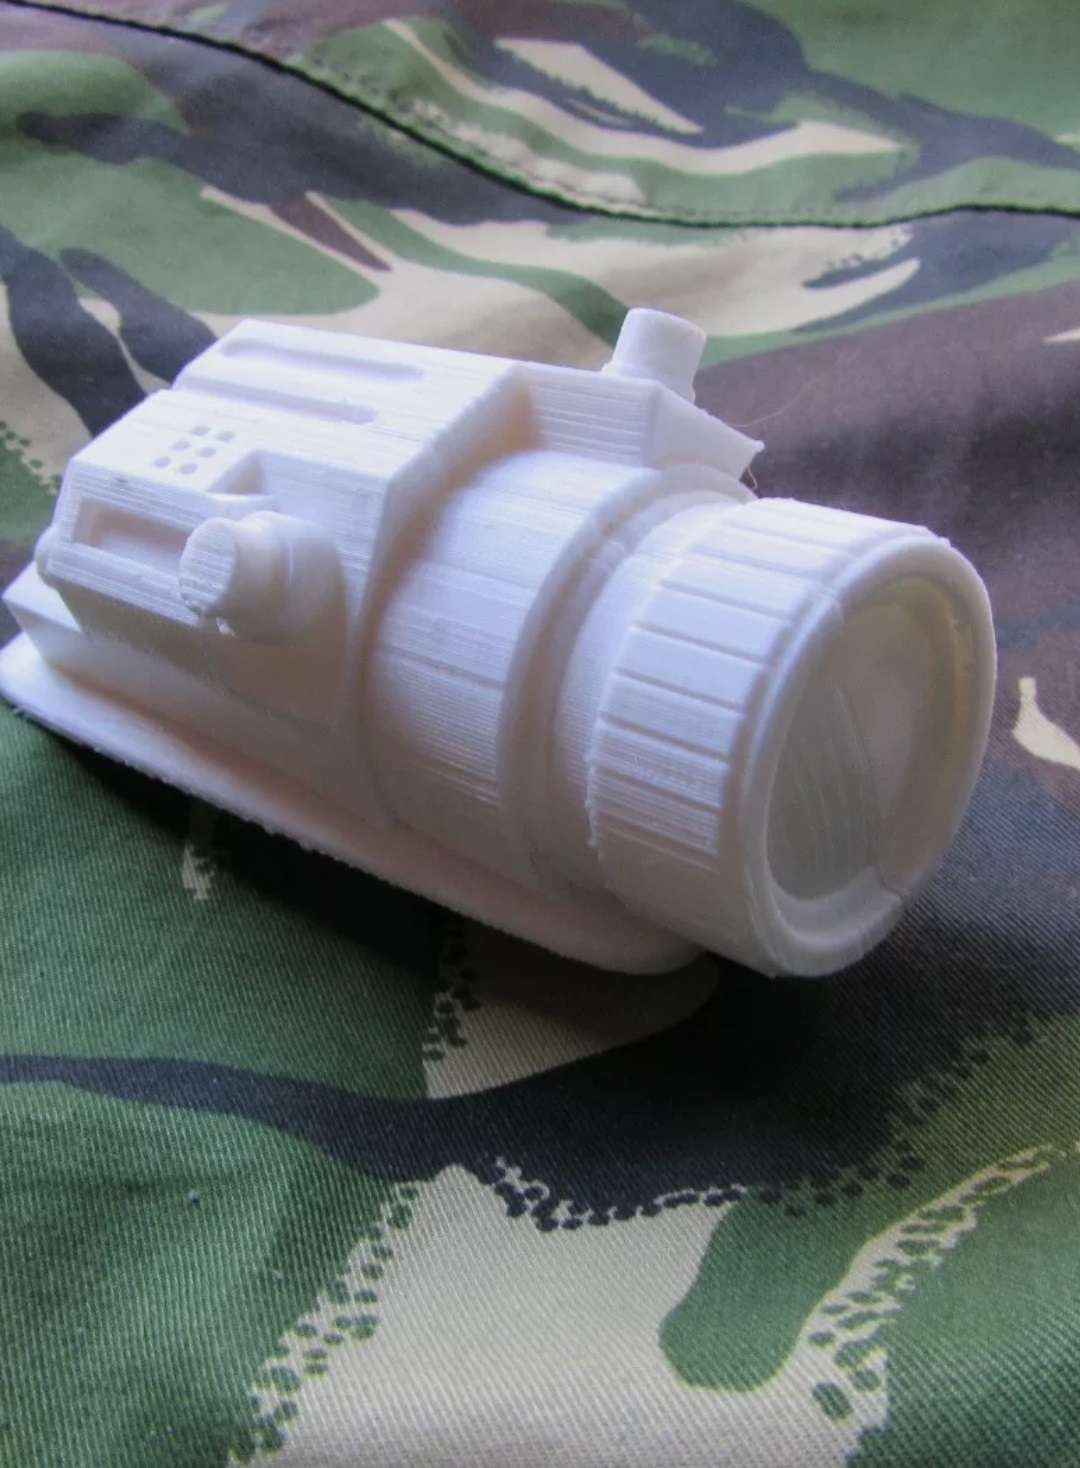
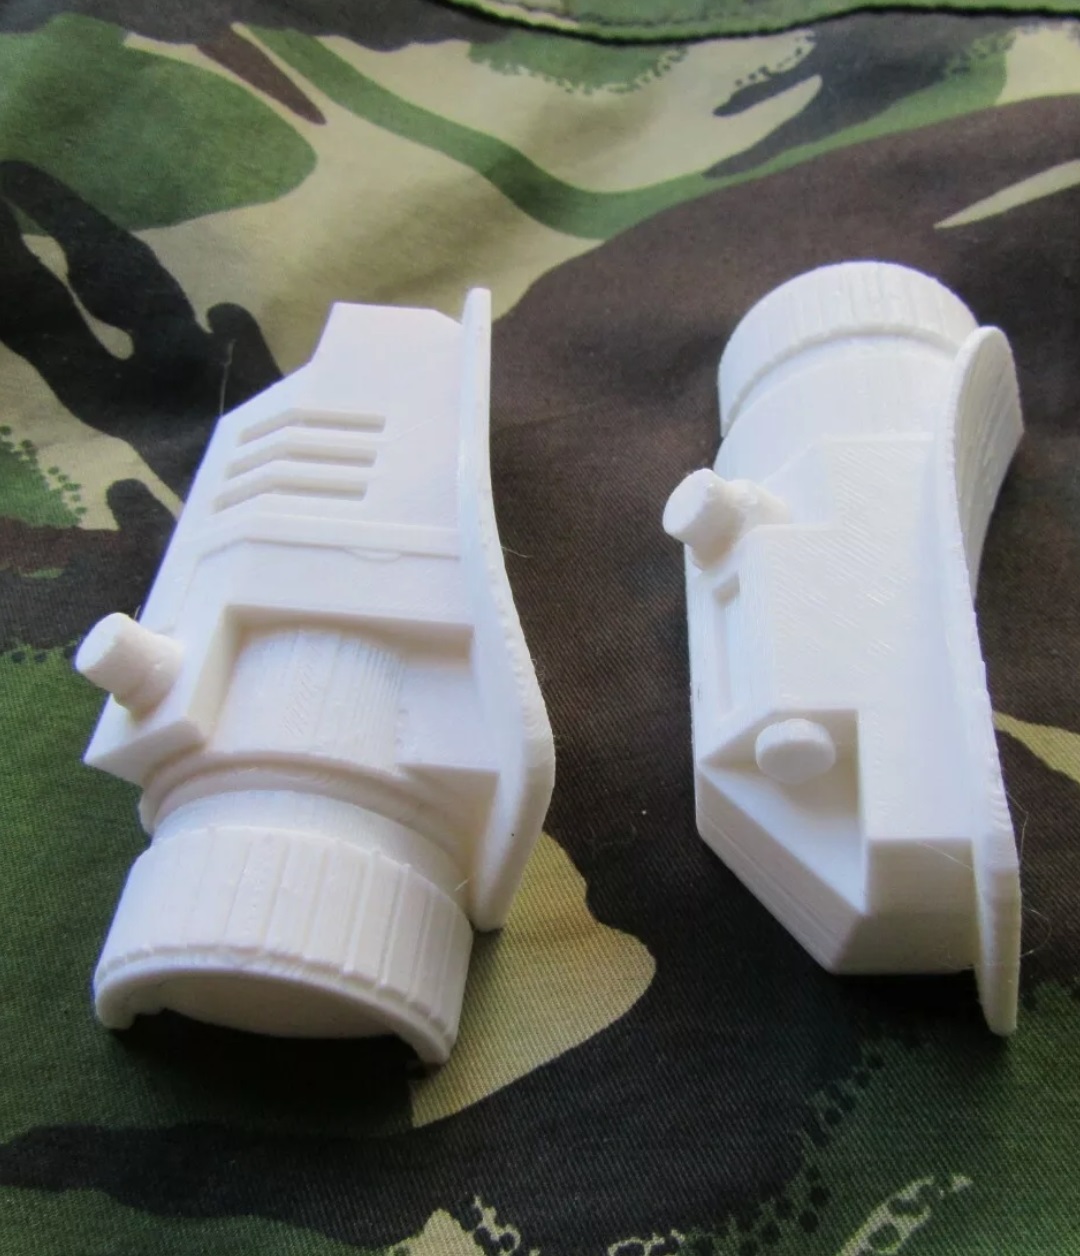
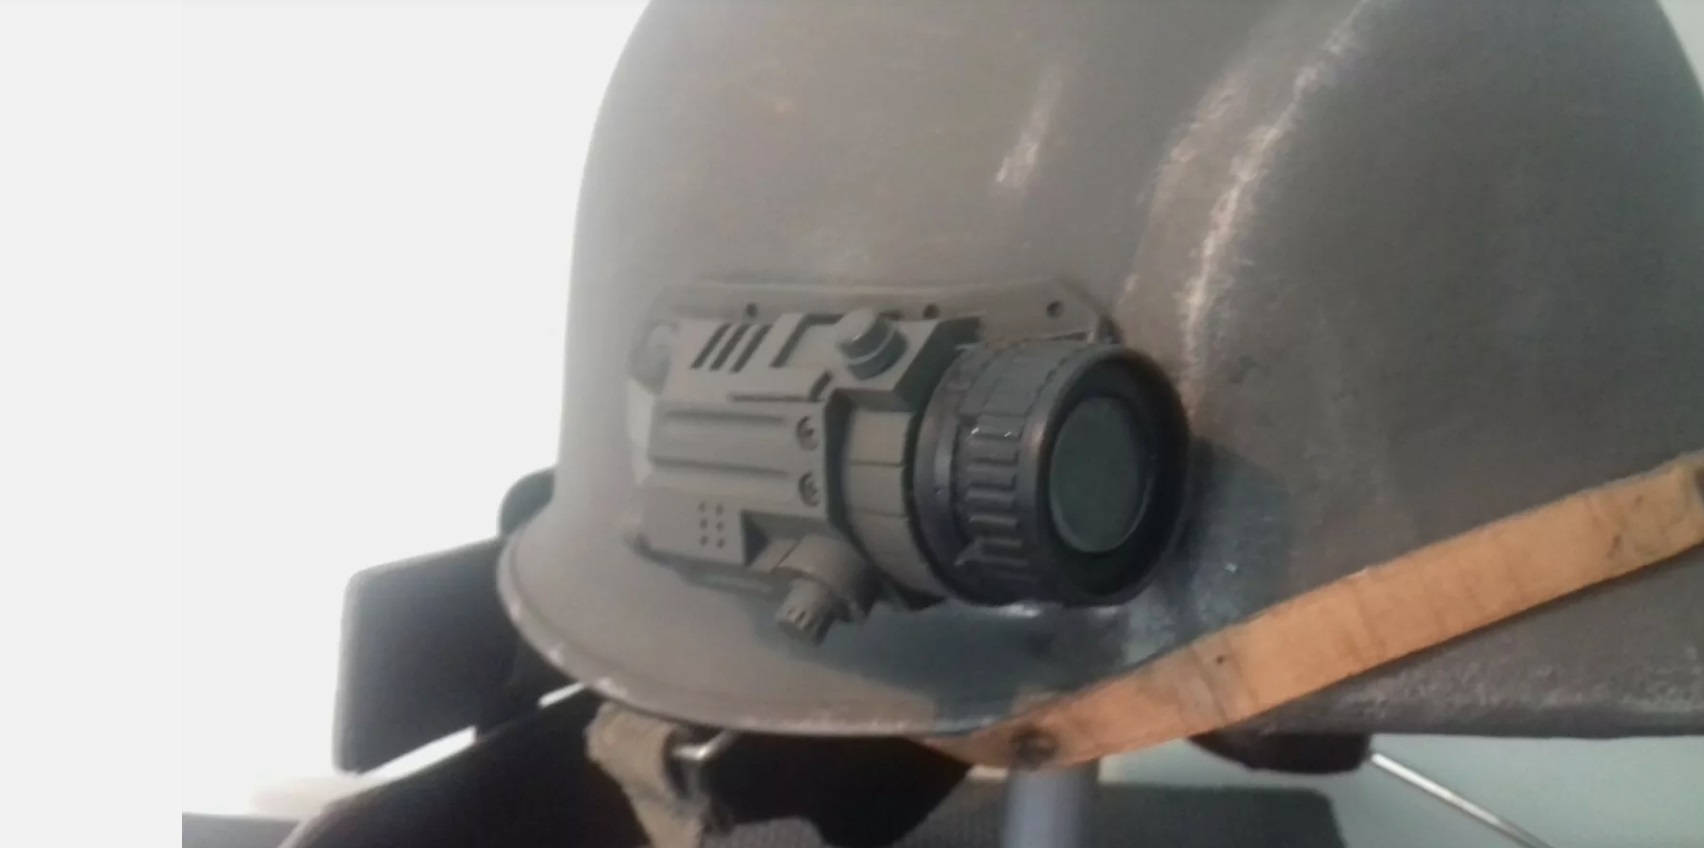
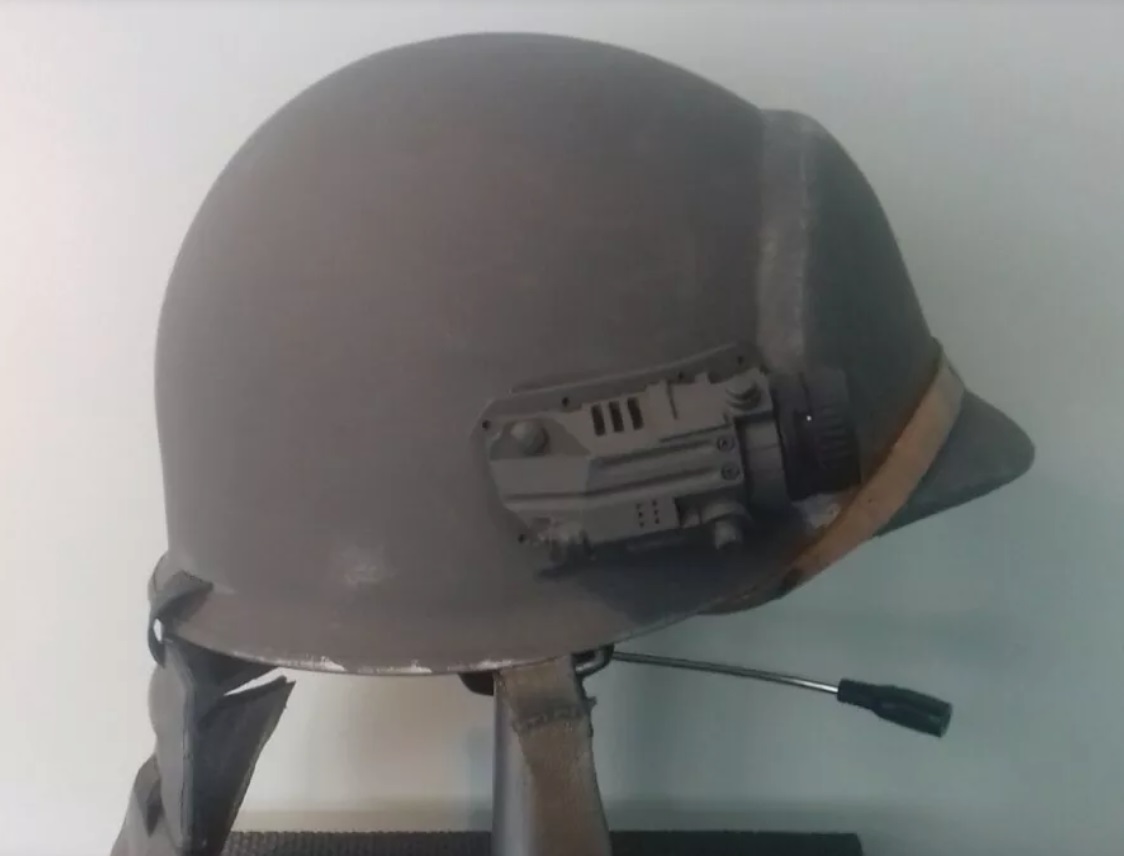
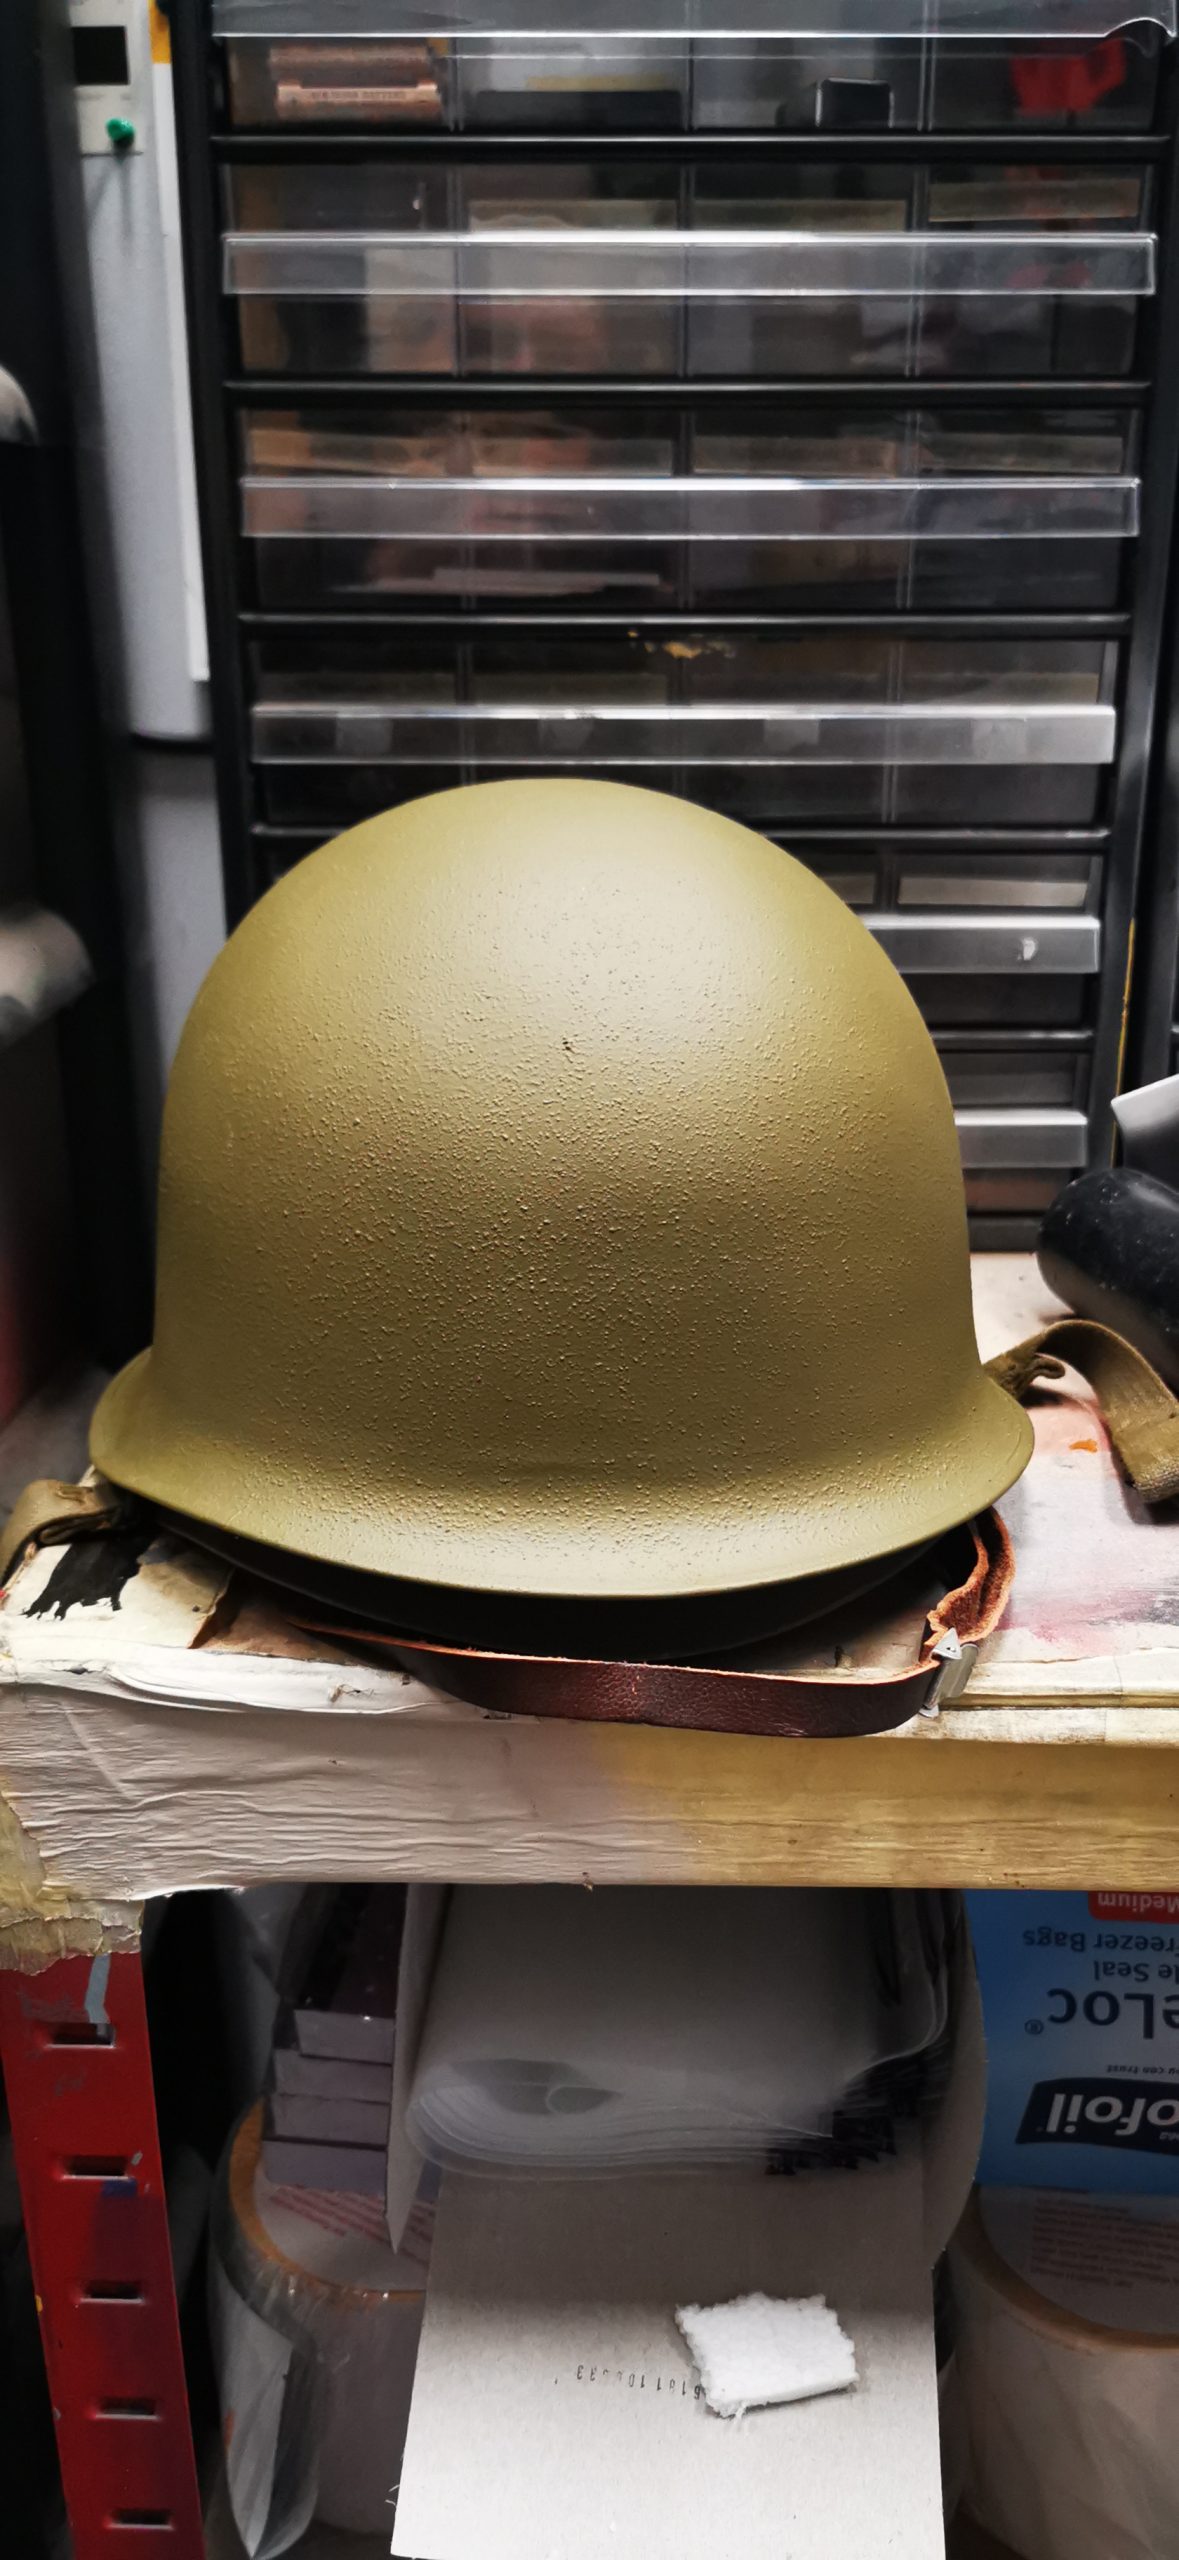
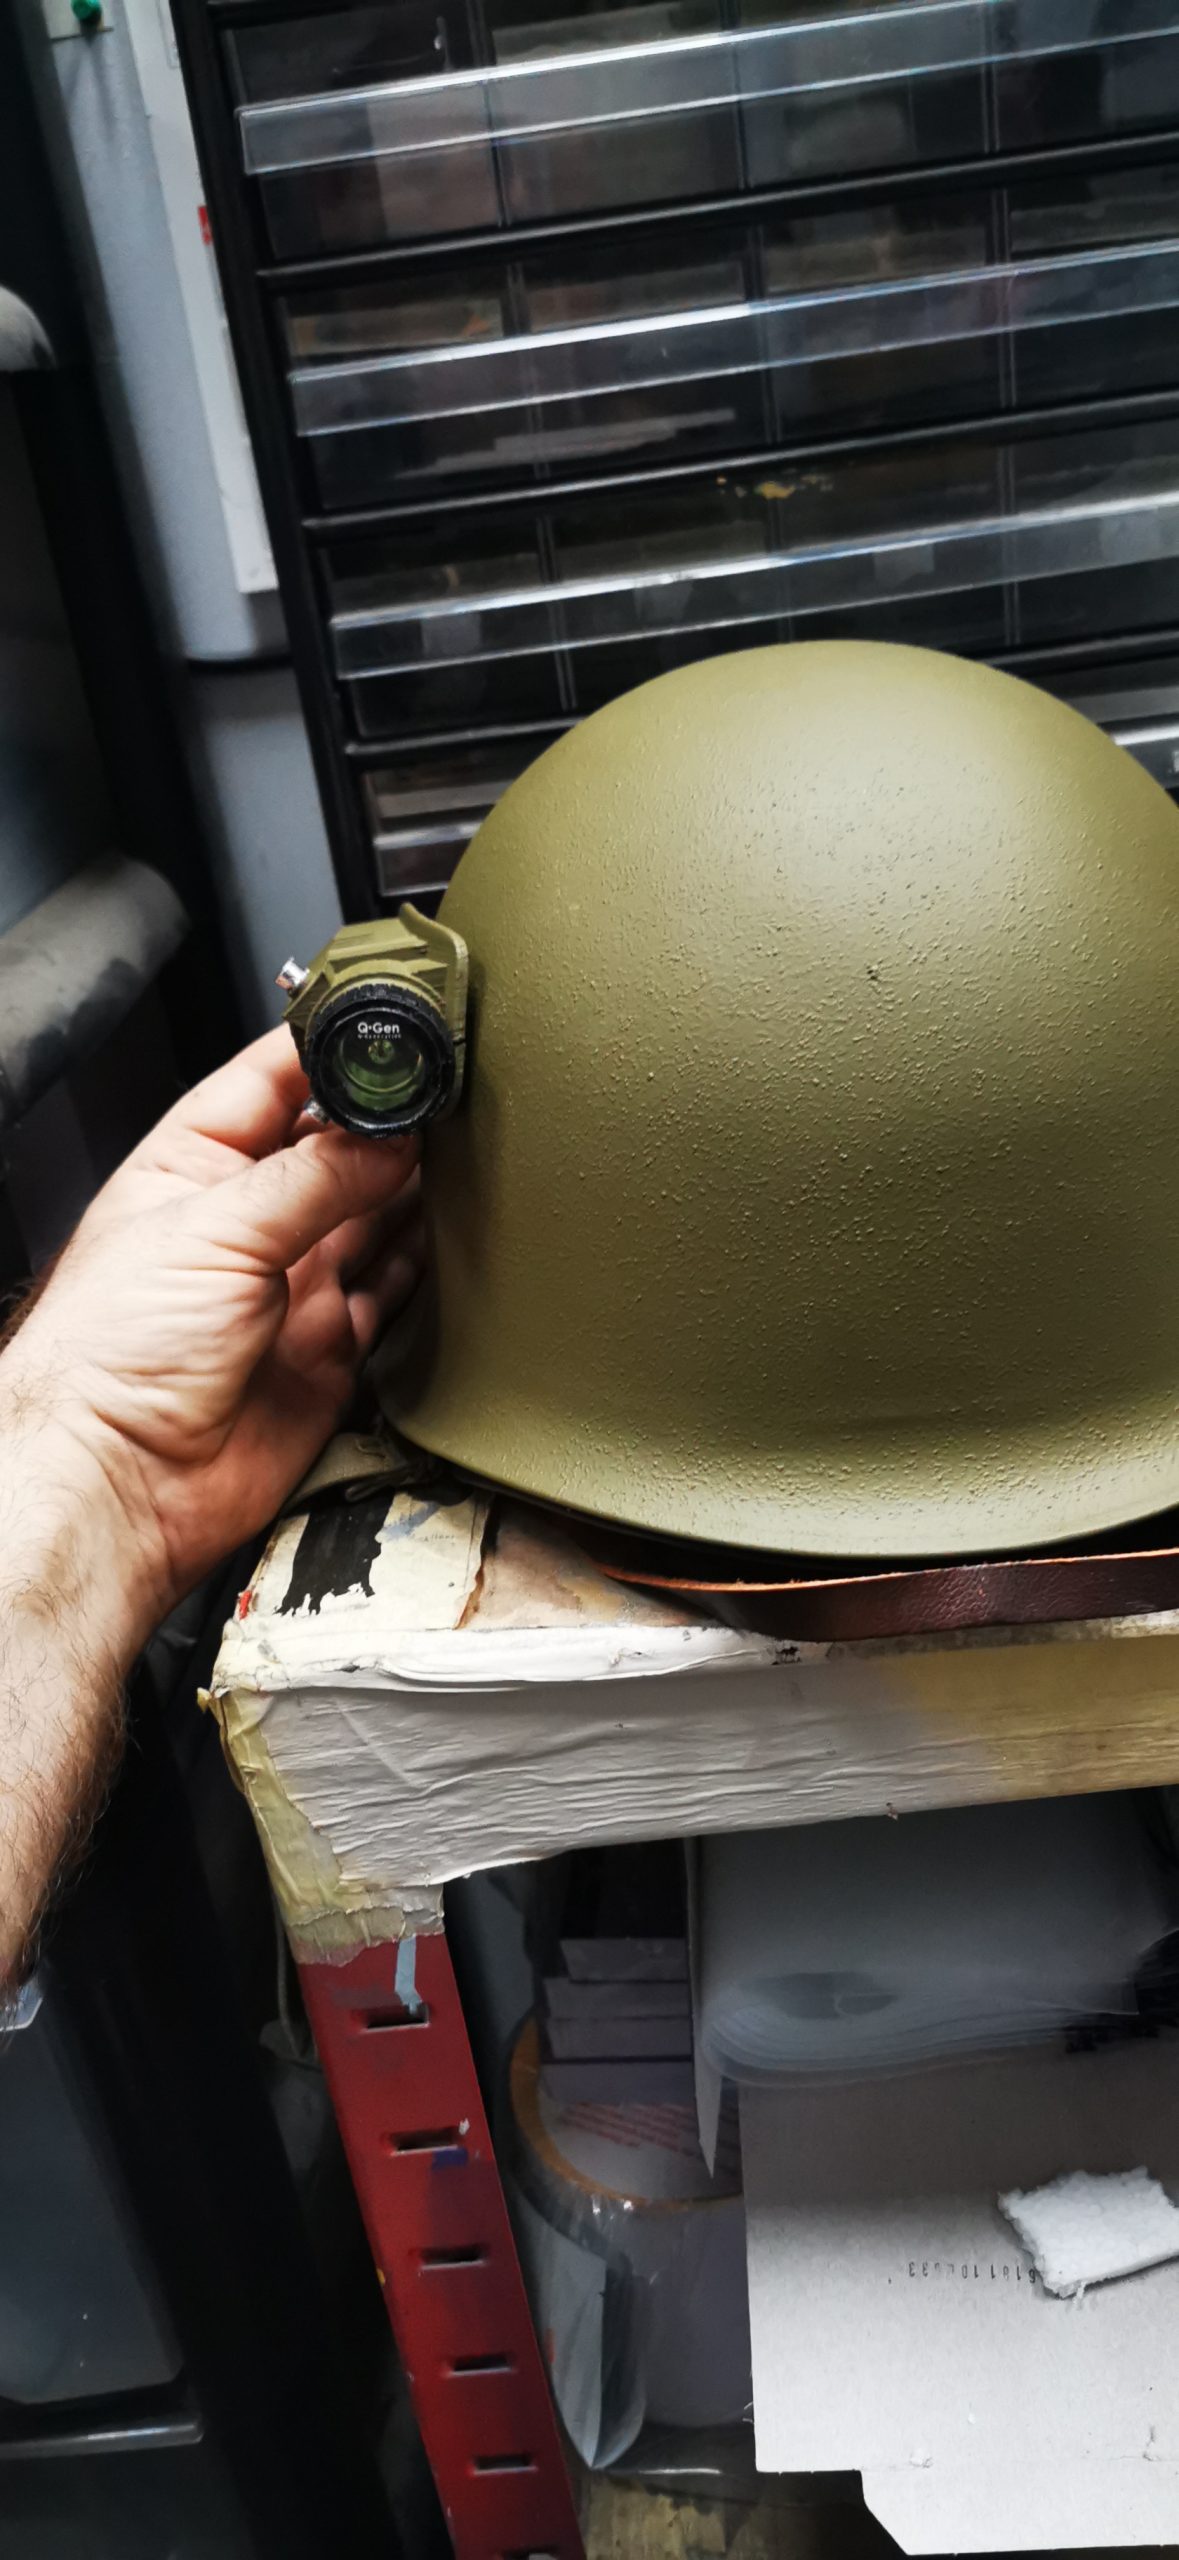
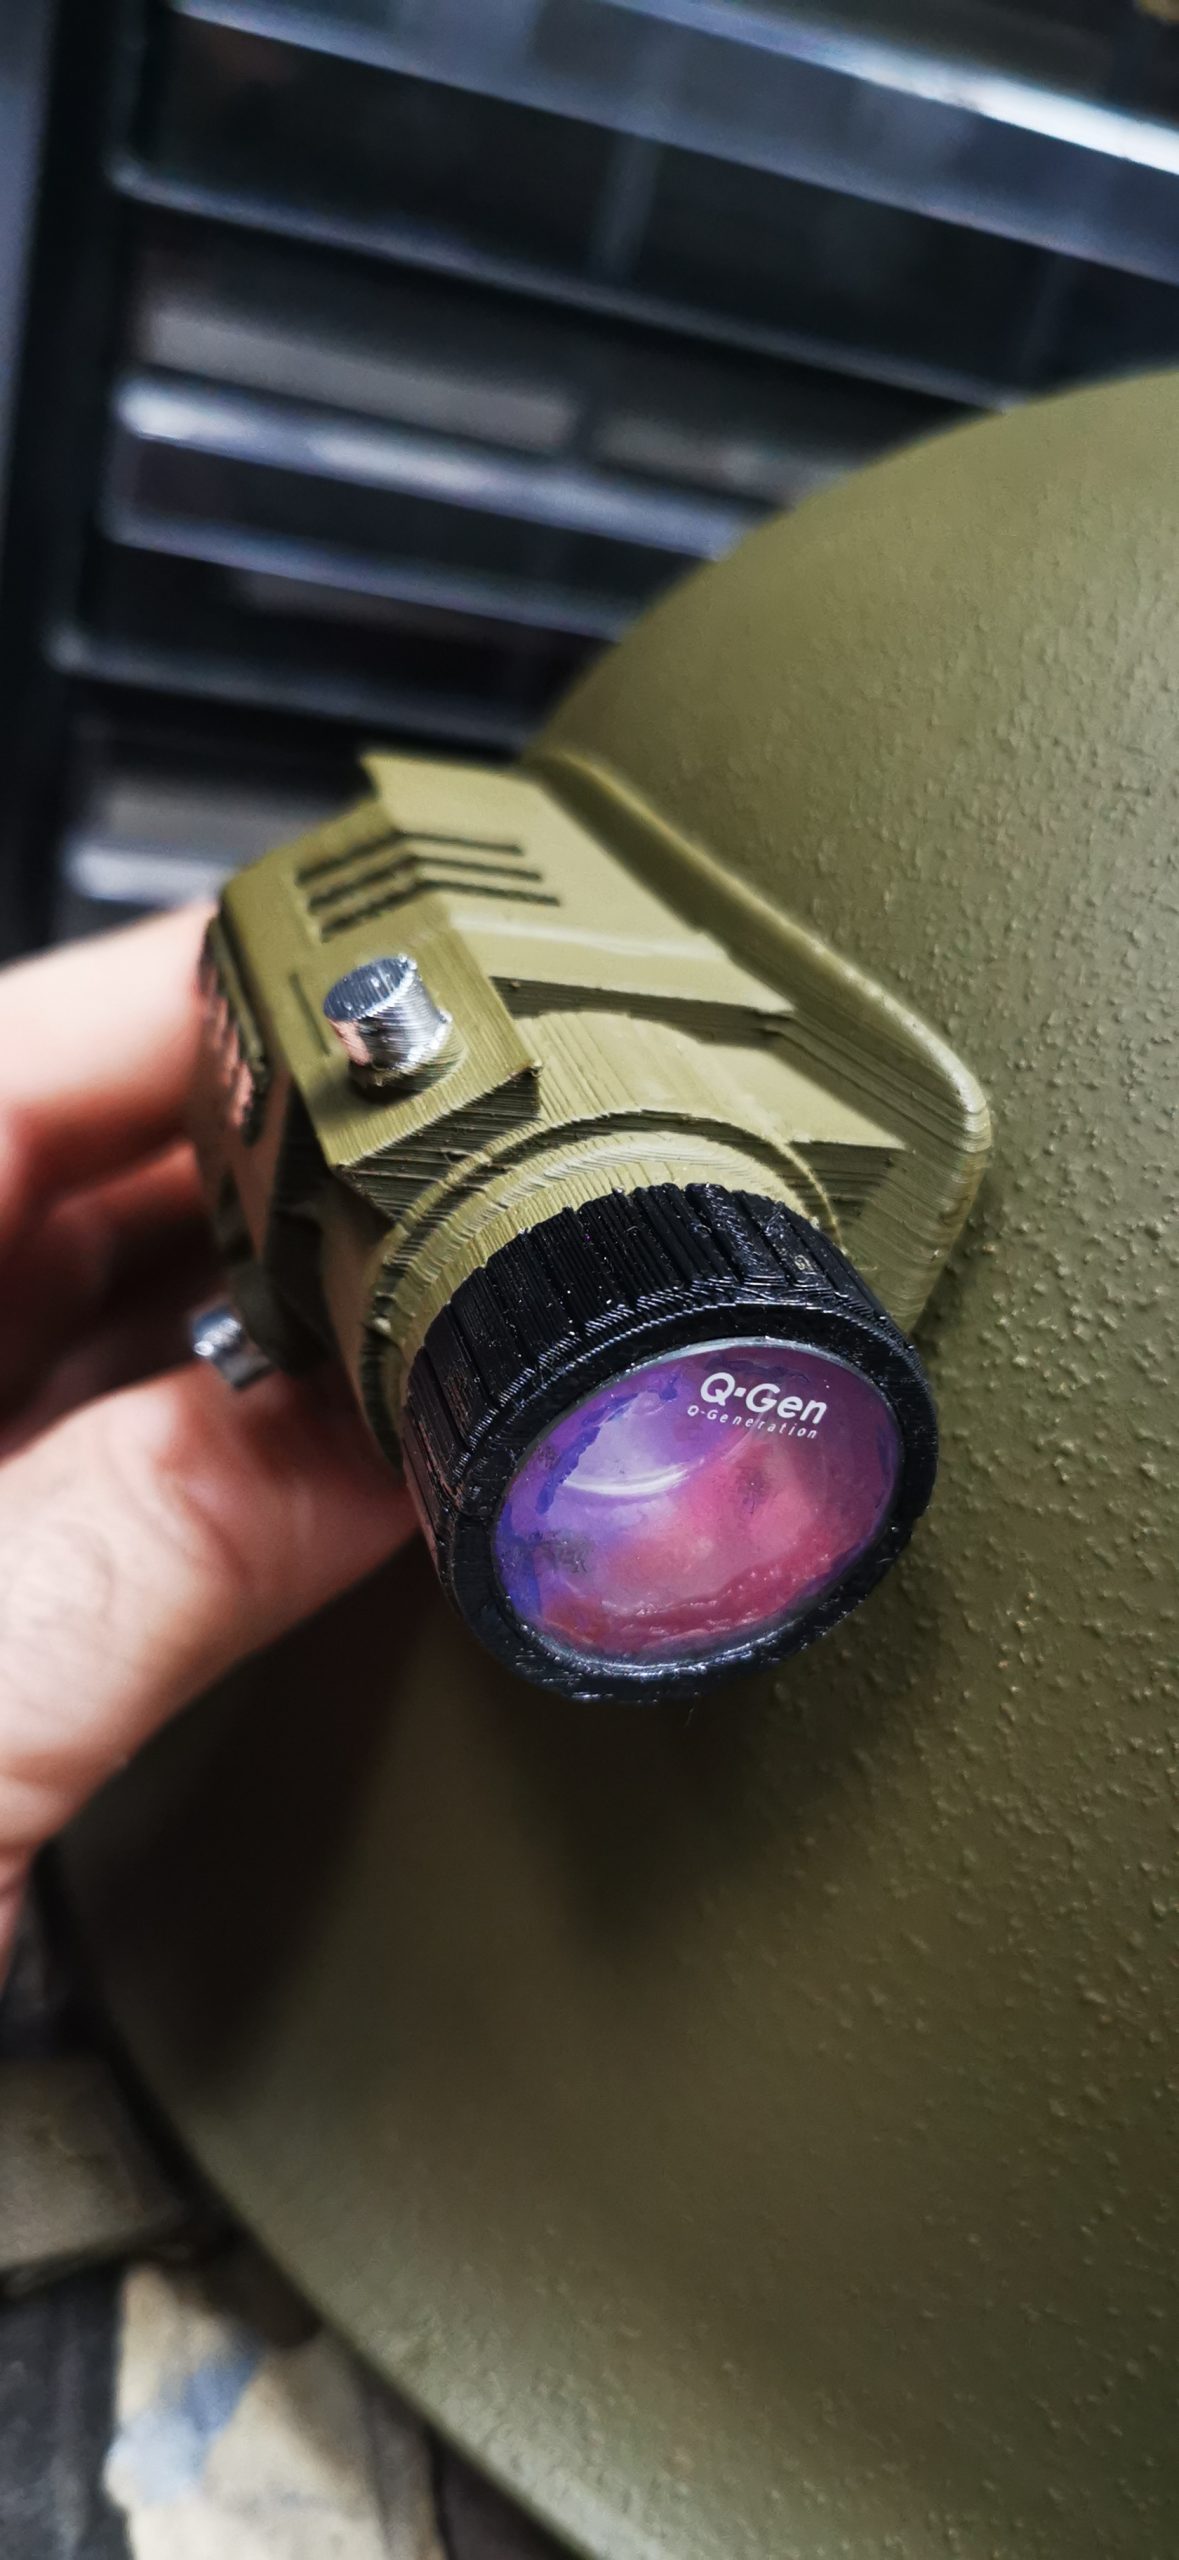
The final part of this project was to colour match the old U.S. Marines shade for the helmet and camera. We hollowed out the camera lens area, fitted a bottle cap and painted the internal areas chrome. This was then installed inside the 3D printed camera before an old wristwatch lens was fitted over the camera to make it look realistic.
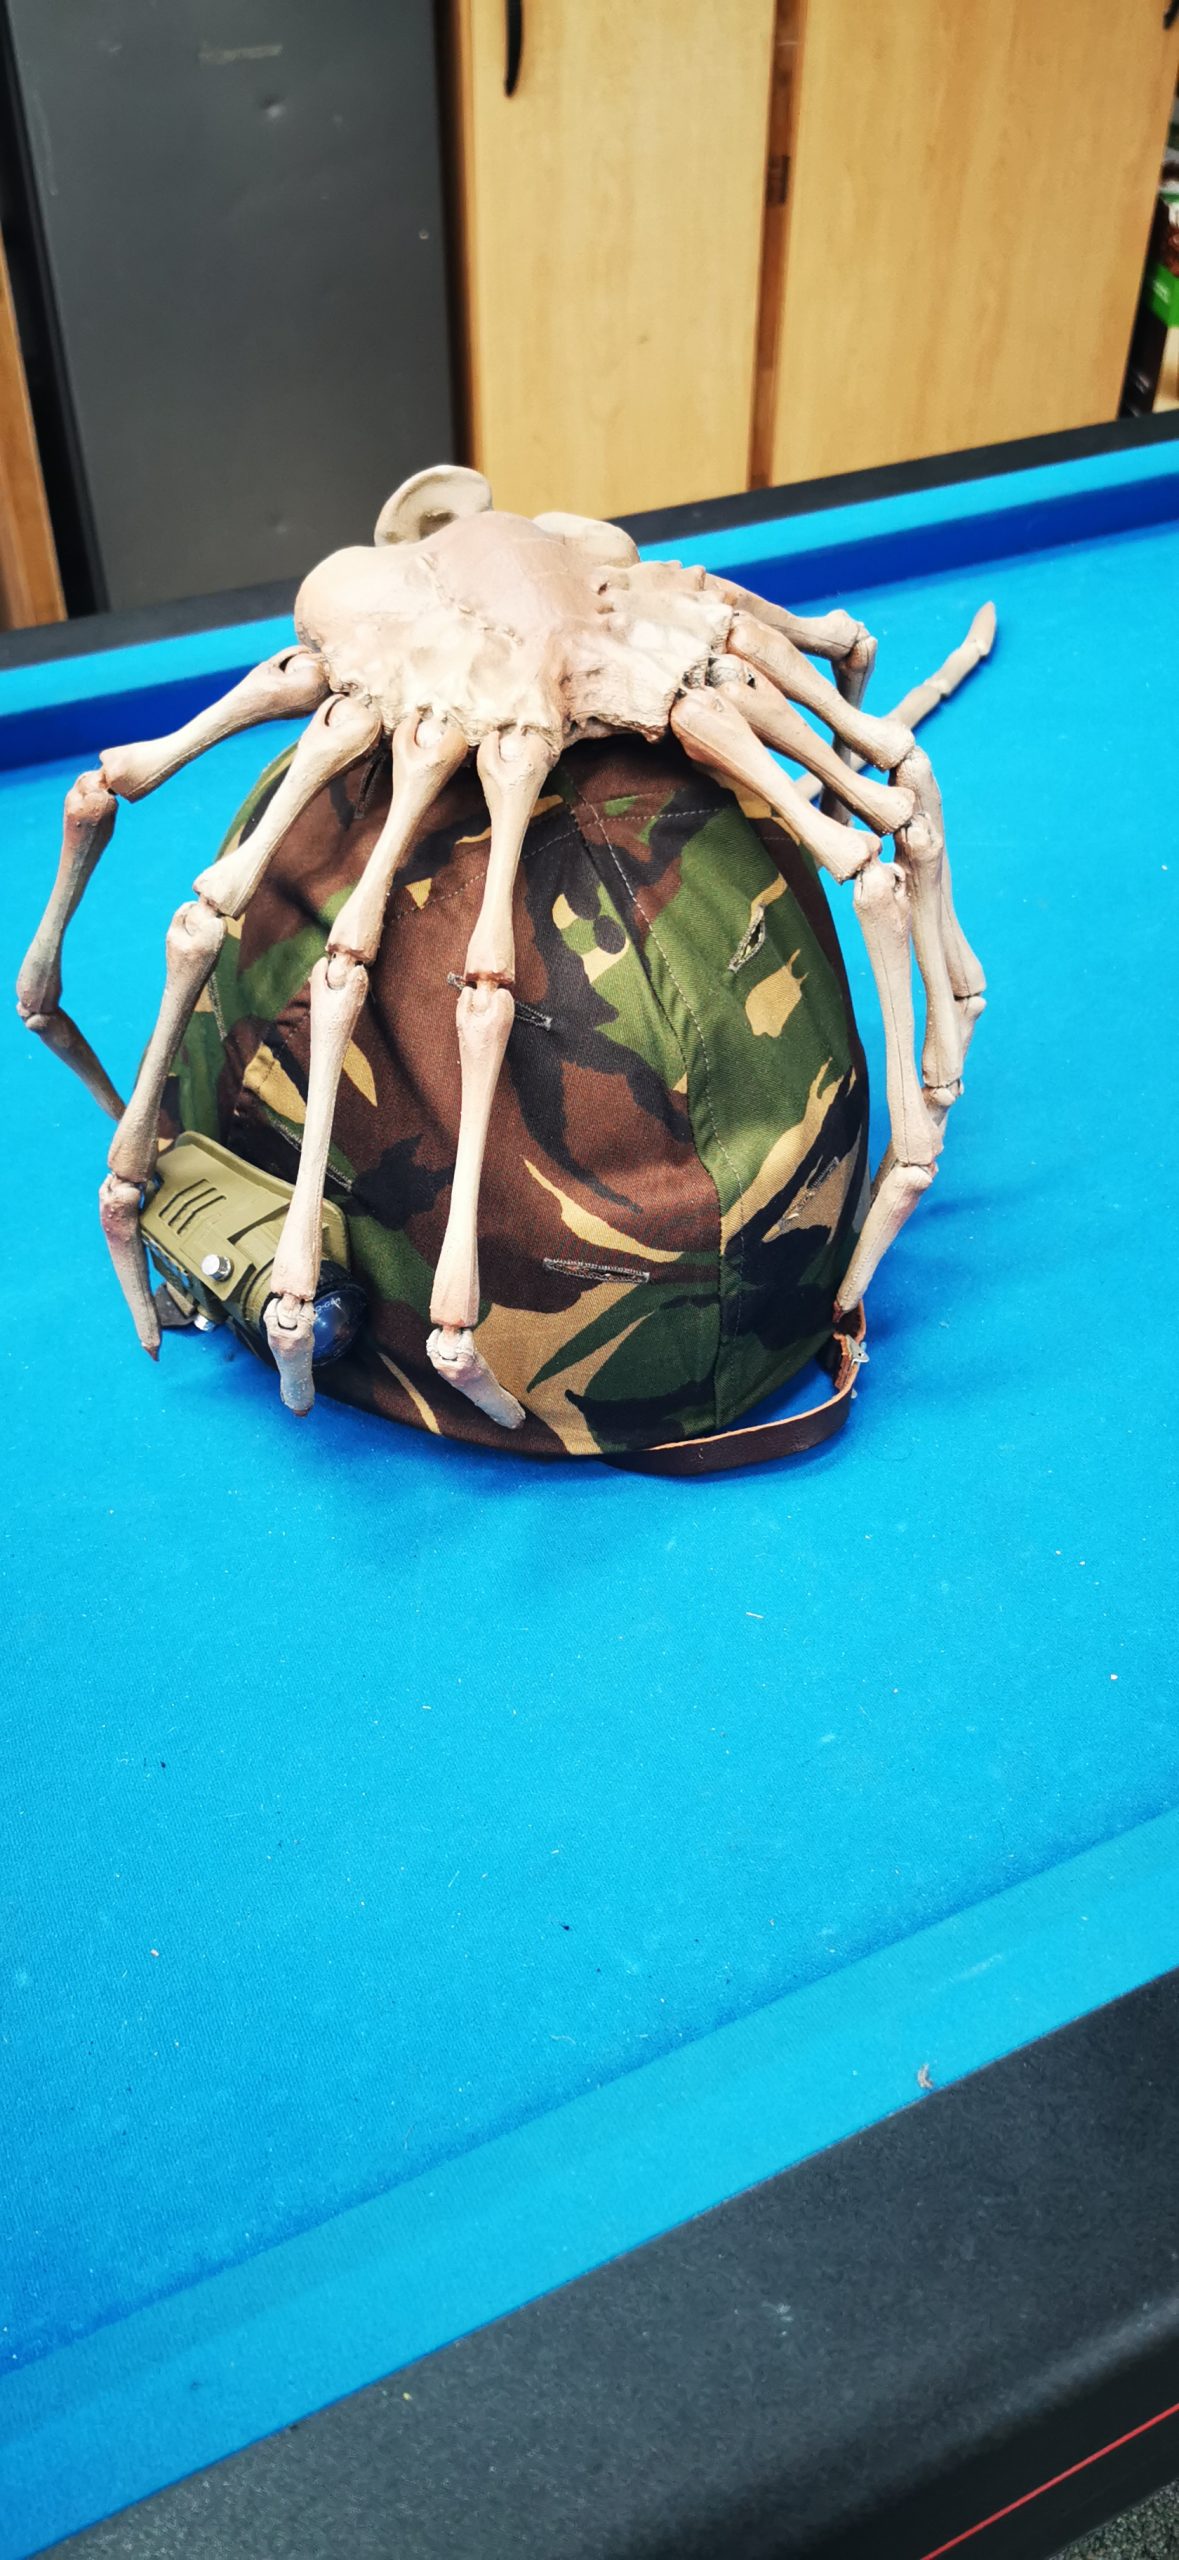
The outside lens cover and outer casing were painted black with the 2K filler primer for continuity. We then touched up some of the buttons and parts in chrome paint. Once finished, we put a material camouflage over the helmet and mounted the 3D printed camera.
The Final Results
This was a project that took some thinking outside the box for multiple components. We had to seal all of the 3D plastics first before adding the final touch up and base coats. Overall, again a fantastic project with excellent subject matter, and we’re really happy with the results. It’s a real talking point in the office!
Photos Of The Project
Jump straight to:
